Smart Inbox for print jobs in Océ Publisher Express
A user can open or create a Smart Inbox in Océ Publisher Express:
1.
Select the 'Jobs' tab.
2.
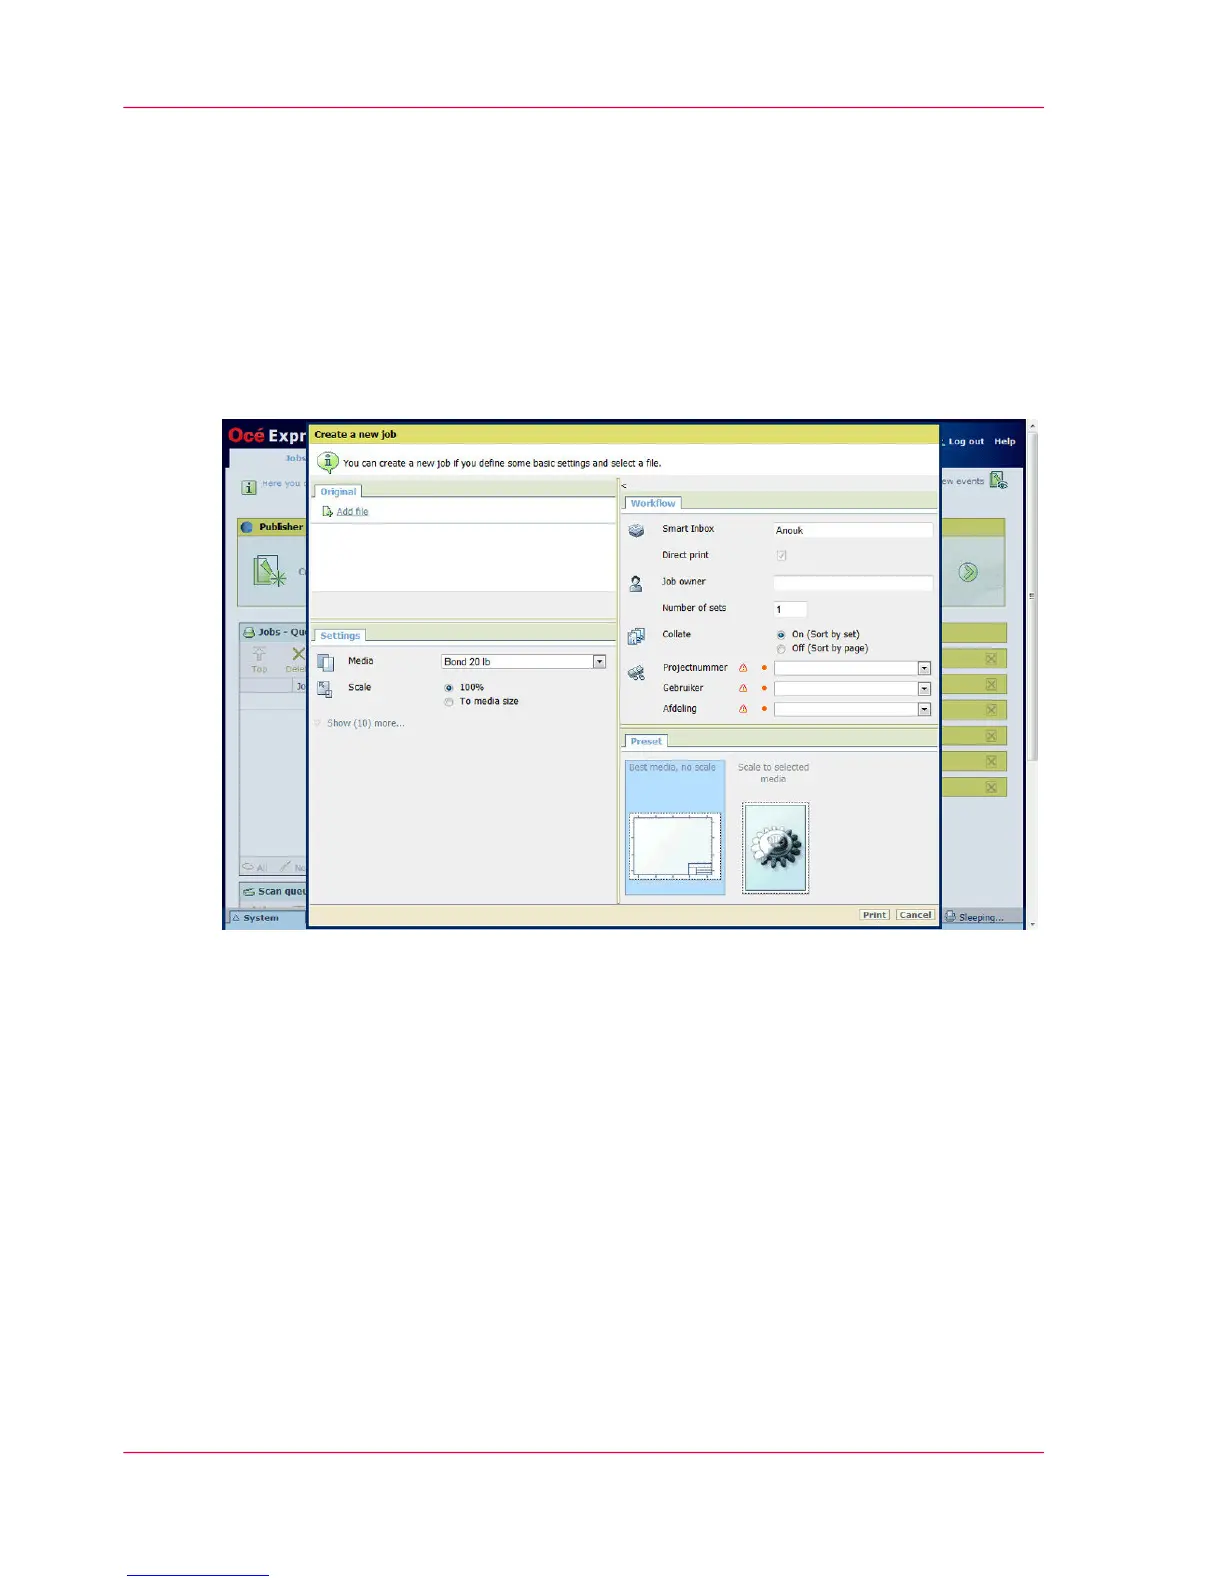
Click on 'Create new job' in the Océ Publisher Express section.
3.
In the 'Workflow' section, click on the Smart Inbox field to open a drop-down list with
the Smart Inboxes available on your system that contain one or more jobs. You can open
an existing Smart Inbox from the list or you can type the name of a new Smart Inbox.
4.
Enter the name of the new Smart Inbox and press Enter, or select the desired 'Smart Inbox'
from the list.
5.
Click 'OK' to send the print job to the Smart Inbox.
The Smart Inbox is now displayed in the Smart Inbox section.
Chapter 3 - Define your Workflow with Océ Express WebTools118
Create and open a Smart Inbox for print jobs