Make a copy and add a strip
Introduction
When you make a copy, you can add a strip to a document.
Use 'Cut size' to copy an original without a strip and add a strip to the copy. You can
add a strip at the top or bottom of a copy.
Note:
For more information on the cut size settings, see ‘Preset category:Layout ’ on page 231.
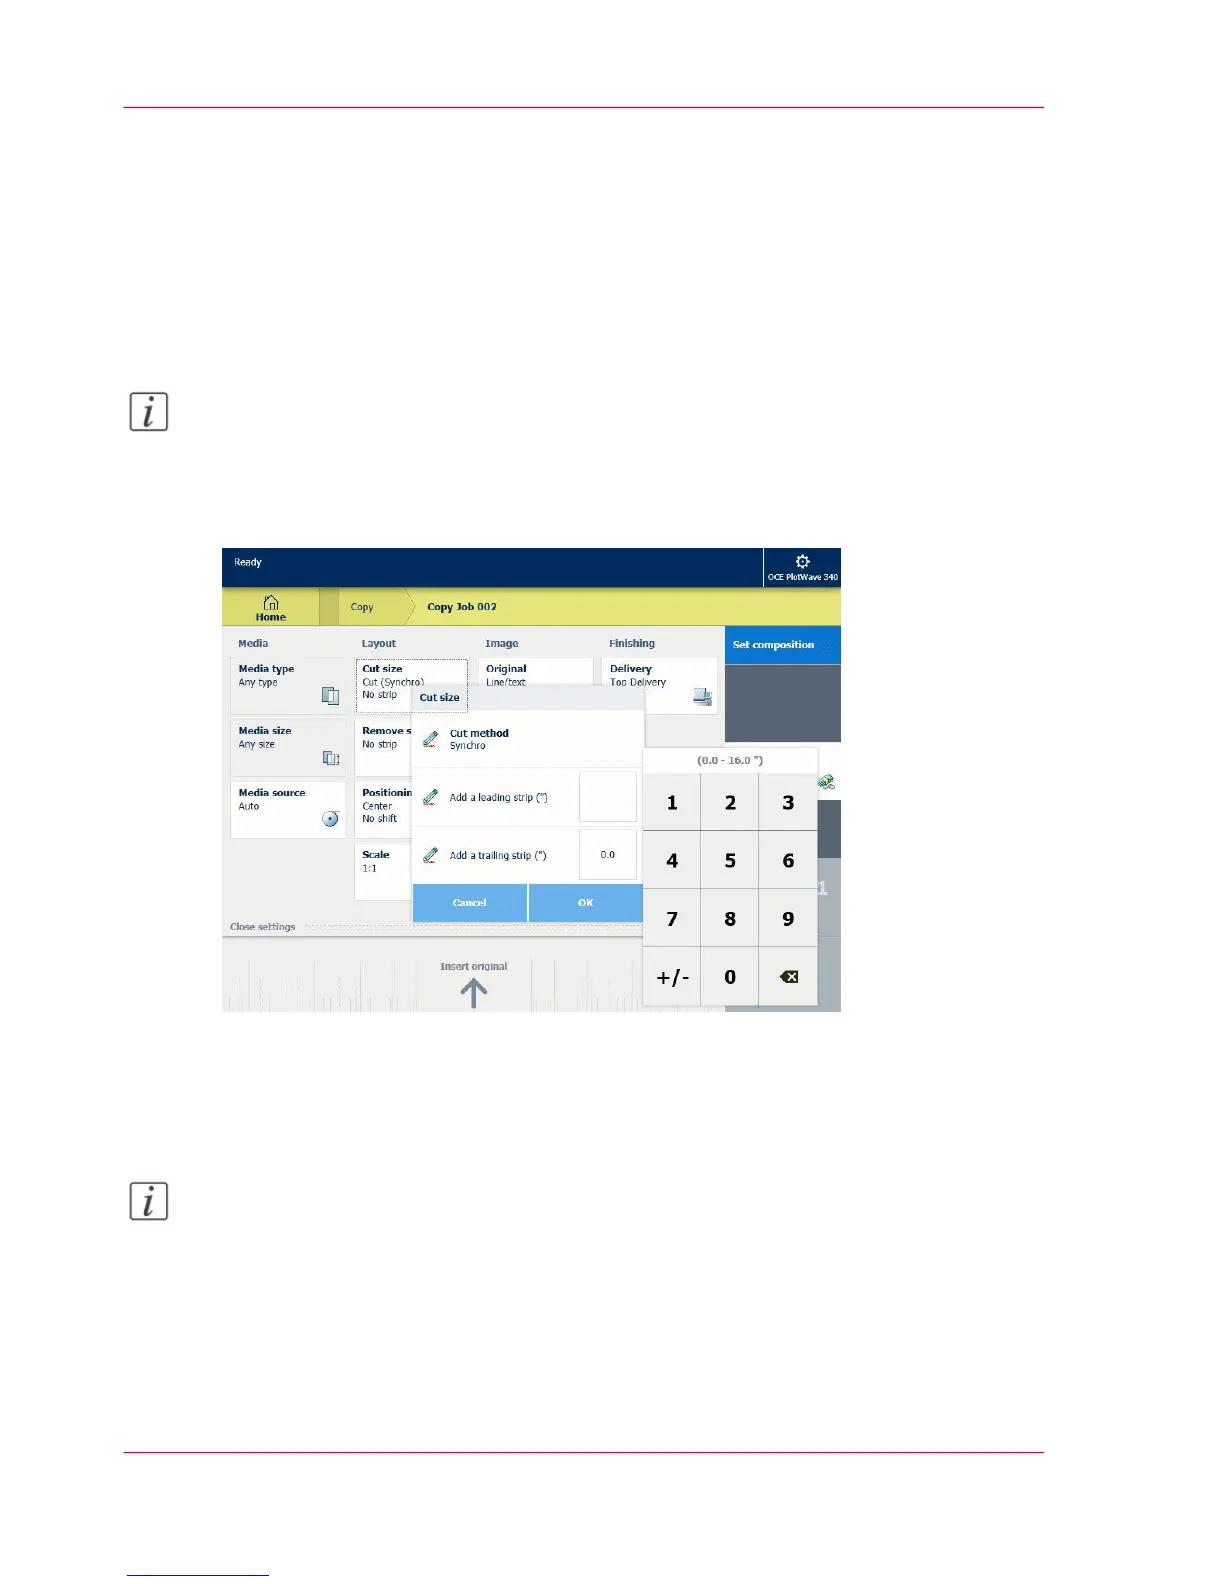
Illustration
How to make a copy and add a strip
1.
Feed the original face up and centered on the original feeding table.
Note:
You do not need to center the original precisely. The exact position of the original is au-
tomatically detected by the scanner.
The 'Copy' tile is automatically selected on the user panel.
2.
Tap the 'Copy' tile. A window with a list of presets opens.
3.
Tap 'All settings'. A list with settings opens.
4.
Tap 'Cut size' under the 'Layout' preset.
Chapter 4 - Use the Printing System240
Make a copy and add a strip