EasyManuals Logo

Océ PlotWave 340 User Manual

Océ PlotWave 340
388 pages
To Next Page IconTo Next Page
To Previous Page IconTo Previous Page
Page #292 background imageLoading...
Page #292 background image
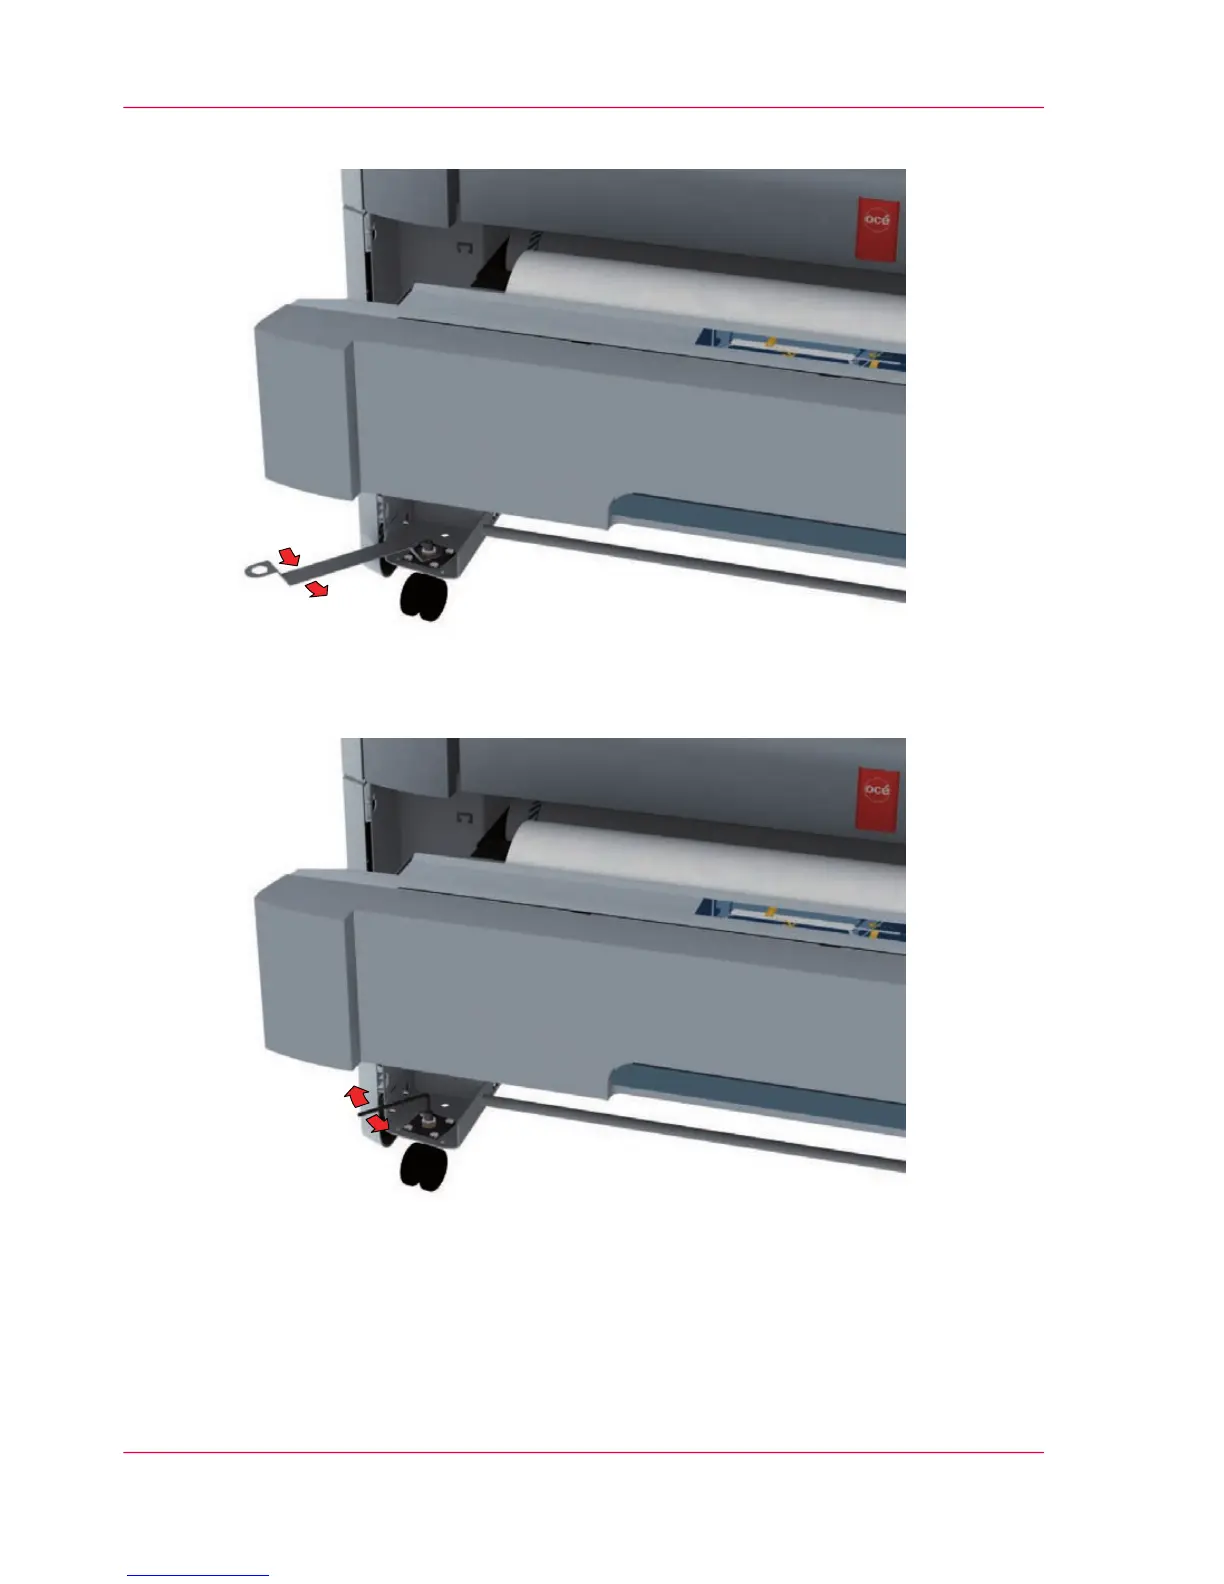
6.
Loosen the nut with the key wrench.
7.
Use the Allen wrench to adjust the level until the level indicator arrow is exactly on the
middle of the marker.
Chapter 5 - Maintain the Printing System292
Move and re-adjust the printing system
Operating Information: PlotWave (PW) 340, PW350 - Edition 2013-06

Table of Contents

Questions and Answers:

Question and Answer IconNeed help?

Do you have a question about the Océ PlotWave 340 and is the answer not in the manual?

Océ PlotWave 340 Specifications

General IconGeneral
BrandOcé
ModelPlotWave 340
CategoryAll in One Printer
LanguageEnglish