3 Alarms
57
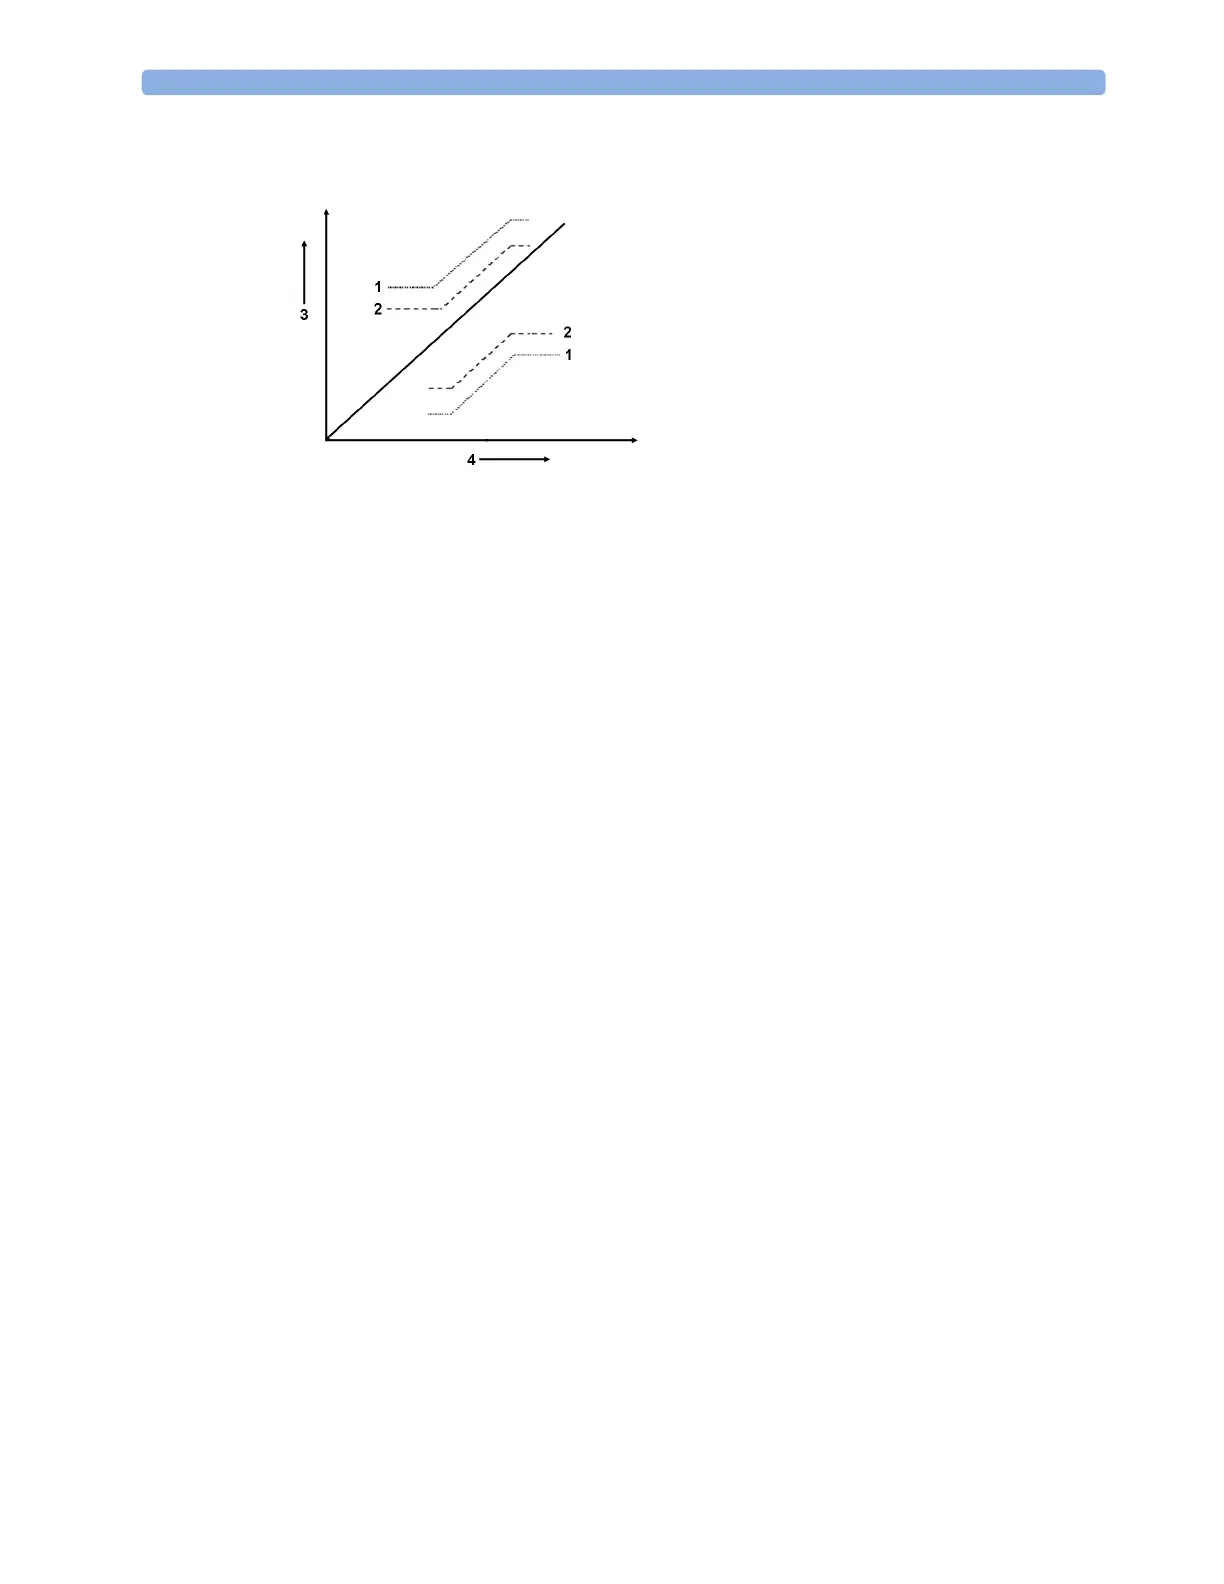
Limits Narrow sets limits close to the currently measured values for situations where it is critical for you
to be informed about small changes in your patient's vital signs.
Limits Wide sets limits further away from the currently measured values for situations where small
changes are not so critical.
Use the keys in the measurement alarm limits window to apply AutoLimits for individual
measurements. These keys are not available if AutoLimits have been disabled for the measurement in
the monitor's Configuration Mode.
AutoLimits are not available for all measurements. The list of measurements for which AutoLimits can
be used is defined in the monitor's Configuration mode.
Use the measurement alarm limits window to check AutoLimits before you apply them to ensure that
they are appropriate for your individual patient and their clinical condition. Once applied, AutoLimits
are shown on the monitor screen just like manually-set alarm limits. If the AutoLimits are not
appropriate for your patient, you must set alarm limits manually. The limits remain unchanged until
you set them again or change them manually.
Documenting Alarm Limits
To print a list of all current alarm limit settings on an available printer:
1 Select the Main Setup SmartKey.
2 Select Reports from the Main Setup menu.
3 Select Alarm Limits.
Reviewing Alarms
You can see which alarms and INOPs are currently active in the respective alarms and INOPs fields at
the top of the screen.
To review the history of alarms and INOPs, select the alarms or INOPs field to open the
Review
Alarms
window.
All alarms and INOPs are erased from the
Review Alarms window when you discharge a patient, or if
you change to Demonstration Mode.
1 Wide alarm limits
2 Narrow alarm limits
3 Alarm Limits
4 Measurement value