Monitors and Cameras
Polycom, Inc. 3–25
Configuring Camera Settings and Video Quality Options
To configure camera and video settings:
1 Do one of the following:
— In the local interface, go to System > Admin Settings > Cameras >
Camera Settings.
— In the web interface, go to Admin Settings > Cameras > Camera
Settings.
2 Configure these settings on the Cameras screen:
Setting Description
Camera 1 Specifies the camera’s aspect ratio:
•4:3 — Select if you are using a camera in standard
mode.
•16:9 — Select if you are using a camera in
wide-screen mode.
This setting also configures the following SD cameras to
produce the corresponding video format:
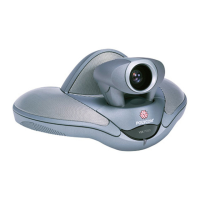
• Polycom PowerCam™ Plus
• Polycom PowerCam
• Sony EVI-D100
• Sony BRC-300
Specifies the camera’s format. For a list of available
formats, refer to the information for your system in the
previous section of this chapter, Connecting Cameras
on page 3-15.
Name Specifies a name and icon for the camera.
Note: If your HDX system is paired with a Polycom
Touch Control and you change a camera icon on the
HDX system, the Touch Control continues to show the
default icon.
Video Quality Specifies Motion or Sharpness for the video input. The
default is Sharpness.
•Motion — This setting is for showing people or
other video with motion.
•Sharpness — The picture will be sharp and clear,
but moderate to heavy motion at low call rates can
cause some frames to be dropped. Sharpness is
available in point-to-point H.263 and H.264 calls
only. It is required for HD calls between 832 kbps
and 2 Mbps.
Artisan Technology Group - Quality Instrumentation ... Guaranteed | (888) 88-SOURCE | www.artisantg.com