097-55501-01 Revision M – January 2009 TimeHub 5500 User’s Guide 119
Chapter 3 Installing the TimeHub 5500
Making Signal Connections
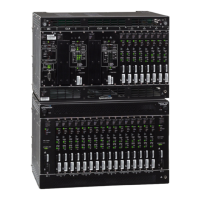
Figure 3-17. Connecting E-H Outputs of the Expansion Shelf to the High-Density Wire-wrap Panel
Connecting Timing Inputs
You make all timing input connections on the Input/Alarm Connector module (Figure
3-18). Install the module as described in Installing the Input/Alarm Connector
Module, on page 110.
DS1 Reference
You can connect up to four DS1 reference inputs to the TimeHub 5500; use the
wire-wrap pins labeled DS1 TERM IN on the Input/Alarm Connector module.
Connect the tip wire to the pins labeled T, the ring wire to the pins labeled R, and the
shield (if connected at the TimeHub 5500) to the pins labeled S.

 Loading...