96 TimeHub 5500 User’s Guide 097-55501-01 Revision M – January 2009
Chapter 3 Installing the TimeHub 5500
Rack Mounting the TimeHub 5500
Rack Mounting the TimeHub 5500
The procedure for rack mounting a Master, Remote, or an Expansion shelf is
identical.
Mounting the Shelf
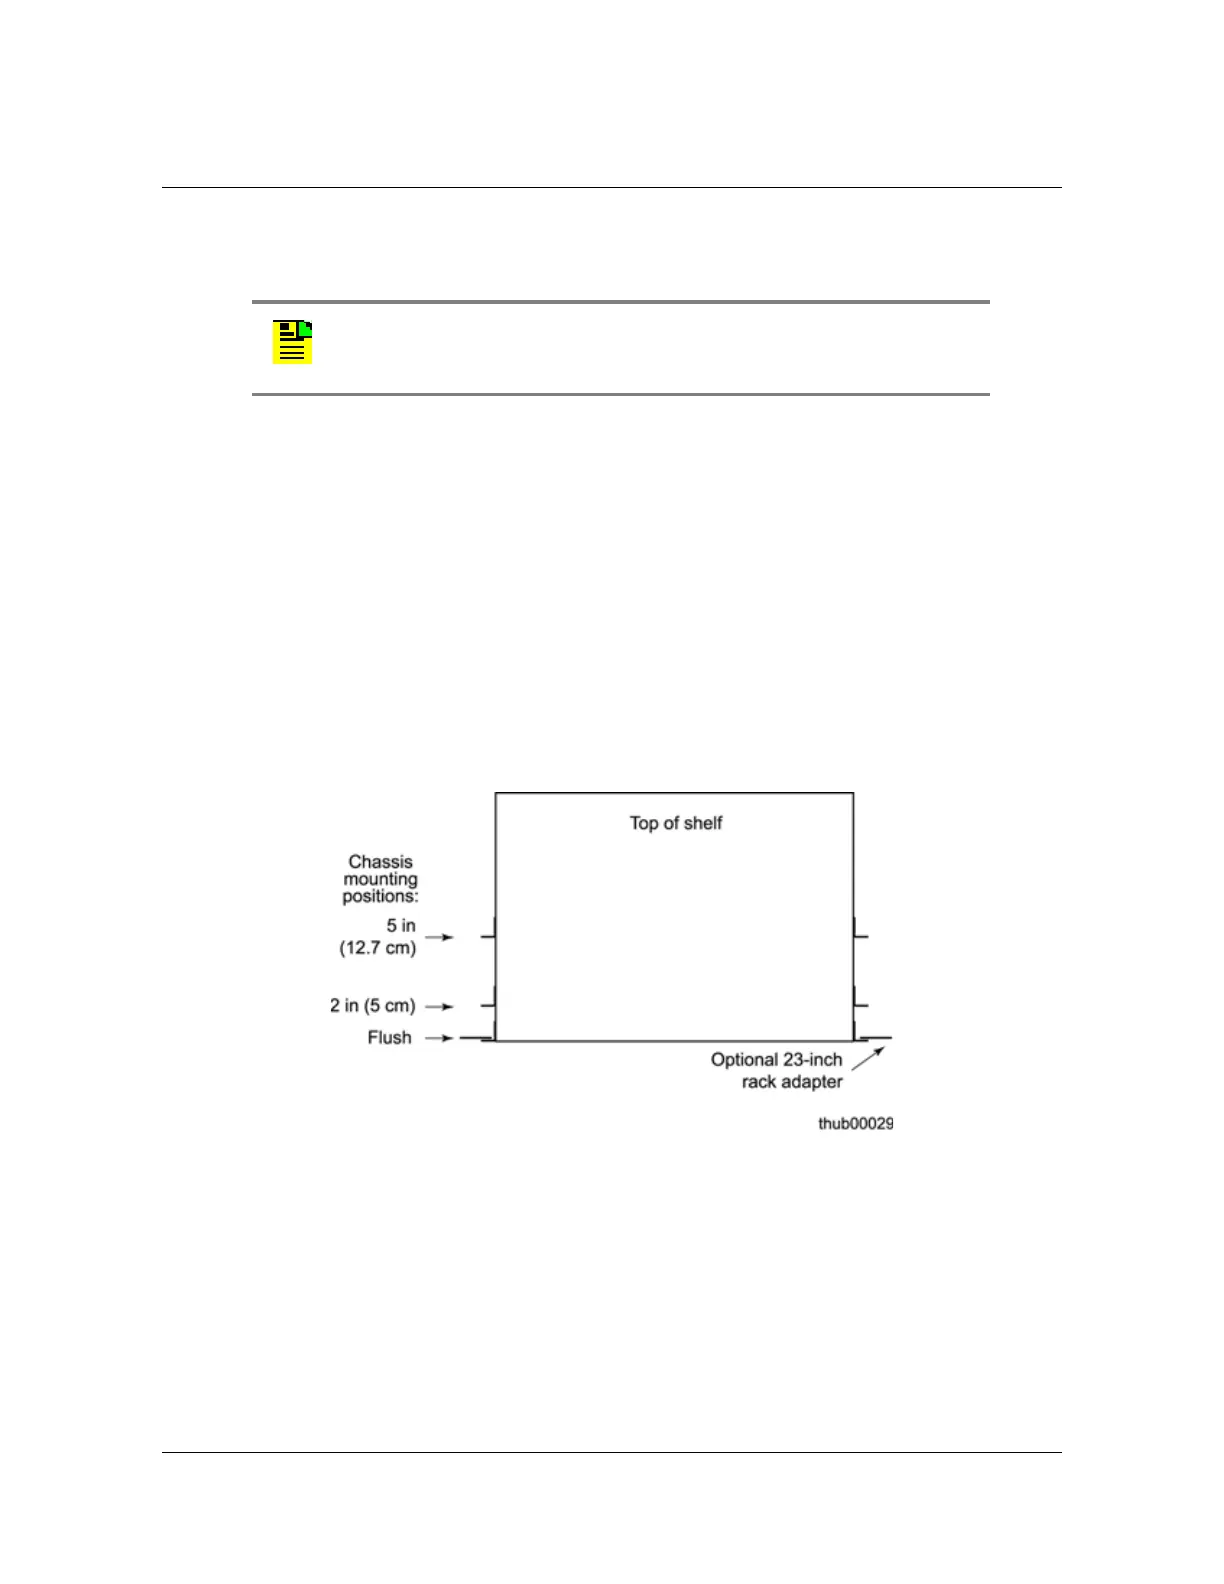
The shelf mounts flush to the rack or at distances of 2 inches (5.1 cm), or 5 inches
(12.7 cm) from the front of the rack, as shown in Figure 3-1.
1. Attach a mounting bracket to each side of the shelf by aligning two columns (two
holes per column) of the bracket with the holes on the side of the shelf. Use
suitable screws for attaching the mounting bracket. Ensure that both brackets
are attached at equal distances from the front of the shelf.
2. Mount the instrument to the rack rails with the appropriate number of screws and
washers for the rack.
Figure 3-1. Mounting Options for the Shelf
Installing the Wire-wrap Panel
If you are using an existing wire-wrap panel (for example, part number
090-41902-01), leave the panel in the rack. Replace the cables using an approved
Method of Procedure (MOP) for cutting over from an existing shelf.
Note: If you are using an existing connection panel, follow the
procedures in an approved Method of Procedure (MOP) for cutting
over an existing shelf.

 Loading...

