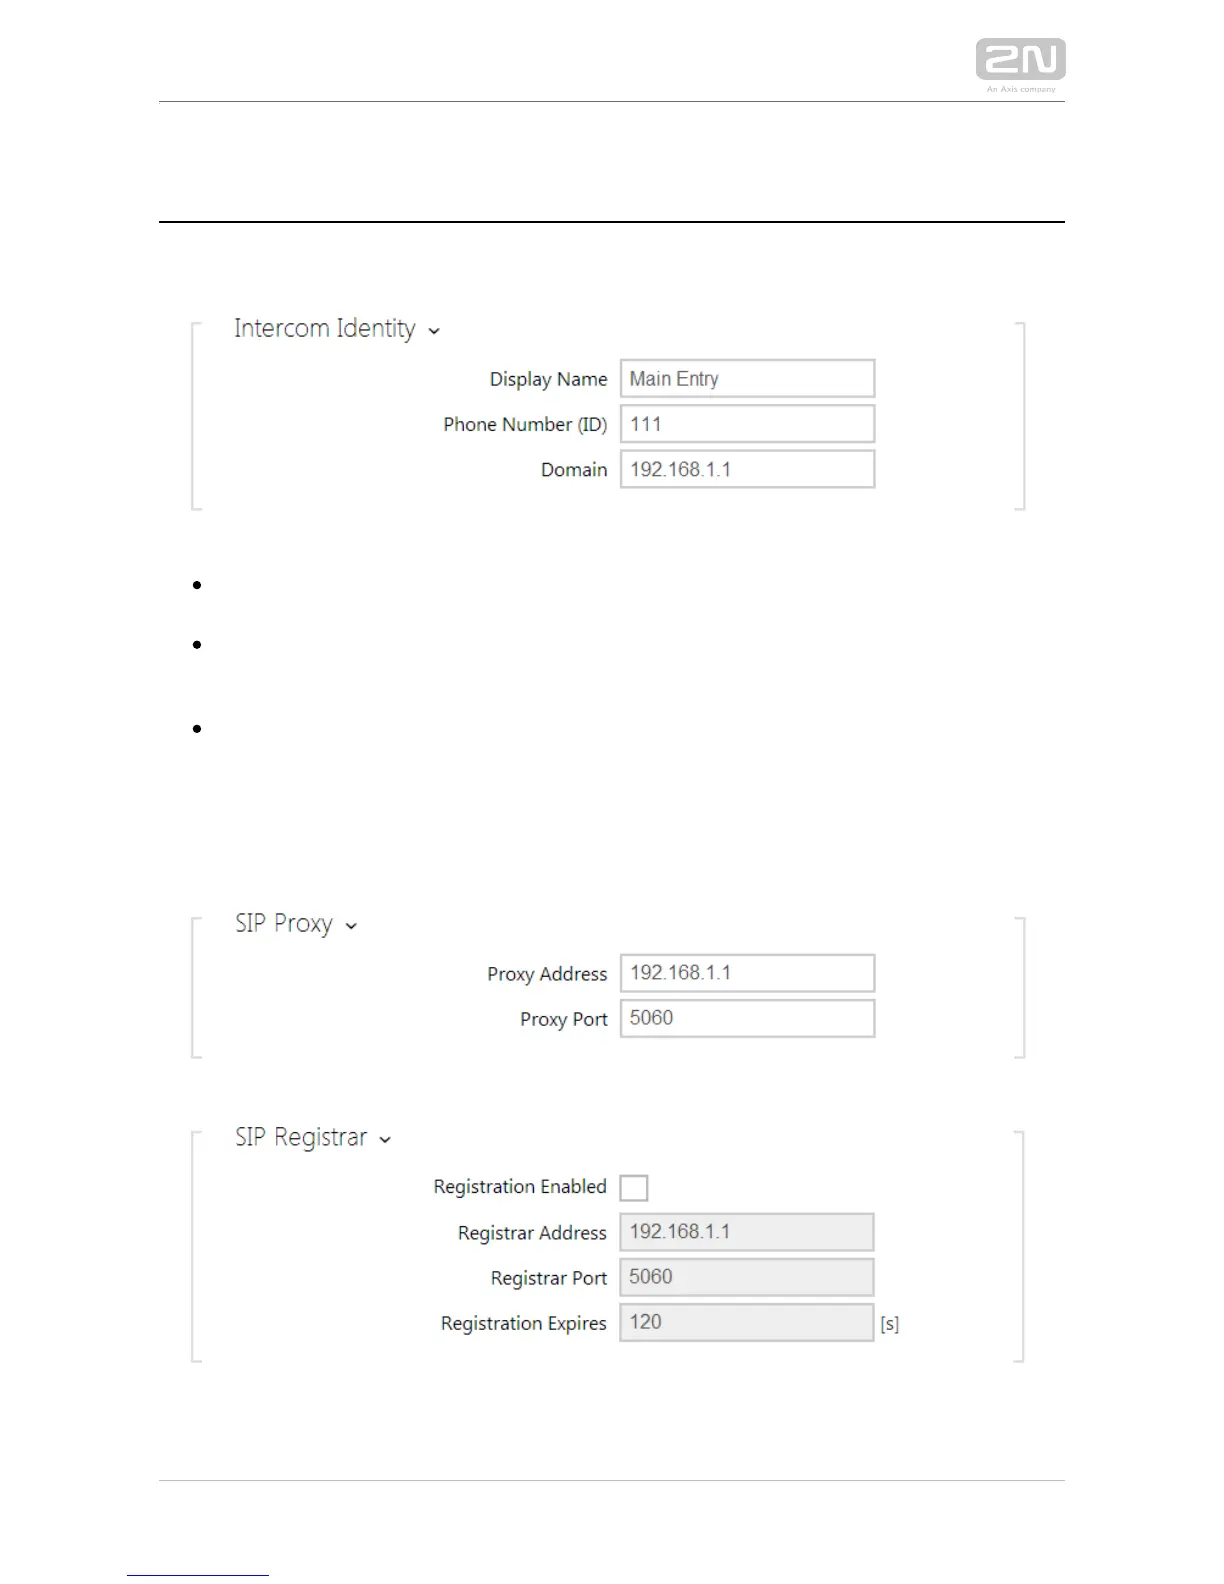
SIP Server Connection Setting
Set the following parameters in the menu to allow your Services Phone SIP / /
intercom make calls and be accessible within your VoIP infrastructure.
Display name – set the name to be displayed as CLIP on the called party's
phone, in the login window and on the web interface start page.
Phone number (ID) – set the intercom phone number (or another unique ID
composed of characters and digits) to identify the intercom uniquely in calls and
registration.
Domain – set the domain name of the service with which the intercom is
registered. Typically, it is equivalent to the SIP Proxy or Registrar address. If you
do not use a SIP Proxy in your intercom installation, enter the intercom IP
address.
If you use a SIP server (Proxy, Registrar), set the addresses for the following network
elements:
Proxy address – set the SIP Proxy IP address or domain name.