Chapter 3 Measurement Examples
3-12
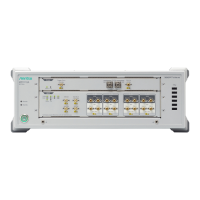
1. Connect the PPG1-PPG4
Data Out
connectors and Input connectors
on the CFP4 for transmission using coaxial cables.
2. Connect the PPG1-PPG4
Out
connectors and Input
connectors on the CFP4 for transmission using coaxial cables.
3. To use the optional Reference Clock, connect the Reference Clock
connector on the CFP4 for transmission and the
Sync Out
connector
using a coaxial cable.
4. Connect the DUT CFP4 output connectors and ED1-ED4
Data In
connectors using coaxial cables.
5. Connect the DUT CFP4 output connectors and ED1-ED4
In
connectors using coaxial cables.
6. Connect the optical output connector of the CFP4 for transmission to
the input connector of the optical attenuator using an optical fiber.
7. Connect the output connector of the optical attenuator to the optical
coupler.
8. Connect one end of the optical coupler to the input connector of the
DUT CFP4.
9. Connect the other end of the optical coupler to the optical power
meter.
An optical switch can be used in place of the optical coupler.
CAUTION
Check that the optical output level input to the CFP4 under
test does not exceed the rated optical input level.
There is a risk of damaging the CFP4 module if the optical
power exceeding the rated optical input level is applied.