2.8 HbA1c Calibration
HA-8190V 2-39
Prepare: Dummy samples (whole blood), sample containers for dummy sample (sample tubes with cap, 1 to 3),
CALIBRATOR 90, sample cups (for standard solutions,
4),
calibration rack (CAL) and protective gloves
* [When reading calibration information from barcodes]
Calibration information barcode labels (come with the calibrator) and sample tubes (2)
* If sample rack transportation is set to “loop transportation”, a start rack (START) is needed in addition to
the calibration rack.
1 Set the HbA1c calibration conditions (when needed).
a Set <STD. solution meas. count> and <Calibration error range>. If you do not set these setup items, skip to step 2.
• See “3.5.3. Setting the HbA1c Measurement Conditions” on page 3-16.
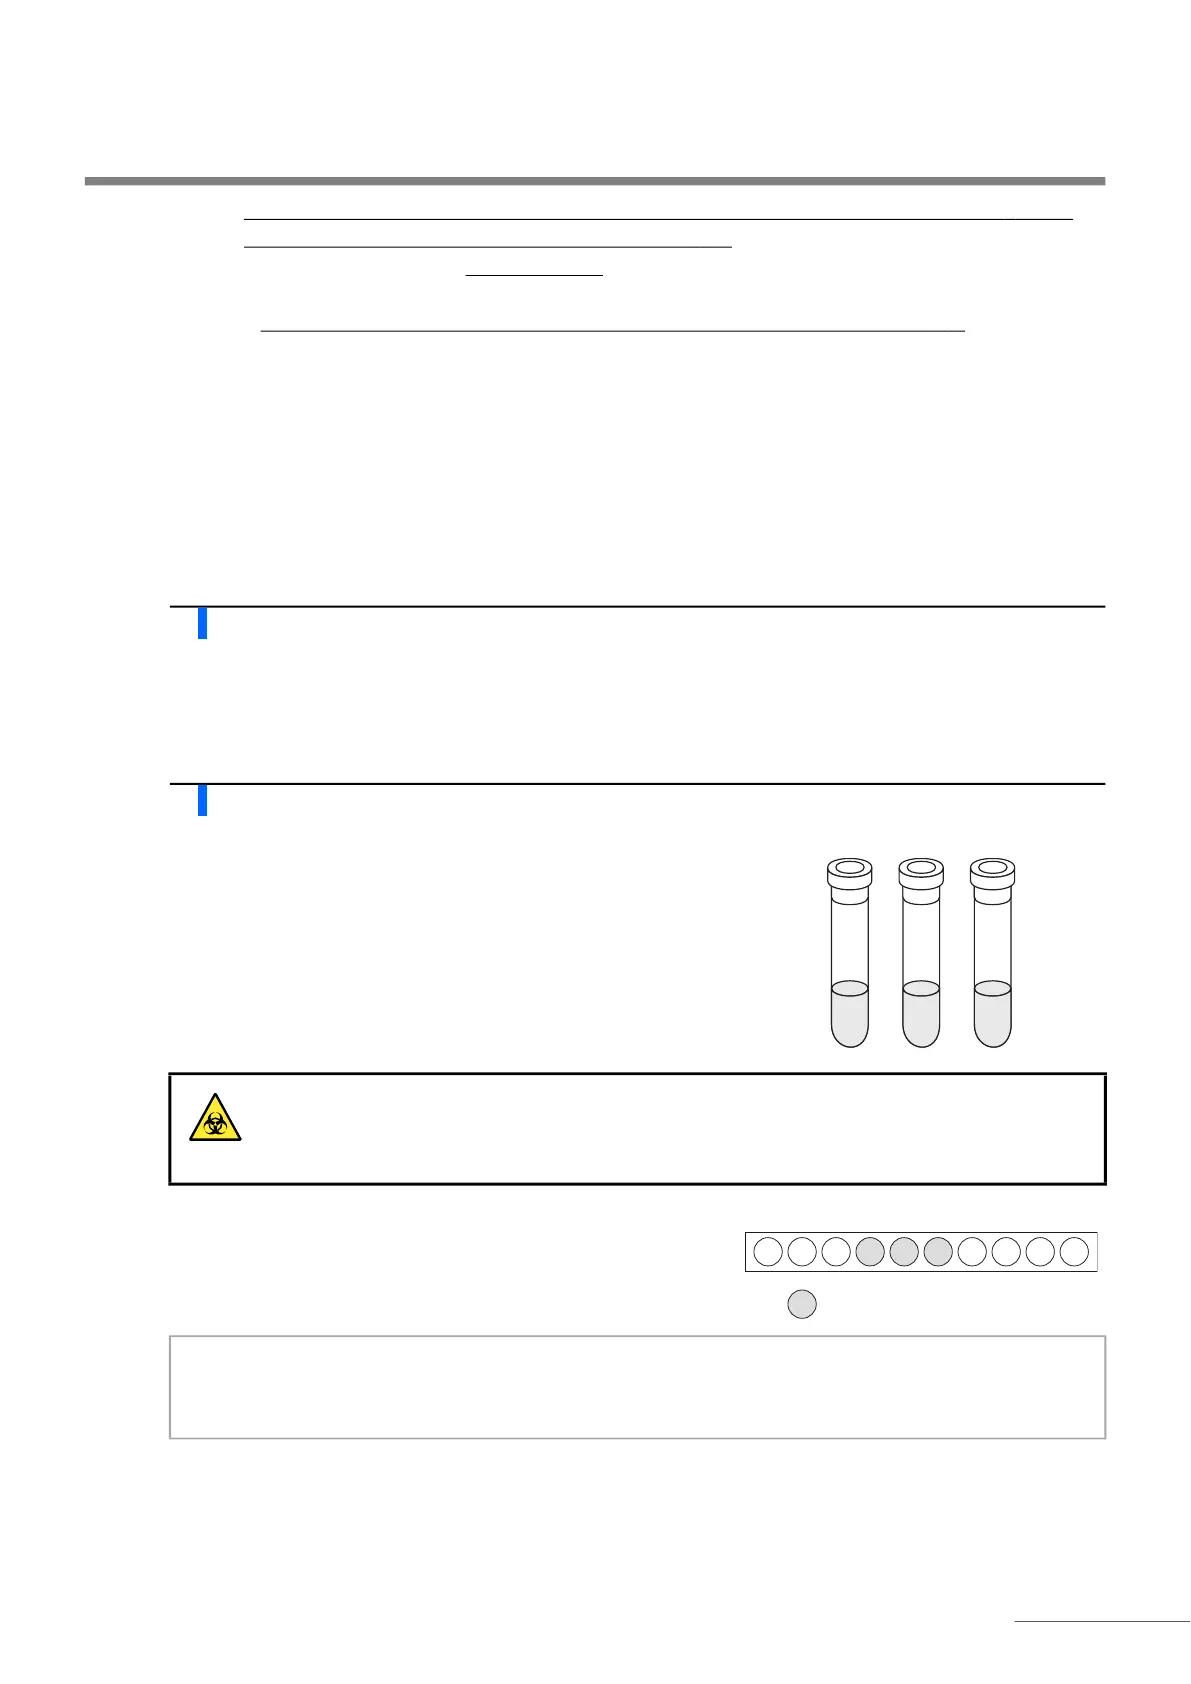
2 Prepare dummy samples.
a Add dummy sample (whole blood) to sample tubes.
• Prepare 1 to 3 tubes with sample.
• See “2.5.1. Preparing Samples” on page 2-16.
b Set the dummy samples in ports 4 to 6 of the calibration rack.
• Use any of the ports 4 to 6.
• [About 13 mm diameter] Use the port guides on the rack.
[About 15 mm diameter] Remove the port guides.
REFERENCE:
About dummy samples:
Dummy samples are measured before standard solutions to obtain stable measurement results.
Performing measurements with uncapped tubes may cause sample to splatter inside the
instrument while spinning, jeopardizing subsequent measurements. It may also cause infection
to the user or other individuals by pathogenic microbes.
Dummy samples (x 1 to 3)
12345678910
IMPORTANT:
Do not set dummy samples in ports from 7 to 10 to avoid seriously degrading the column. If whole blood is
measured in these ports, it is recommended to replace the column with a new one.