5. Physical installation top cooler
2
1
9
5
8
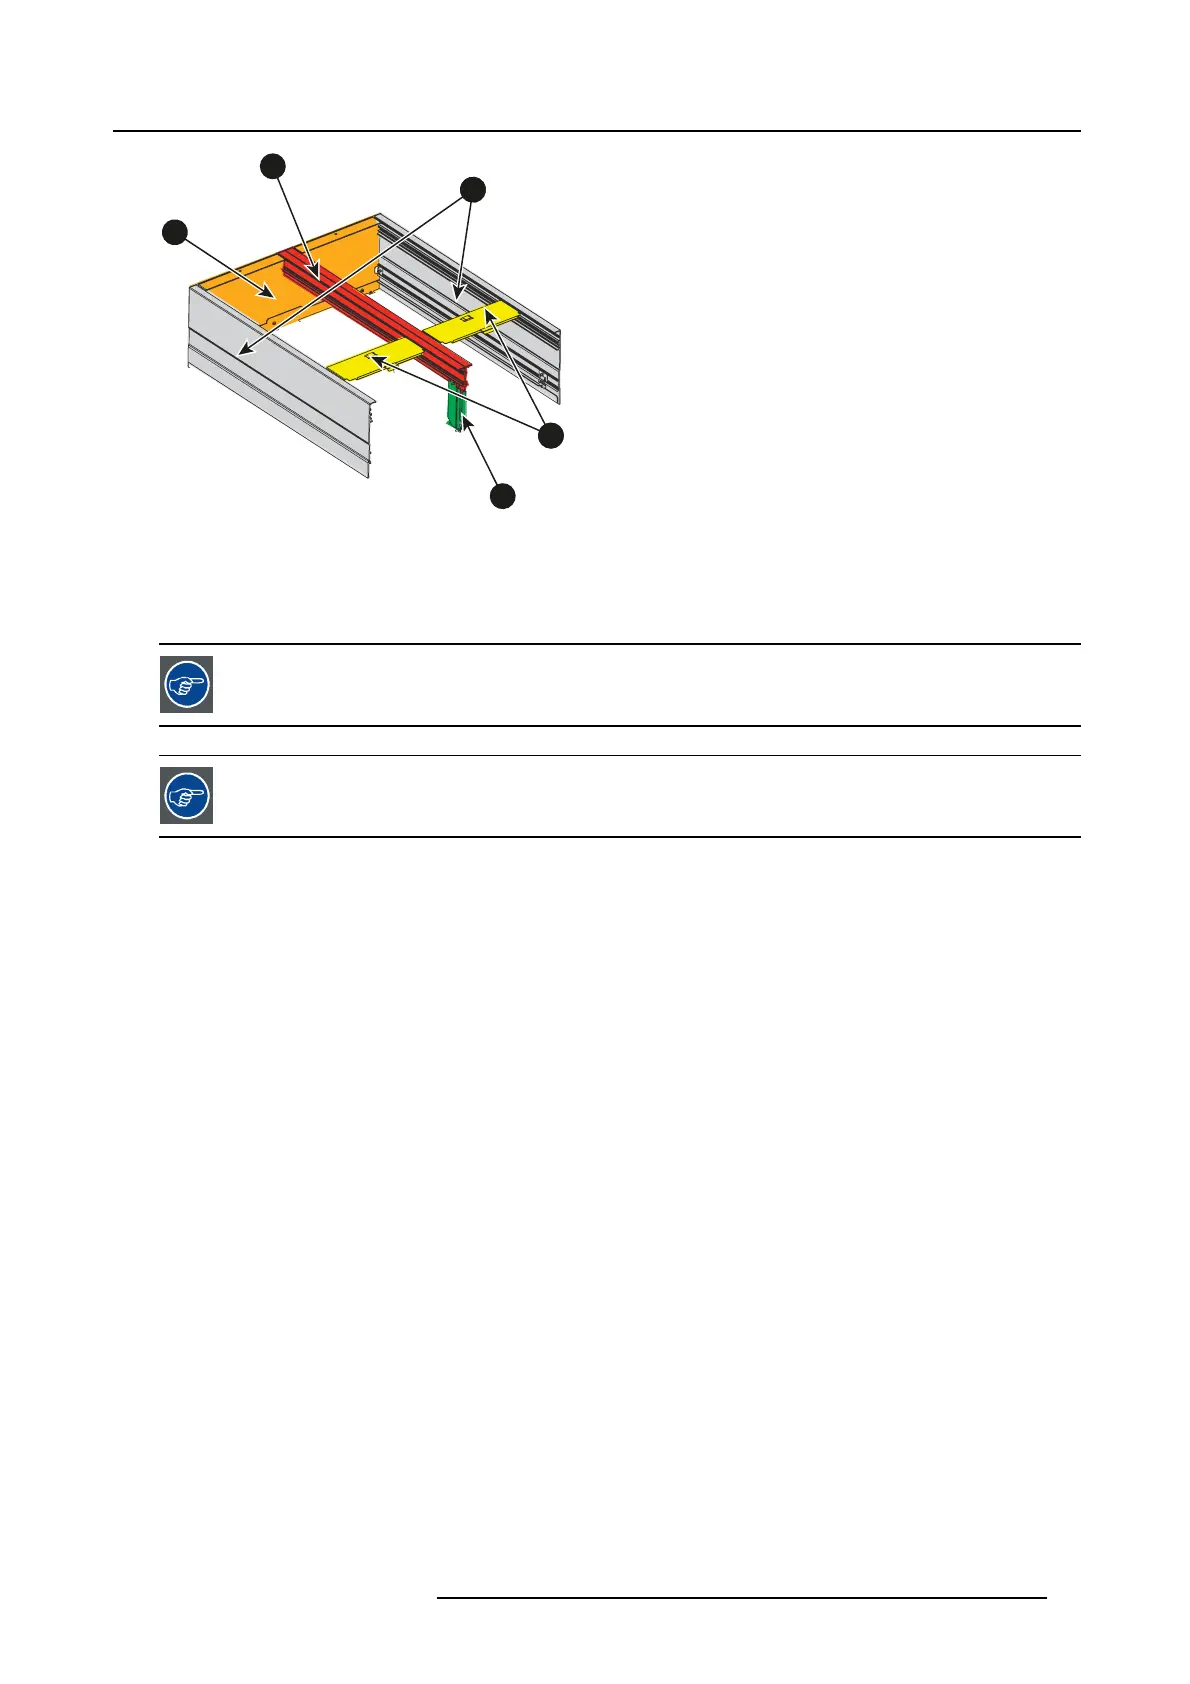
Image 5-3
Necessary tools
• Allen w rench 2.5 mm
• Allenwrench3mm
First, turn all the screws in the inserts b efore starting to assemble.
Into the drawings used in this procedure, orientation of the unit
is indicative. Don’t hesitate to change the
unit orientation to facilitate the mounting of parts. By example, it could be more easy to lay flat the front plate
upon the table when you installing the both side covers.
How to assemble
1. Inser t the side fixation on both side covers. Slide it in for ab o
ut 4 cm.
Make sure you insert t h e s id e fi xa tion for the left side cover on the opposite side.
Turn in a set screw s (M3) on each side but do not fasten it yet.
R5906753 DPXK BLP SERIES 20/11/2017
39
 Loading...


