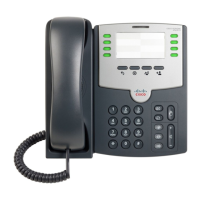
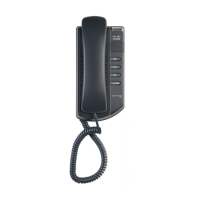
Configuring the Cisco SPA500S Attendant Console
Setting Up the Cisco SPA500S Attendant Console
Cisco Small Business SPA300 Series, SPA500 Series, and WIP310 IP Phone Administration Guide 211
9
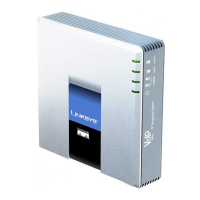
Configuring the Cisco SPA 9000 for the Cisco SPA500S
You must still enable Computer Telephony Integration (CTI) on the Cisco SPA 9000
configuration utility, as shown in the following procedure:
STEP 1 Connect to the web-based configuration utility for the Cisco SPA 9000.
STEP 2 Click Admin Login on the configuration utility page.
STEP 3 If necessary, enter admin and your password, then Advanced.
STEP 4 Click the SIP tab.
STEP 5 In the
SIP Parameters
section, select yes from the
CTI Enable
drop-down list.
STEP 6 Click Submit All Changes.
Configuring the BroadSoft Server for the Cisco SPA500S
The BroadSoft server requires you to assign IP phone users to the Busy Lamp
(BLF) Monitor Users List. The BroadSoft server sends updates on the status of
each phone on this list to the Cisco SPA500S, which subscribes for this service.
To configure the BroadSoft server to support the Cisco SPA500S:
STEP 1 On the BroadSoft server, in the user profile used by the phone to register with the
BroadSoft server, select Assign Services.
STEP 2 On the Assign Services page, from the Available Services column, move Busy
Lamp to the User Services column.
STEP 3 Define the List URI used by the Cisco SPA500S to register for BLF monitoring
service with the BroadSoft server. This value must match the value entered
following the sub = keyword (for example, cisco_list). Select the domain from
the drop-down list to match the Unit Key.
NOTE If you configure more than one monitored list on the BroadSoft server, use the vid=
keyword in each unit/keyconfiguration script to specify the phone extension to use
for each list.
STEP 4 On the Busy Lamp Field page, move users that need to be monitored from the
Available Users column to the Monitored Users column.
STEP 5 Click the Add (or Add All) button to move each user to the Monitored Users
column. The Directory Number (DN) associated with each user account when it is
 Loading...