Getting Started
Using the Web-Based Configuration Utility
Cisco Small Business SPA300 Series, SPA500 Series, and WIP310 IP Phone Administration Guide 24
1
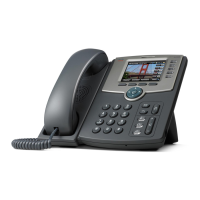
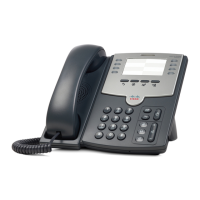
Cisco SPA501G
STEP 1 Press the Setup button on the phone.
STEP 2 In the IVR menu, enter 7932.
STEP 3 Press 1 to enable the web server, then press #.
STEP 4 To s a v e , p r e s s 1; to review, press 2; to re-enter, press 3; to exit, press *.
WIP310
STEP 1 In the Home screen, press the Select button to choose Settings.
STEP 2 Press the Select button again to reach the Settings menu.
STEP 3 Scroll to highlight
Misc Settings
and press the Select button.
STEP 4 Press the left arrow to ensure that Enable Web Server is set to On.
STEP 5 Press the Select button to save this setting.
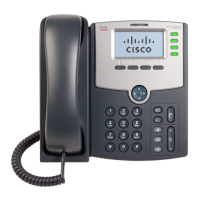
Cisco SPA525G/525G2
STEP 1 Press the Setup button.
STEP 2 Select Network Configuration.
STEP 3 Scroll to Web Server and make sure it is set to On.
STEP 4 Press Save.
Understanding Administrator and User Views
Depending on whether you are a VAR or service provider, you might have different
privileges. By default, the Administrator account name is admin, and the User
account name is user. These account names cannot be changed.
If the service provider set an Administrator account password, you are prompted
for it when you click Admin Login.
 Loading...