Stacker
Service Instructions 755 A/756 A - 00.0 - 02/2019 239
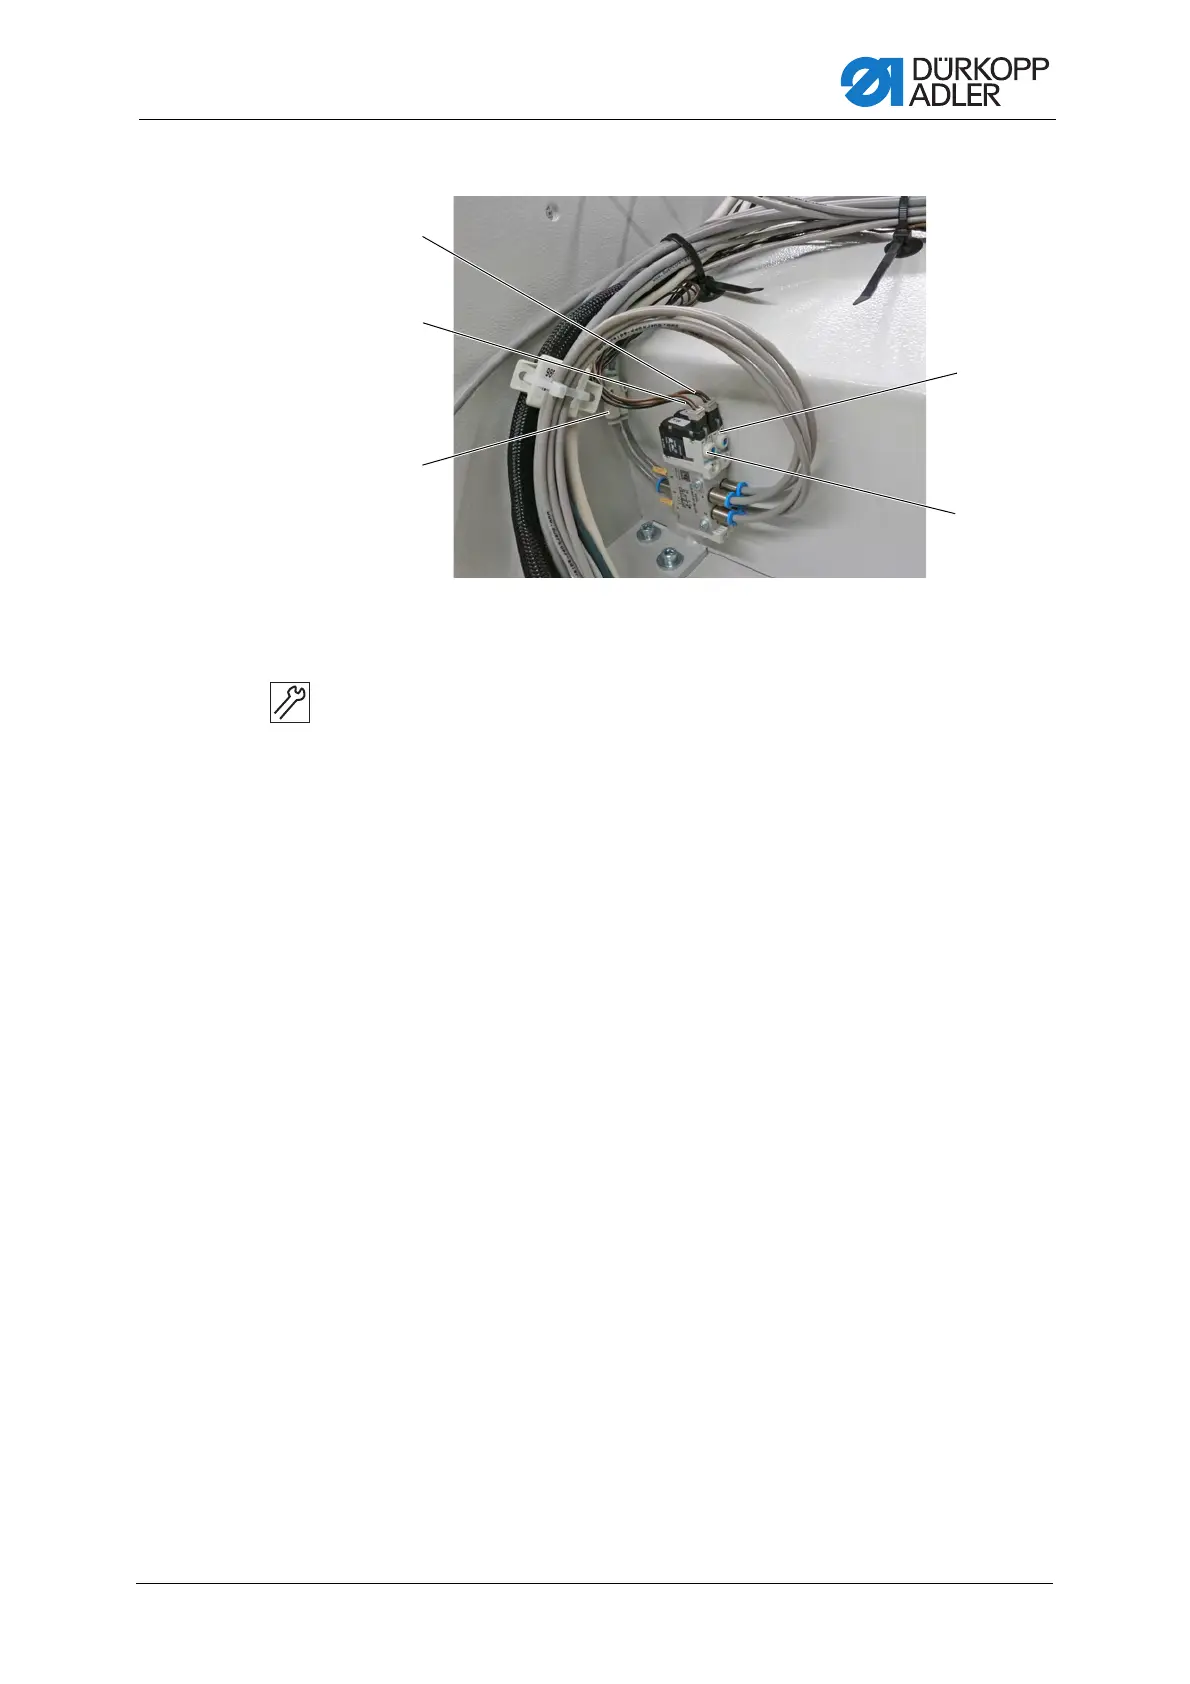
Fig. 233: Assembling the pincer stacker (2)
3. Remove the rear cover.
4. Tighten pneumatic valves Y25 (7) and Y26 (6) close to the cable
harness.
• Y25: Closing movement of pincer stacker
• Y26: Swivel movement of pincer stacker
5. Connect pneumatic valves Y25 (9) and Y26 (6) with pneumatic lines
and a Y-connection (5) to an existing pneumatic line that has already
been connected to the compressed air maintenance unit.
6. Connect cable X625 (3) of the cable harness with pneumatic
valve Y25 (9).
7. Connect cable X626 (4) of the cable harness with pneumatic
valve Y26 (6).
(3) - Cable X625
(4) - Cable X626
(5) - Y-connection
(6) - Pneumatic valve Y26
(7) - Pneumatic valve Y25
 Loading...


