242 Eos Apex, Eos Ti, Gio, Gio @5, Ion Xe, Ion Xe 20, and Element 2 User Manual
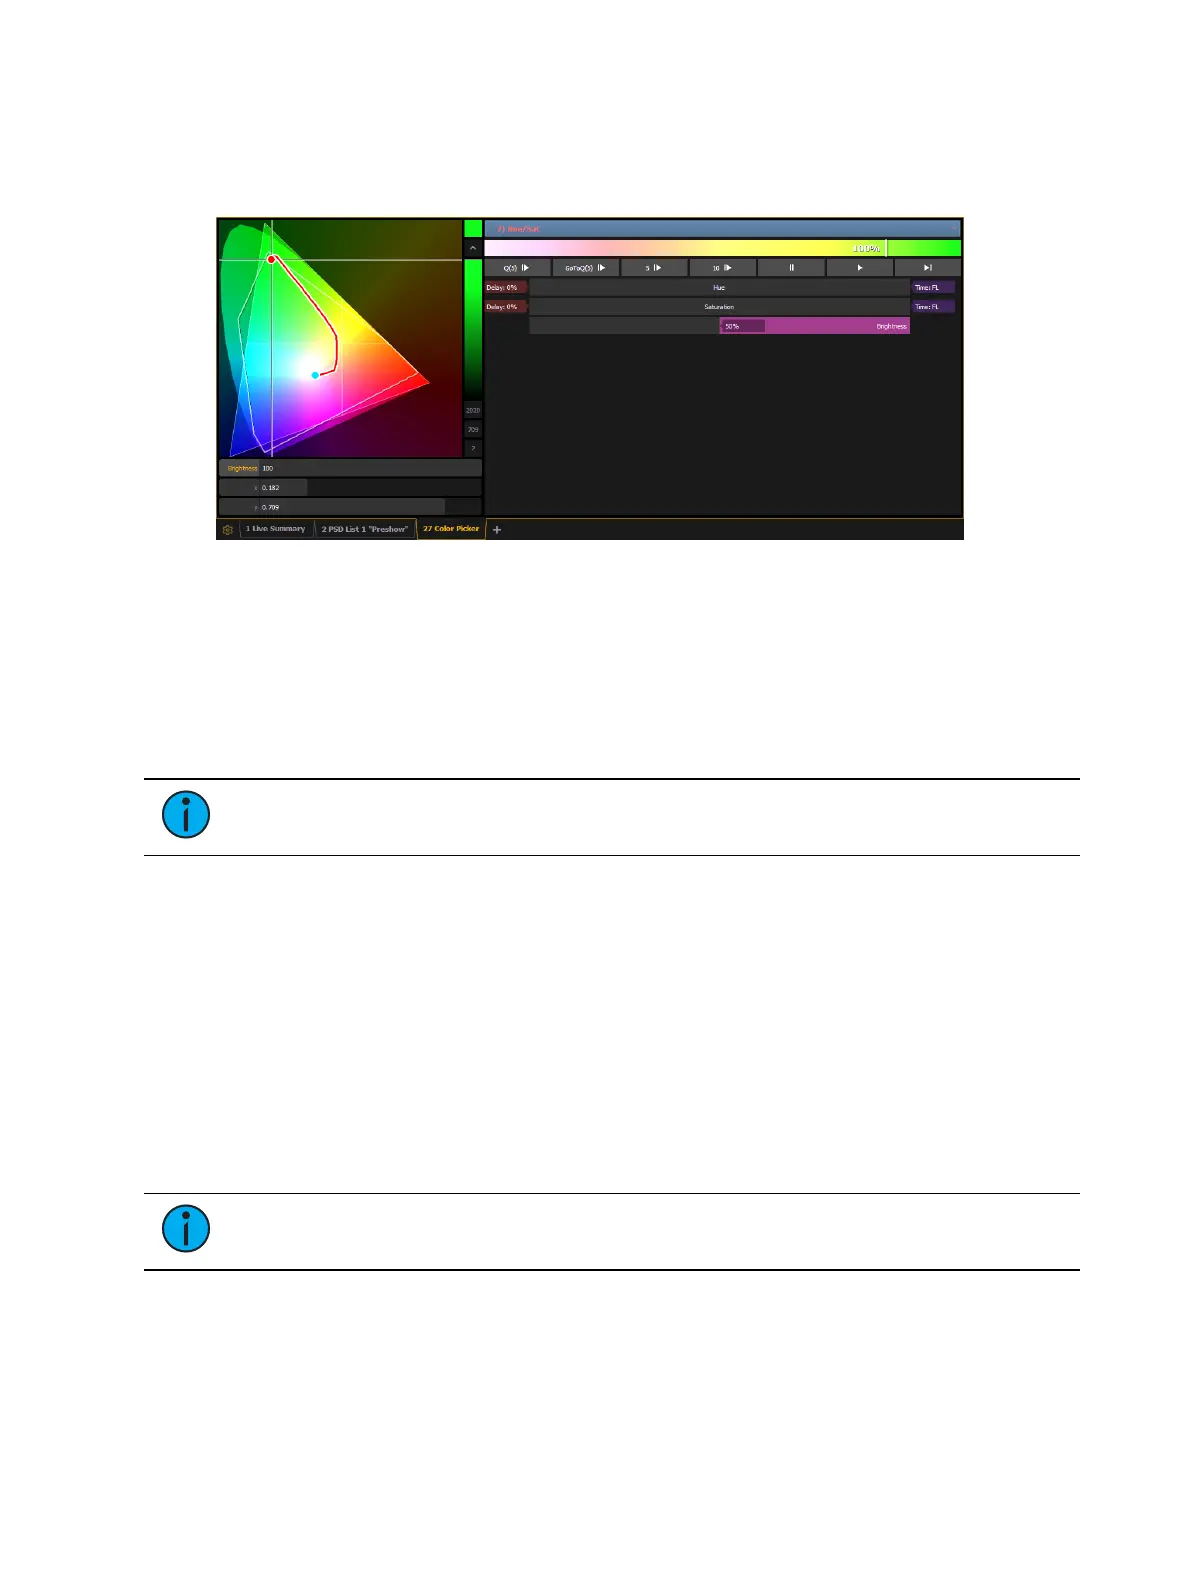
Additional controls may be available based on the color path selected. For example, Color Path
7 has additional controls for Hue, Saturation, and Brightness. You can move those controls to
adjust the fade, and you'll see a representation of those changes in both the color path
preview bar and in the color space.
Changes can be stored in the destination cue as absolute data by using [Update] or [Record].
When there's a change to the color path information, a red c will display next to the channel
number and the color path's name will display in red in the color path display. When that data
has been saved, a blue c will display. The color path's name will also display in blue in the color
path display.
You can save changes to a new color path by using [Record] [Path] [n]. That data will then be
referenced, and any changes made to that path will be used anytime that path is used Press
[Shift] & [Path] to see the values behind the referenced data.
Note:
If multiple channels are selected that have different color paths assigned to
them, a + will display by the color path name in the color path preview bar.
See
[About] Color Path (on page429)
and
Attribute Section (on page178)
for more
information.
Spectrum Tools
The Spectrum option is found by clicking on the display configuration tool (the gear icon) in
the bottom left corner of the display tab bar.
This option displays all the color parameters across the color spectrum, and allows for
individual control of each parameter. Press a color point to move it.
This display is a good visual of what the fixture is outputting.
The following screenshots show a 7 color fixture. This display will change based on the type of
fixture being used.
Note:
The gray line shows the composite color of the fixture. If multiple fixtures are
selected, the gray line represents the first channel selected.