Eos Configuration Utility 569
path type can be Eos, Eos Ti, Gio, Gio @ 5, Ion, Ion Xe, Ion Xe 20, Ion Xe RPU, Element,
Element 2, or ETCnomad Puck. If Other is selected, you will have additional fields to fill out for
Username and Password.
{Shared Folders...}
Allows you to see if any folders are currently being shared by the console. You can select the
folder and click {Don’t Share} if you no longer want to share the folder. By selecting {Don’t
Share} here, you will also uncheck the box for sharing the show file archive on the General
page of ECUSettings. See
Share Show / Media / Model Archive (on page555)
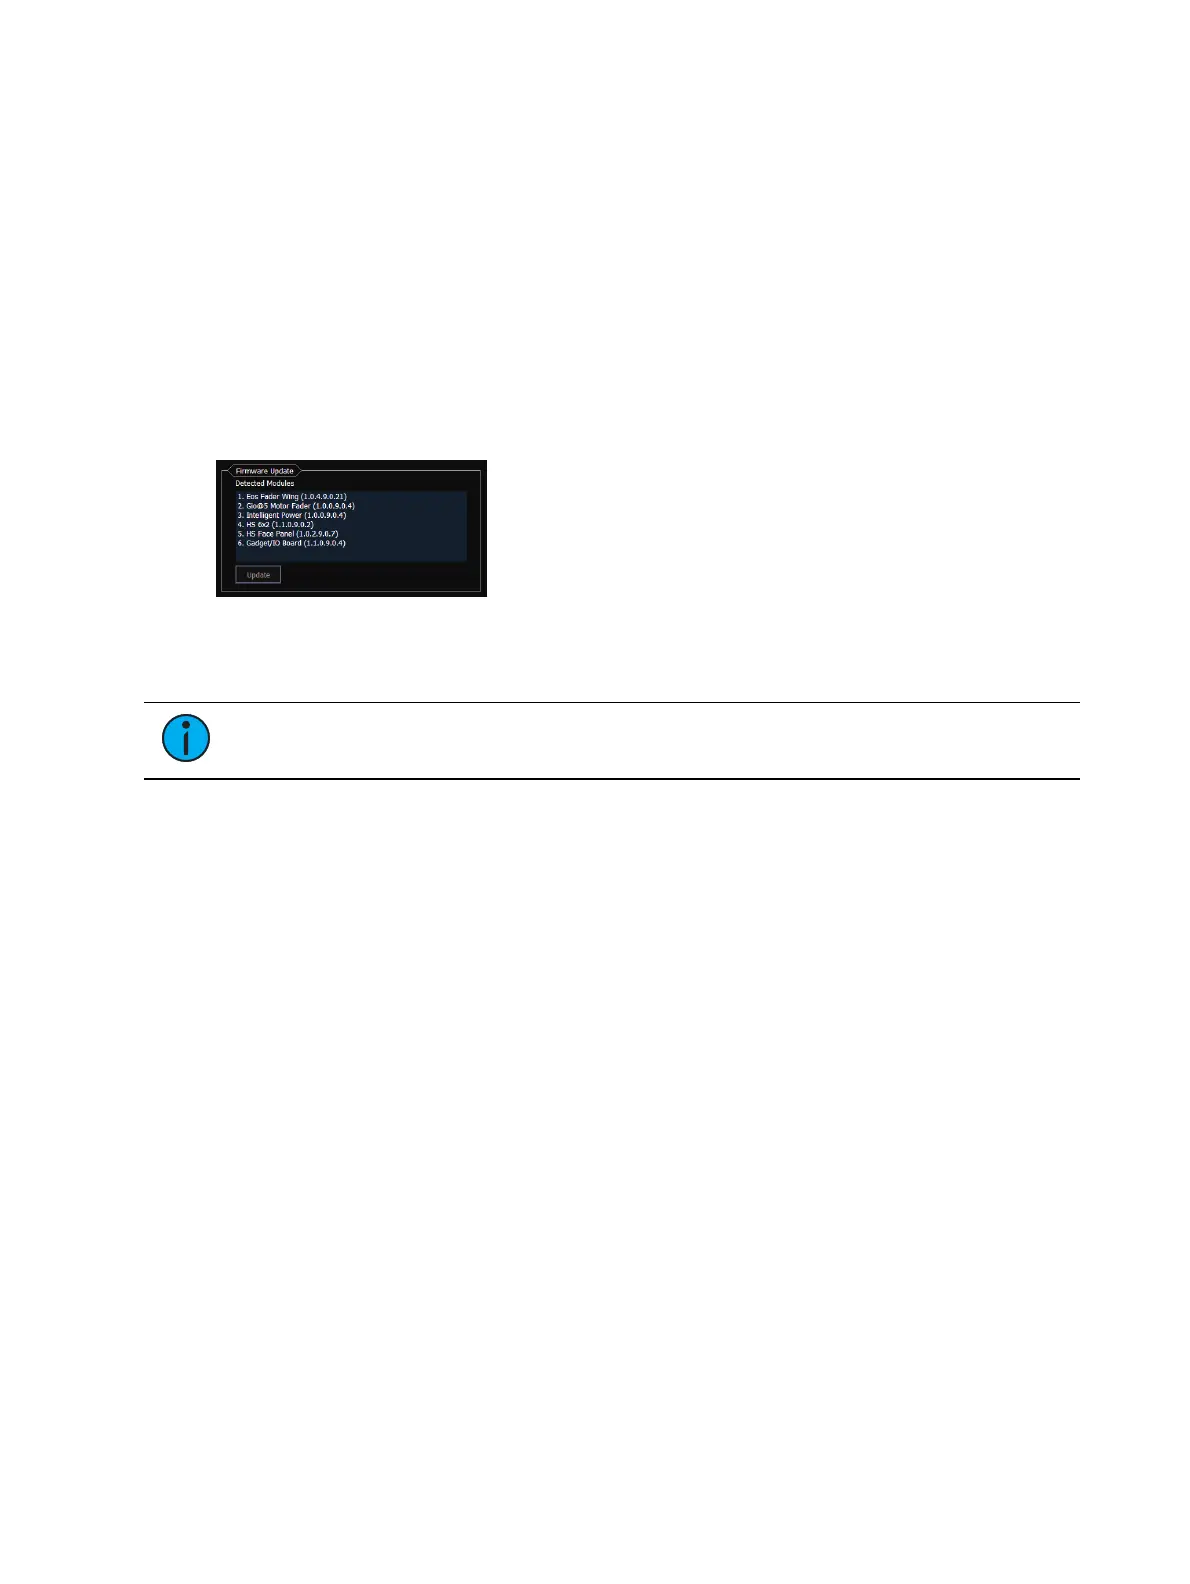
Firmware Update
The firmware update window will display any detected devices that use firmware and may
require an update. Devices that need to be updated will display in red.
When a device is selected, the {Update} button will display in yellow if the device can be
updated using this window. This includes devices that do not currently need to be updated. If
the button is grayed out, the device can not be updated using this window.
Note:
Windows 7 consoles must be power-cycled after a firmware update. This is
not necessary for consoles running Windows 10.
Buttons
RPU Face Panel Buttons
This area is for configuring the buttons on the front of a RPU or RVI. Clicking on a button will
open a dialog window for selecting what type of button, macro, hardkey, or none, you wish to
assign.
If hardkey is selected, a list of the various hardkeys on your console will be available to select
from. If macro is selected, a macro number can be entered. Selecting none will assign no
action to the selected button.
{Import} allows you to import a RPU/RVI button configuration file. {Export} allows you to
export a RPU or RVI button configuration file. {Restore Defaults} will restore the factory
defaults for the RPU or RVI buttons.
Face Panel Buttons
This area is for configuring the customizable hardkeys on the Eos Ti, Gio, and Gio @ 5 face
panels.
Clicking on a button will open a dialog window for selecting what type of button, macro,
hardkey, or none, you wish to assign.
If hardkey is selected, a list of the various hardkeys on your console will be available to select
from. If macro is selected, a macro number can be entered. Selecting none will assign no
action to the selected button.