246 Eos Apex, Eos Ti, Gio, Gio @5, Ion Xe, Ion Xe 20, and Element 2 User Manual
[1] [+] [+] [2] [.] [3] [Enter] - selects all of channel 1, and only cell 3 of channel 2.
[1] [+] [3] [.] [2] [Shift] & [.] - appending [Shift] & [.] after a cell number will post [All
Cells] to the command line, selecting all cells of channel 1, and only cell 2 of channel 3.
Offset can be very useful when applied to multicell fixtures, and can be useful for creating
subgroups. See
Offset (on page226)
and
Subgroups (on page259)
for more information.
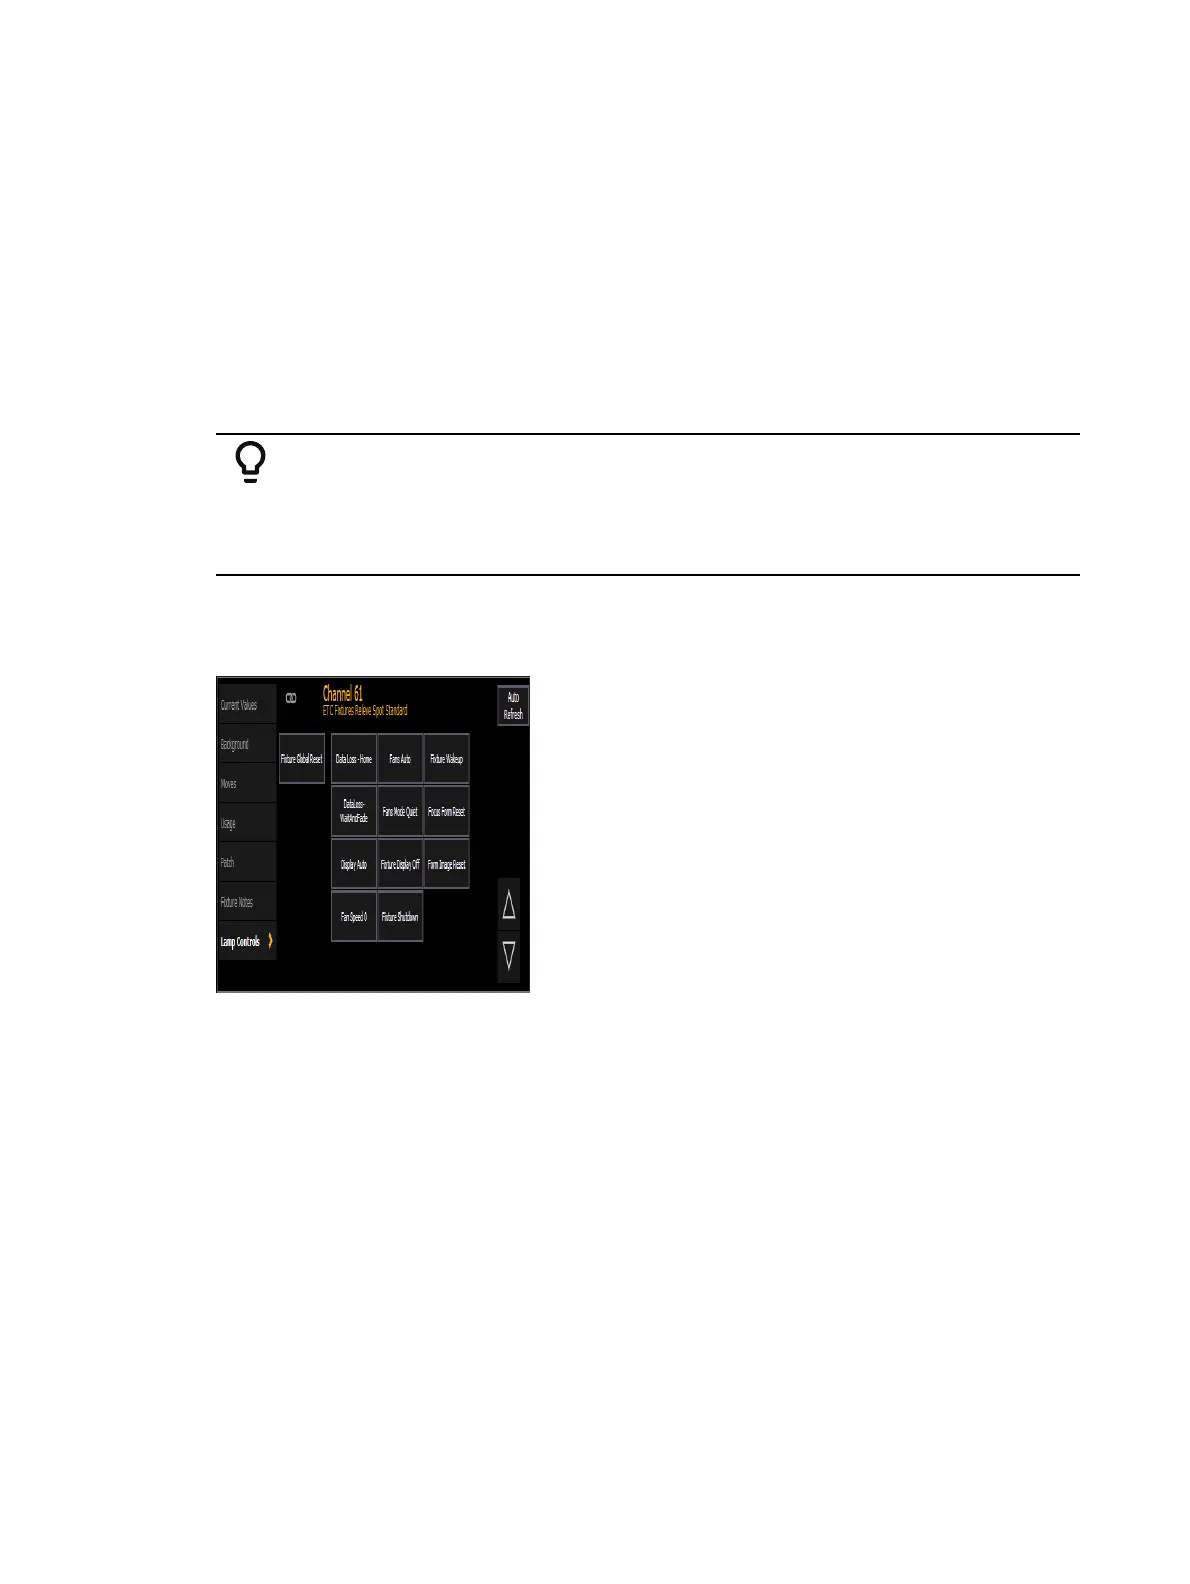
Lamp Controls
Lamp Controls (Tab 31) allow you to execute control functions of selected fixtures such as
calibrate, douse lamp, strike lamp and reset. Each fixture type has its own set of lamp control
options which are available to you when you select the fixture from Live and press the {Lamp
Ctrls} softkey. This information is also available using [About] (see
Using About (on
page419)
).
Example:
[1] [1] [Enter] {Lamp Ctrls}
-or-
[1] [1] [Enter] [About] {Lamp Controls}
If the channel is a conventional (intensity-only) fixture, no control options will be displayed.
When the selected channel is an automated fixture, options specific to the fixture type will
display for use. Available RDM functions will also display here.
Pressing any of these control options will affect the selected channel after a confirmation.
Using [+%] and [-%]
Use [+%] and [-%] keys to incrementally change parameter values.
By default, the [+%] and [-%] keys are assigned a value of 10. This can be changed in Setup.
See
Manual Control (on page214)
for more information.
Channel Intensity
When channels are selected, pressing [+%] increments the intensity level by 10 (or by the
value established in Setup, see
Manual Control (on page214)
. Alternatively, you may press
[-%] to decrement the intensity level by 10. You may use these keys consecutively to “add to”
or “subtract from” the intensity level.