Curves 433
Creating a Curve
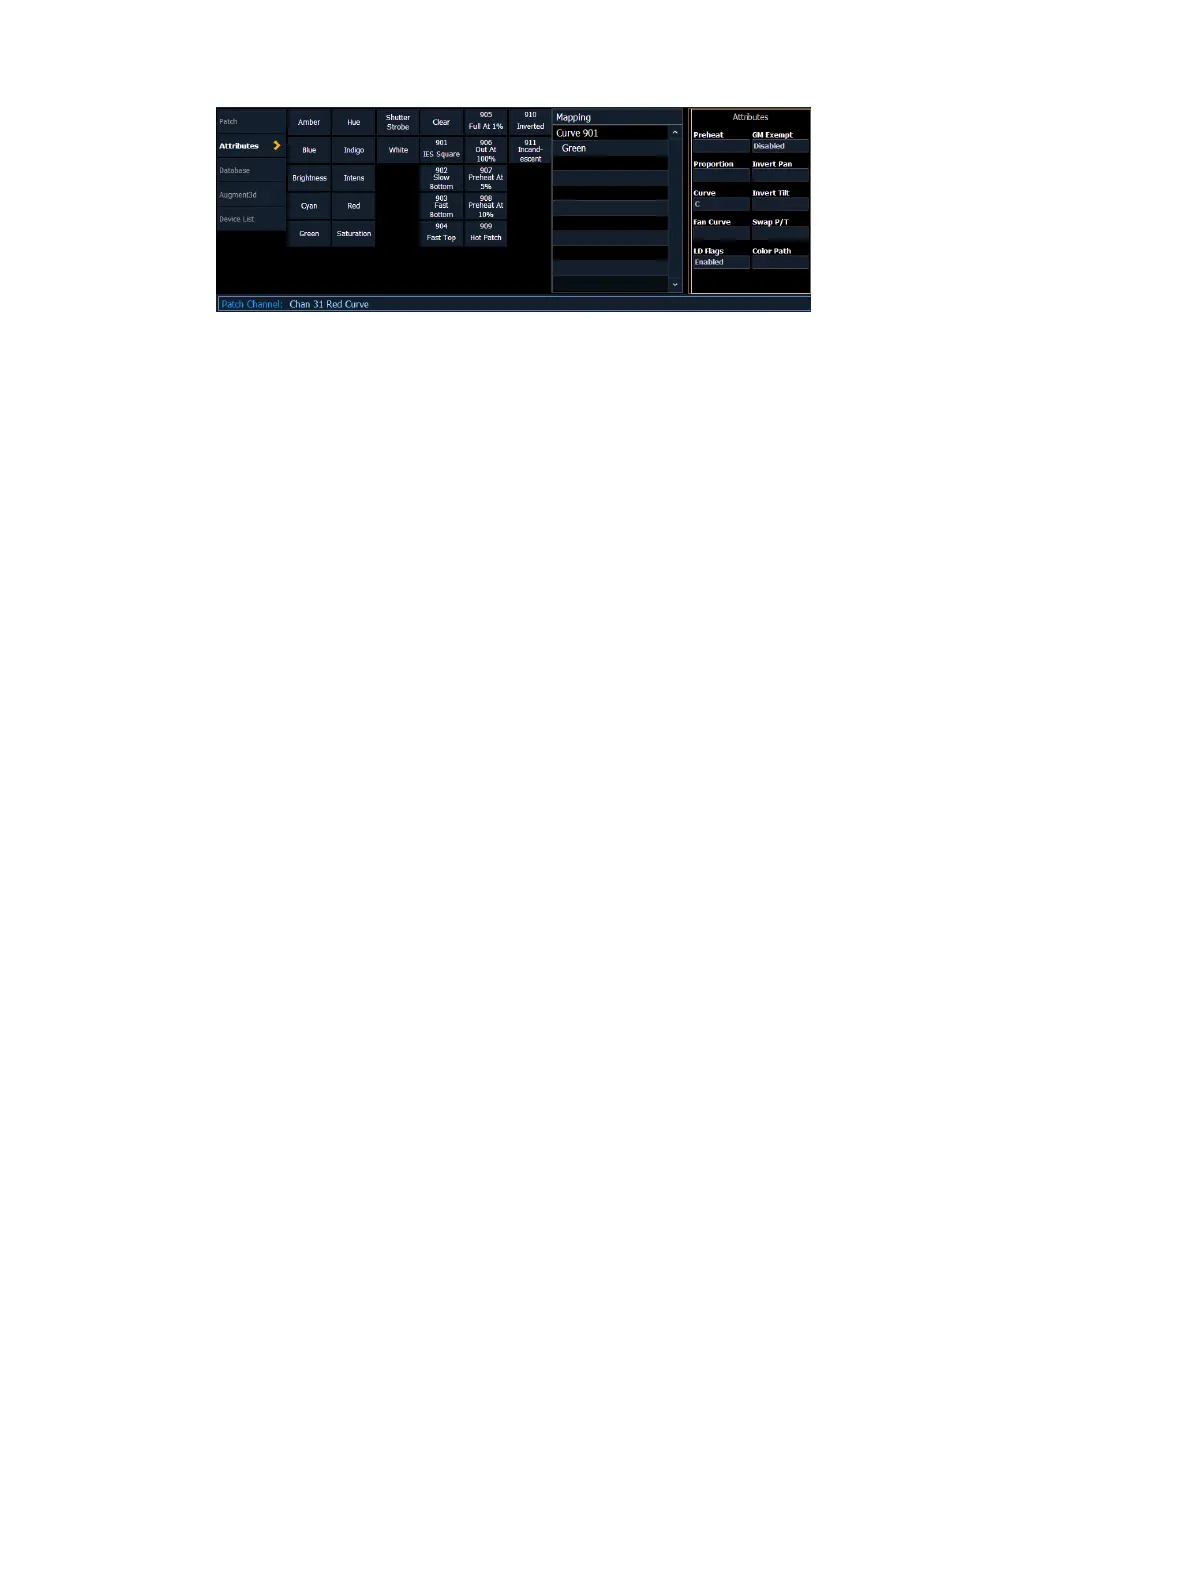
When you have opened the curves display (see
About Curves (on the previous page)
), you can
select a curve or create a new curve by pressing:
{Curve} [x] [Enter]
If the curve is already stored, the contents are displayed in the CIA. If this is a new curve, a
linear curve is displayed.
Editing Curves
Using the Keypad
Once selected and displayed in the CIA, you can edit a curve from the keypad. Points are
established in increments of five. You can add more points from the keypad.
[3] [At] [1] [Enter] - adds control input point “3” and sets its curve level at 10%.
[7] [7] [At] [Full] [Enter] - adds control input point “77” and sets its curve level at full.
You can specify points and adjust their levels in the command line or you may use the keys
below to alter the curve:
[Page u] - selects the next fade completion point.
[Page t] - selects the previous fade completion point.
[Level Wheel] - adjusts the output level of the selected point.
[Page p] - raises the selected point’s output by 1%.
[Page q] - lowers the selected point’s output by 1%.
[Full] - sets the selected point’s output to full.
[Out] - sets the selected point’s output to zero.
[+%] - raises the selected point by the amount for [+%] established in setup.
[-%] - lowers the selected point by the amount for [-%] established in setup.
Using a Touchscreen
Once a curve is displayed in the CIA, you can press {Edit} to edit the curve in the editor display.
In the curve editor you can trace the desired shape of the curve using your finger or a mouse
on the touchscreen. As you progress through drawing the curve, intensity values will be added
for existing points on the curve. If you add points to the curve (from the keypad) those points
will be adjusted as well.
You can also toggle between an “interpolated” or “stepped” curve shape. Eos defaults to
“interpolated”. To switch to “stepped”, press the {Stepped} softkey. Once pressed, this
softkey changes to {Interpolated}, which allows you to switch back.
Below are two examples of the same curve. The first is stepped and the second is interpolated.