508 Eos Apex, Eos Ti, Gio, Gio @5, Ion Xe, Ion Xe 20, and Element 2 User Manual
Note:
Many fixtures have a setting to invert and/or swap pan and/or tilt within the
fixture firmware. Ensure that these are not enabled before testing for inversion as
described below.
Testing for pan / tilt inversion
1. Set the fixture’s pan to 0° and tilt to +90°. Increment the pan in either direction. Does
the virtual fixture rotate in the same direction as the physical fixture?
2. Set the fixture's pan and tilt to 0°. Increment the tilt in either direction. Does the virtual
fixture point in the same direction as the physical fixture?
Correcting pan / tilt inversion
If you find that the pan or tilt value did not move in the correct direction, use the range editing
tools in the
Fixture Editor (on page187)
to invert the DMXrange, or swap the DMX and User
Min/Max at the same time.
Pan Range
If the pan direction is correct, but the virtual fixture pans further in either direction than the
real fixture, the fixture's physical pan range or values may not match its profile.
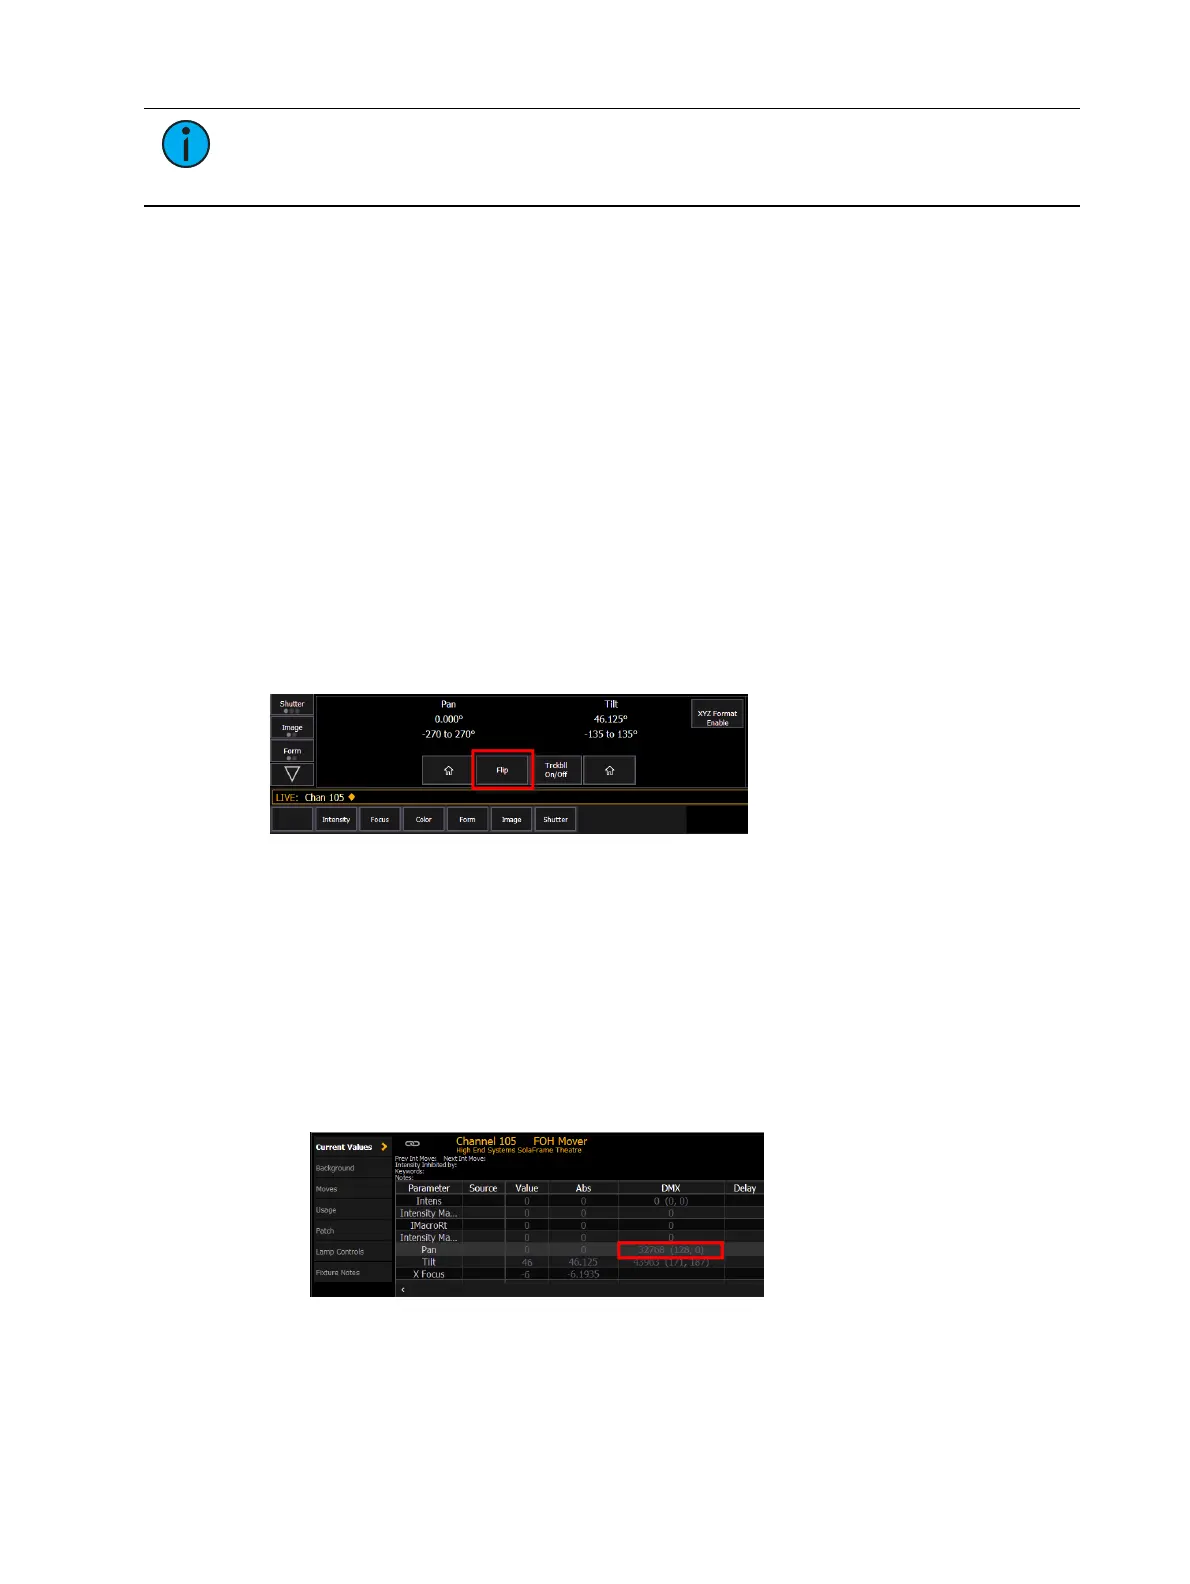
Testing pan range
1. Aim your fixture at a point on your stage. Press the “Flip” button. Does the fixture return
to the same point? If so, pan is mapped correctly. If not, set the fixture's tilt to +90°,or
until the fixture is pointing forwards.
2. Test with pan values of -90°, 0°, and +90°. The fixture should point to the left, straight
forwards, and to the right, respectively. If so, pan is mapped correctly. If not, follow the
steps below to correct the pan range in the Fixture Profile Editor.
Correcting pan range
1. First, find the correct DMXhome value for pan.
a. Set pan to 0° and tilt to +90°.
b. Increase or decrease pan, using the smallest value possible, until the optics are
pointed away from the UI of the fixture.
c.
Using About (on page419)
, find the raw DMXvalues for pan (including course and
fine), and note them.
d. Set this new raw DMX level as your pan DMXhome value in the
Fixture Editor (on
page187)
.