9-24
The display will show: The first character will be flashing, and you can now enter a
description.
When finished, press the key, ensuring that the cursor is in the vertical position as described in Typing Text.
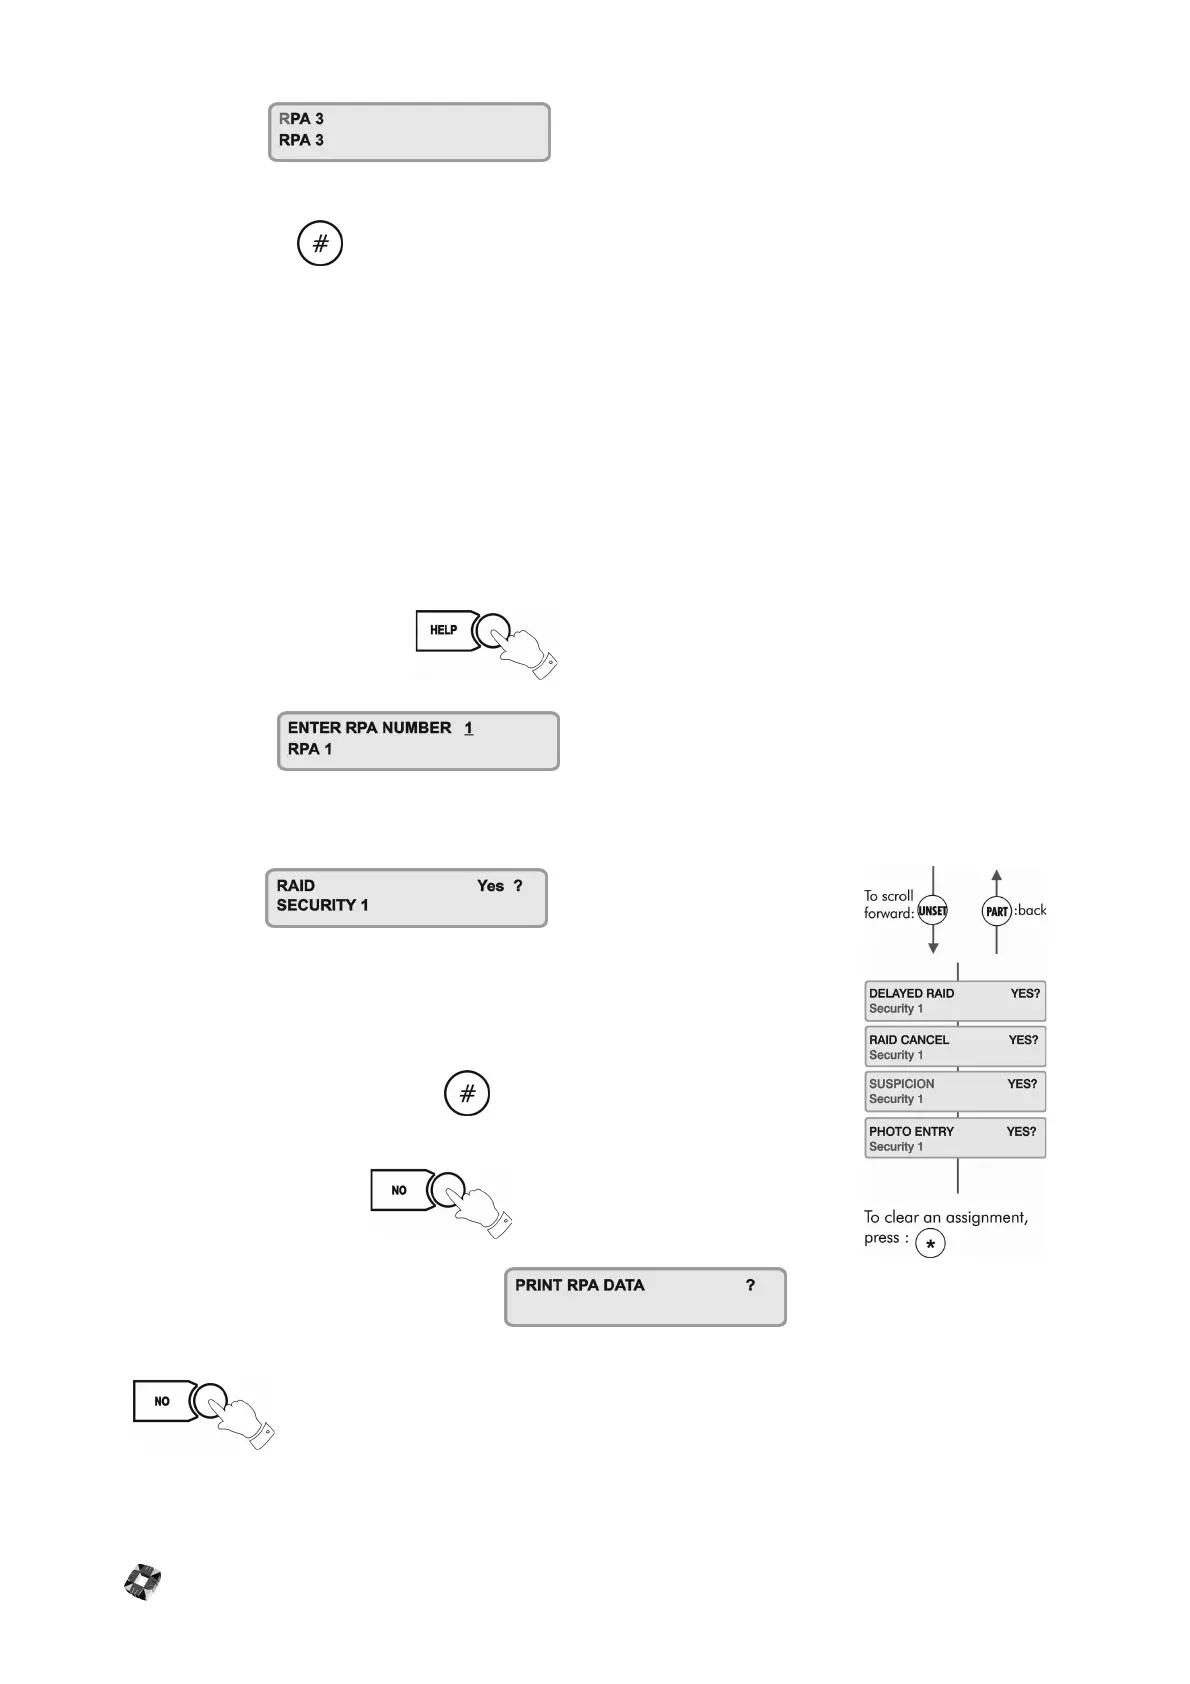
Setting the RPA Options
The RPA unit has no options assigned by default, and so must be set up for use with the Radio HUA system. The unit
can be assigned five different functions:
● RAID
● DELAYED RAID
● RAID CANCEL
● SUSPICION
● PHOTO ENTRY
Each function will be explained by the installer and is activated by pressing a combination of the three buttons on the
unit. The button combinations are also set up by the installer and will be explained by him.
To assign options to the RPA Unit, press to enter the Options menu.
The display will show:
Enter the number of the RPA unit to which you want to assign options e.g. RPA 3, which now has the description
‘Security 1’.
The display will show
Assign the RAID option to this unit by pressing YES.
Use the NO key to deny the option and the UNSET key to move to the next option.
When finished assigning options, press the key to return you to the main RPA
Number prompt.
To return to the main menu, press
When you press NO, again, you will be prompted If
you have a printer connected to the 3GS controller you can now print off the RPA options you have just configured.
Press to exit the menu and return to the normal display.