DMP 128 FlexPlus • Web Pages 169
6
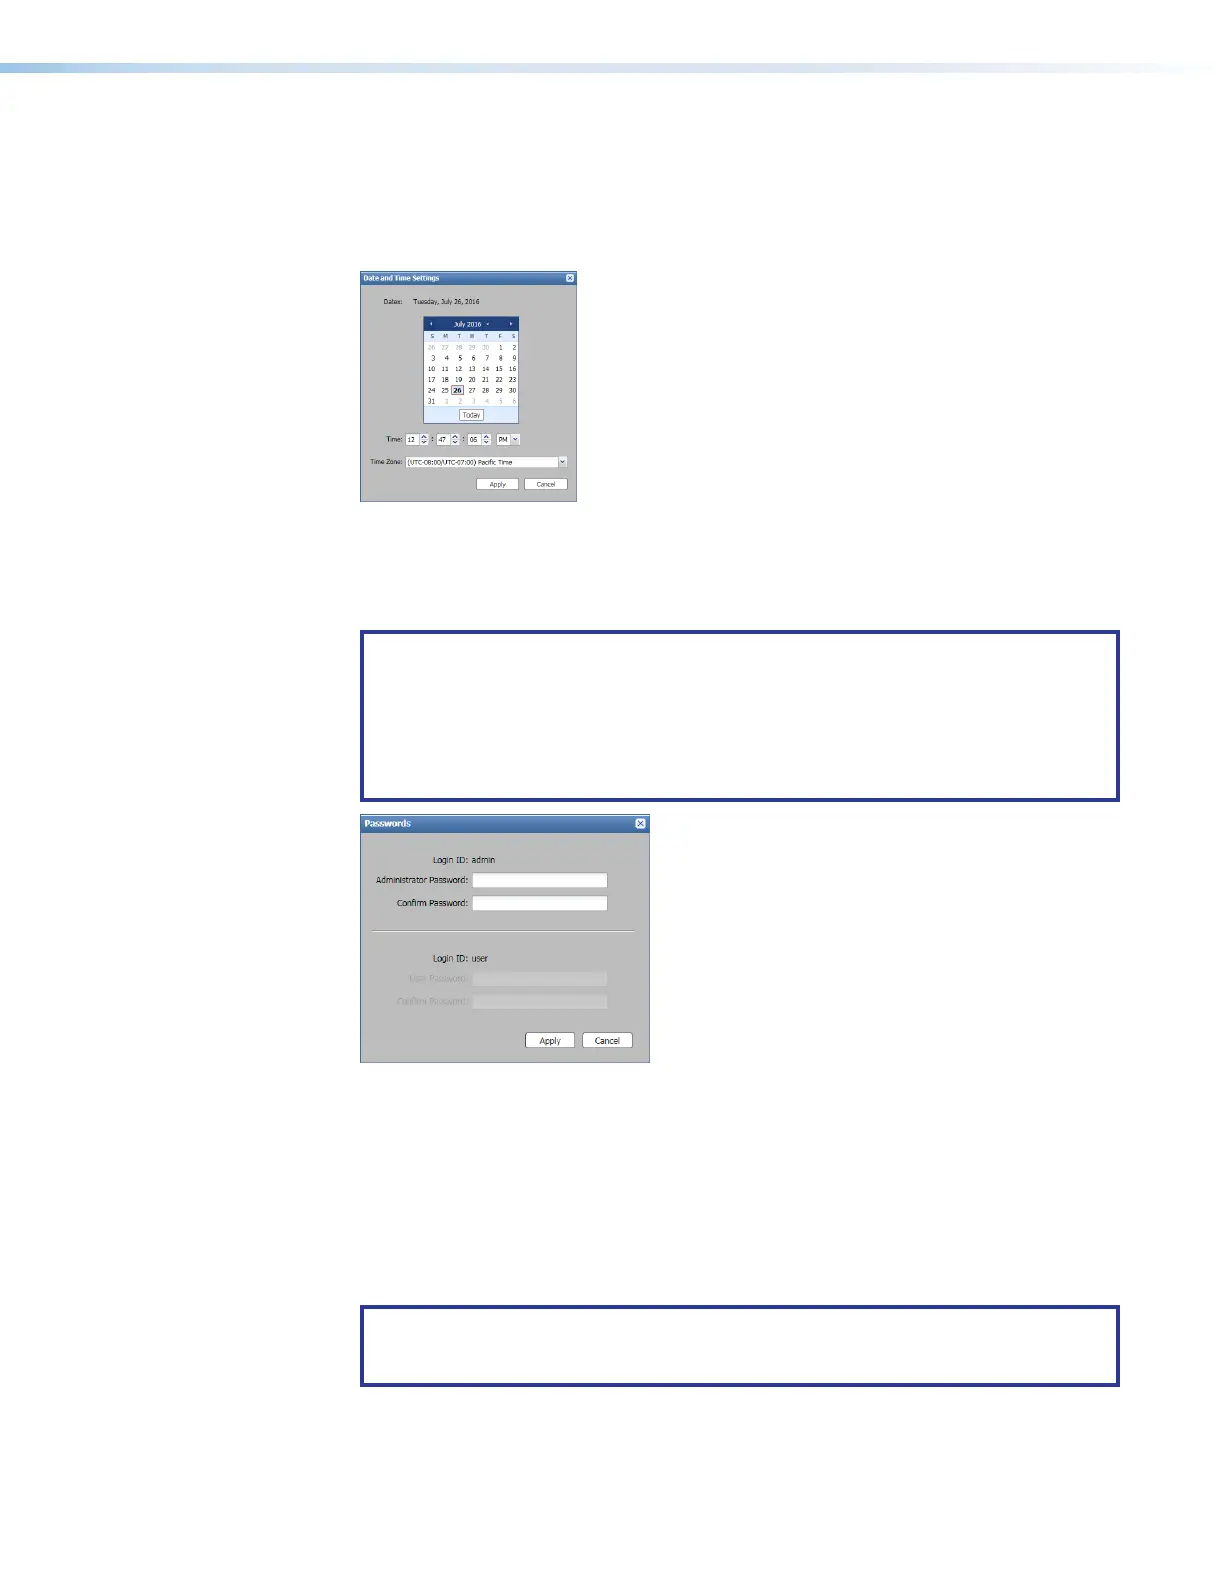
Date/Time Settings Panel — Displays date, time, and time zone information for the
device. Click Sync to PC to sync date and time information on the device with the date
and time on the host computer. Alternatively, click Set Manually to open the Date
and Time Settings
dialog box which allows the user to set date, time, and time zone
information.
Figure 195. Date and Time Settings Dialog Box
7
Passwords Panel — Click the Set button in the Passwords panel to open the
Passwords dialog box which allows users to set admin and user passwords. Enter and
confirm a password, then click Apply to apply the password.
NOTES:
• An administrator password must be applied before a user password can be
applied.
• The factory configured password for this device has been set to the device
serial number. Passwords are case sensitive. Performing a Reset to Factory
Defaults reset sets the password to extron.
Figure 196. Passwords Dialog Box
DMP 128 FlexPlus VoIP Web Page
Accessing the Embedded VoIP Web Page
1. From a web browser, enter the device IP address into the address field followed by
/www/voip.html.
NOTE: If the local system administrators have not changed the IP address, and
the device has not been assigned an IP address via DHCP, the default address is
192.168.254.254.
2. Press <Enter>.
3. If a username and password have been set to access the basic DMP 128 FlexPlus web
page, the same username and password are required to access the VoIP web page.
figure 185. Date and Time Settings Dialog Box
figure 186. Passwords Dialog Box