FARO Edge
September 2012
110
Chapter 7: Software
• Place the ball probe on the part and digitize points by pressing the GREEN
button. You must digitize at least three points for a circle. Hold the RED
button to remove any unwanted readings.
• Pull away from the hole, or post, and press the RED button to define probe
compensation and complete the measurement.
• Look at the circle results. Press the GREEN button to accept, or the RED
button to reject and remeasure.
The coordinate system solves and then you will see the live XYZ readout to
check the origin and the direction of each axis.
N
OTE: The values are shown from the probe center and are not compensated
for the probe radius.
4 Press the GREEN button to accept the coordinate system, or press the RED
button to reject and remeasure all the features. If you reject the part setup, the
three features remain in the file. Delete any unwanted features using the
REVIEW FEATURES command. See “Review Features” on page 143.
See measuring “Plane” on page 138, and “Circle” on page 134.
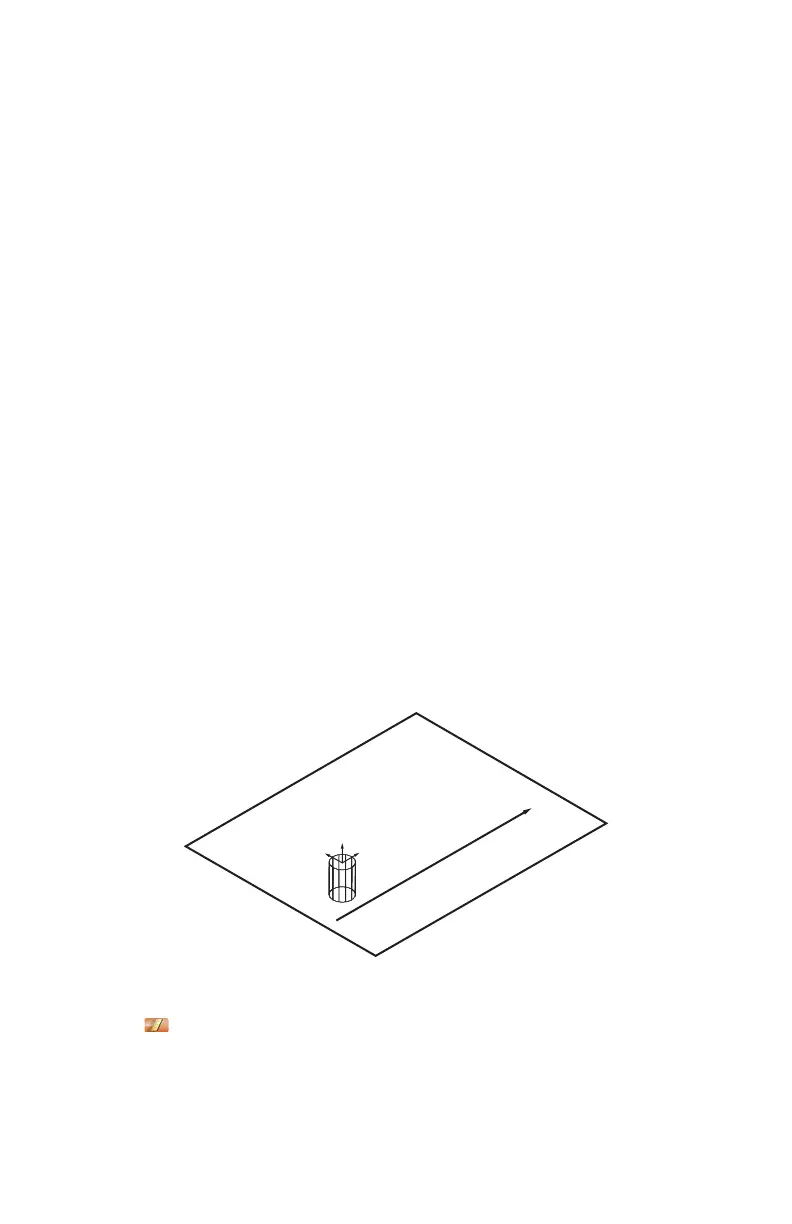
Plane Line Cylinder
From the MAIN menu, touch CONSTRUCT > PART SETUP > PLANE LINE
CYLINDER. Use this command to create a coordinate system on your part.
The plane defines the XY plane, the line defines the X-Axis, and the intersection
of the cylinder and the plane defines the origin of the coordinate system.
1 Choose an existing plane in the P
LANE drop-down list or touch the MEASURE
NOW icon to measure the plane:
• Place the ball probe on the part and digitize points by pressing the GREEN
button. You must digitize at least three points for a plane. Hold the RED
button to remove any unwanted points.
Figure 7-11 Plane Cylinder Line part setup
X
Z
Y
08M52E00_FaroArm_Edge.book Page 110 Thursday, October 4, 2012 9:31 AM