User Guide
120
3.
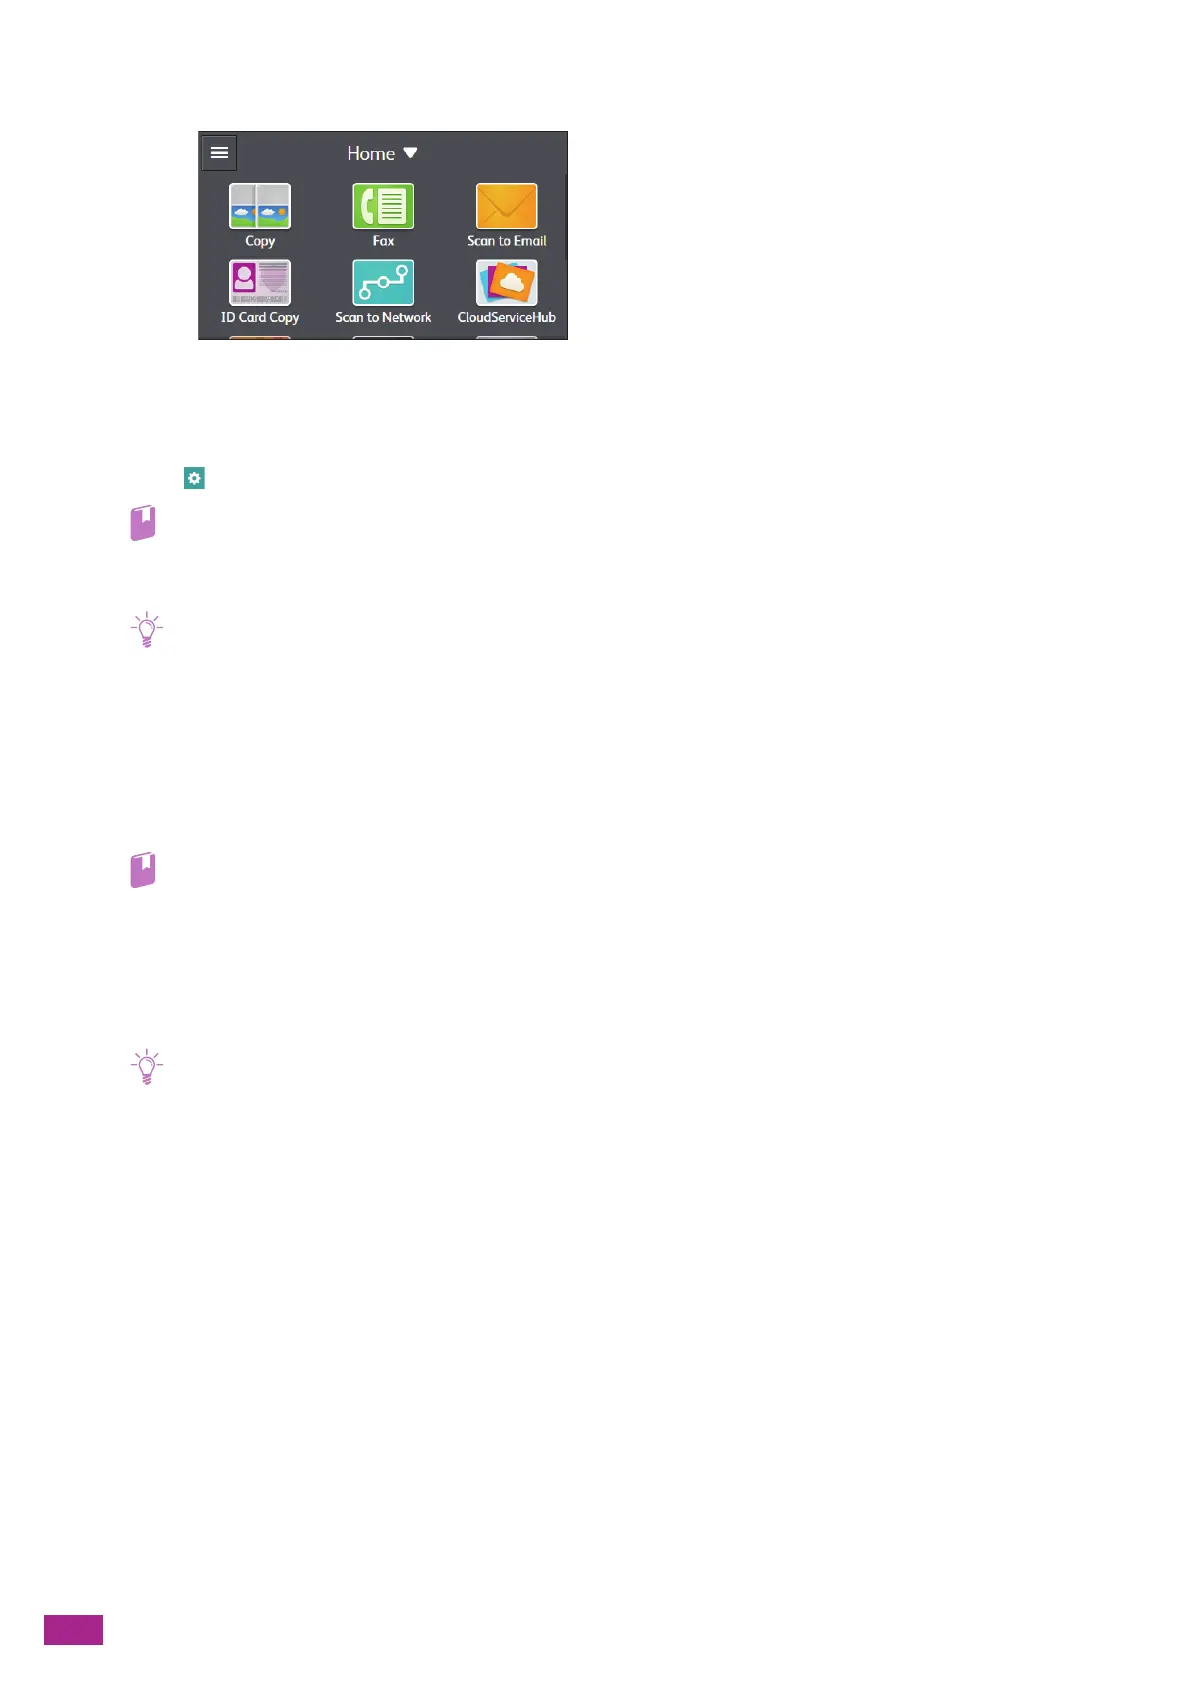
Tap [Scan to Network].
4.
Tap the desired destination.
5.
Tap the button under [File Format], and then select the file format of the scanned data to be saved.
6.
Tap , and then configure the scan settings as needed.
• For details about the settings, see "Configuring the Detailed Settings (P.125)."
7.
Tap [Start].
• If the message about the next document is displayed, follow the on-screen instructions to finish scanning.
Storing to a Shared Folder Using SMB
The work flow from preparing to saving is as follows.
Setting Up a User Account.
To store scanned data to a Server Message Block (SMB) shared folder, it is necessary to create a shared folder on
a computer. To create a shared folder, a user account with a valid password is required.
• For details about a user account and password, see the help of your computer.
Creating a Shared Folder.
Create a shared folder to store the scanned data from the machine.
For Windows
®
:
The following procedure uses Windows
®
7 and Windows
®
10 as examples.
• You can also use the Address Book Editor to create a shared folder. For details, see the Address Book Editor help.
1.
Create a folder in the desired directory on your computer.
2.
Right-click the folder, and then click [Properties].

 Loading...