Scanning 227
6 Click Permissions to create a write permission for this folder.
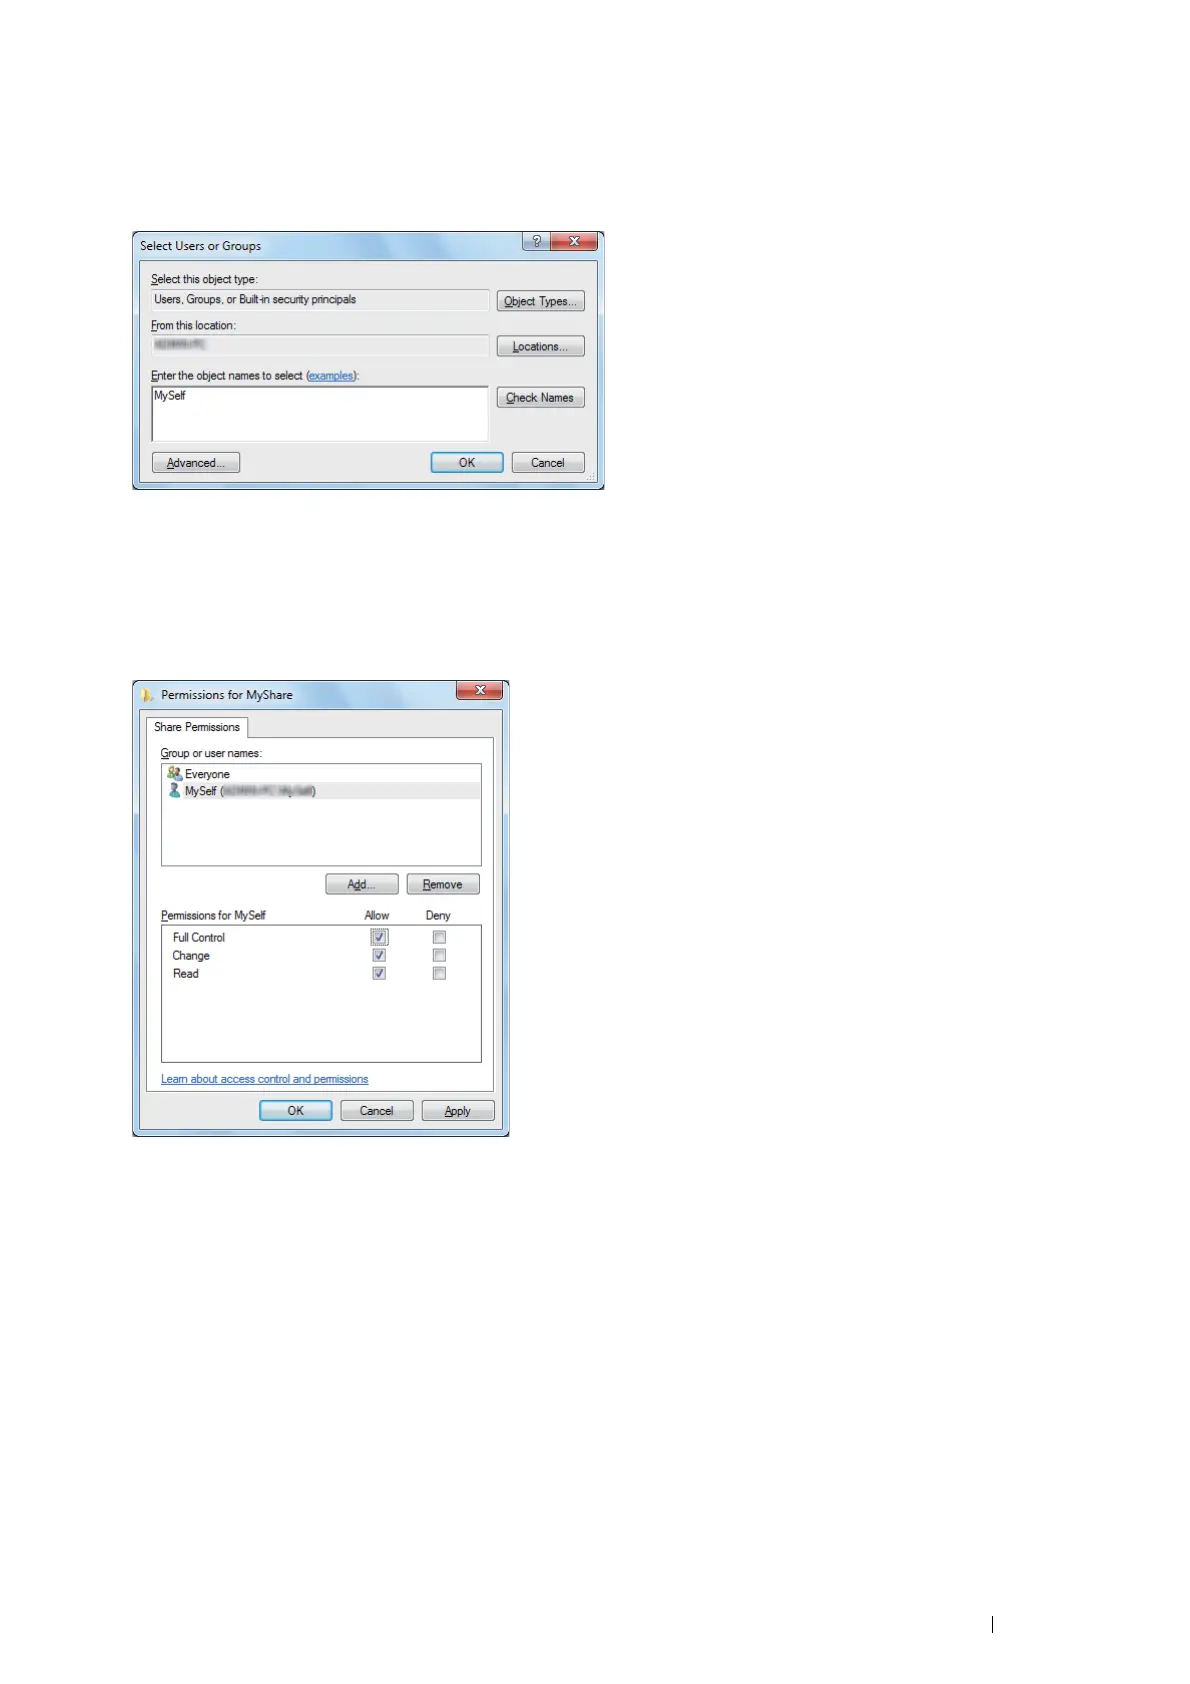
7 Click Add.
8 Search user login name by clicking Advanced, or enter the user login name in the Enter the object names to
select box and click Check Names to confirm (Example of user login name
: MySelf).
9 Click OK.
10 Click the user login name that you have just entered. Select the Full Control check box. This will grant you
permission to send the document into this folder.
NOTE:
• Do not use Everyone as the user login name.
11 Click OK.
12 Click OK to exit the Advanced Sharing dialog box.
13 Click Close.
NOTE:
• To add sub-folders, create new folders in the shared folder you have created.
Example: Folder name: MyShare, Second-level folder name: MyPic, Third-level folder name: John
You should now see MyShare\MyPic\John in your directory.
After you created a folder, go to "Setting a Destination Using an Address Book" on page 229.
 Loading...


