238 Scanning
Sending an E-Mail With the Scanned Image
To send an e-mail attached with the scanned image from your printer, follow the steps below:
• Setup the E-mail address book through the CentreWare Internet Services. See "Registering a New E-Mail
Address" on page 238 for more details.
E-Mail Settings
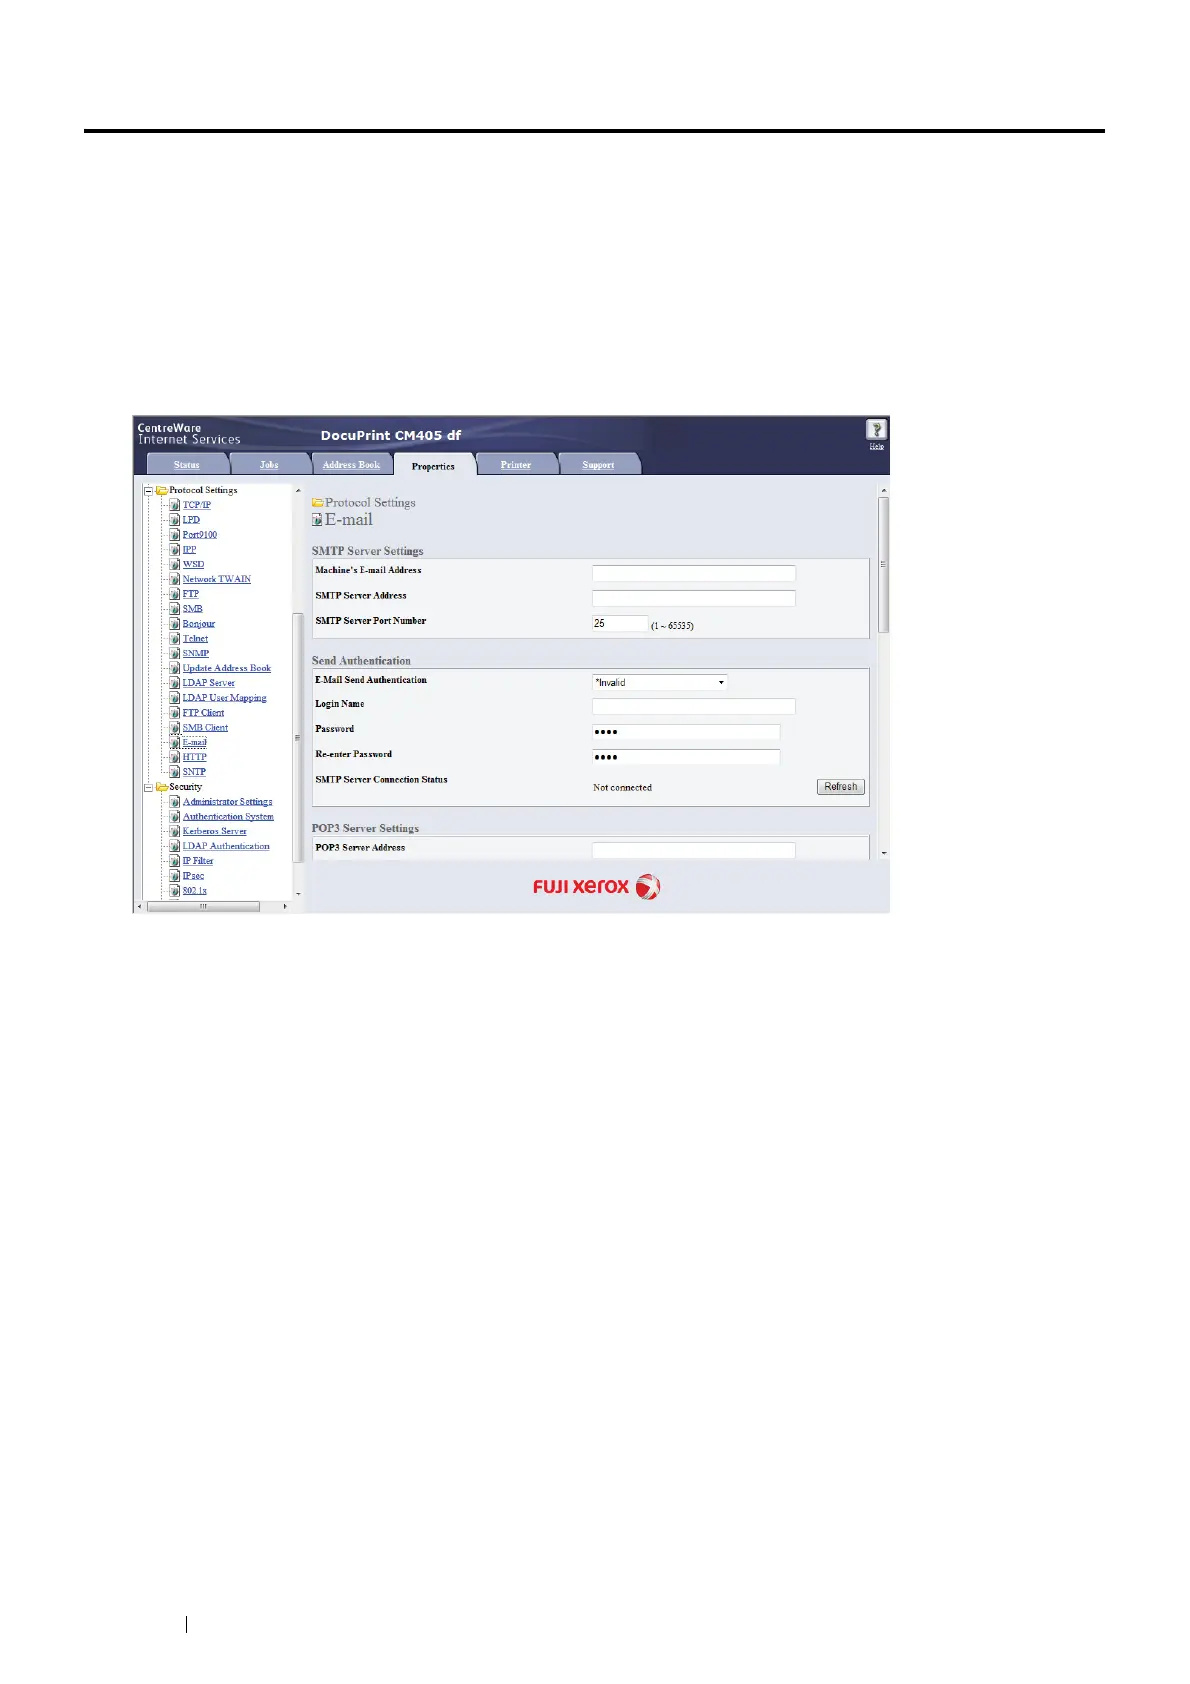
1 From the CentreWare Internet Services, click Properties.
2 Click E-mail.
3 Specify the settings for E-mail as follows:
SMTP Server Address: Enter the IP address of the e-mail server.
E-Mail Send Authentication: Specify Invalid to enable the e-mail server.
NOTE:
• If an error message including 016-506 or 016-764 is displayed, contact your server administrator for the settings for
E-Mail Send Authentication.
4 Click the Apply button.
Registering a New E-Mail Address
The following procedure uses Windows 7 as an example.
1 Launch your web browser.
2 Enter the IP address of the printer in the address bar, and then press the Enter key.
The printer's web page appears.
NOTE:
• For details on how to check the IP address of the printer, see "Verifying the IP Settings" on page 97.

 Loading...


