GE MEDICAL SYSTEMS PROPRIETARY TO GE
D
IRECTION 2294854-100, REVISION 3 LOGIQ™ 9 PROPRIETARY MANUAL
8-116 Section 8-29 - Alpha-Numeric (A/N) Keyboard Replacement Procedure
8-29-4 A/N Keyboard Removal (cont’d)
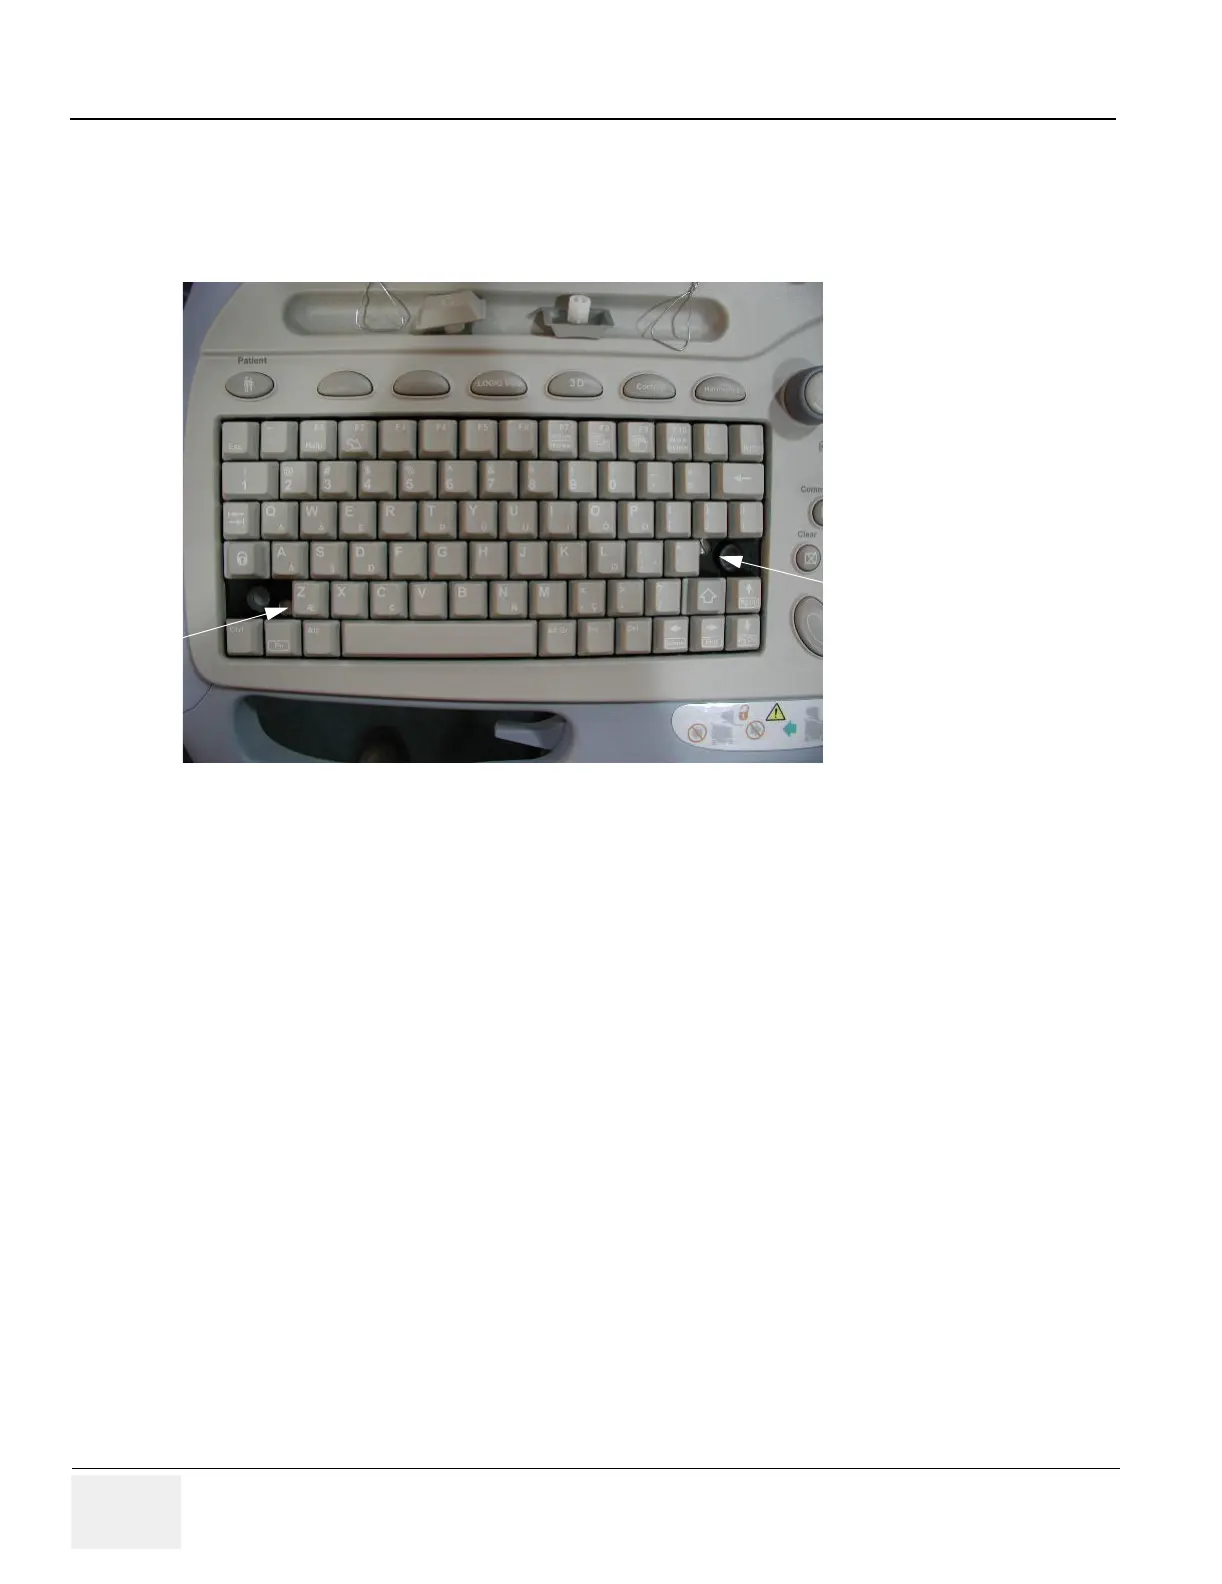
5.) With the “return” and left “shift” keys are removed, you can see the screws that secure the keyboard
to the plastic bezel. Loosen these screws so that they pop up but do not remove them as they are
captive screws that remain with the AN keyboard.
6.) Using the key removal tool, lift up on a key to help pull the AN keyboard out of the plastic bezel.
Choose a key to the far right and lift the right side of the keyboard out first.
7.) Lift out the bottom edge of the keyboard bar to gain access to the interconnect cables. Detach the
2 cables from the keyboard and lift the keyboard out.
Figure 8-126 Keyboard Screw Locations
Screw
Screw