19
General operating notices
6475
Ultra Duo Plus 45 x x x x x x x
6478
Ultra Duo Plus 60 x x x x x x x
6480
Ultra Duo Plus 80 x x x x x x x
Charger cable, No. 3022 is additionally needed for the transmitter
and charger cable, No. 3021 is additionally needed for the receiver.
Other charger units and details about the listed chargers can be
found in the Graupner RC main catalog or in Internet at
www.graupner.de.
First connect the charger cable’s banana
plugs to the charger and only then con-
nect the cable’s other end into the charg-
ing jack on the transmitter. Never allow the bare
ends of the banana plugs to come into contact
with one another when the other end of the cable
is plugged into the transmitter.
Charging current may not exceed 1.5 A as other-
wise the diode, and perhaps other components,
could be damaged. If necessary, limit the current
at the charger.
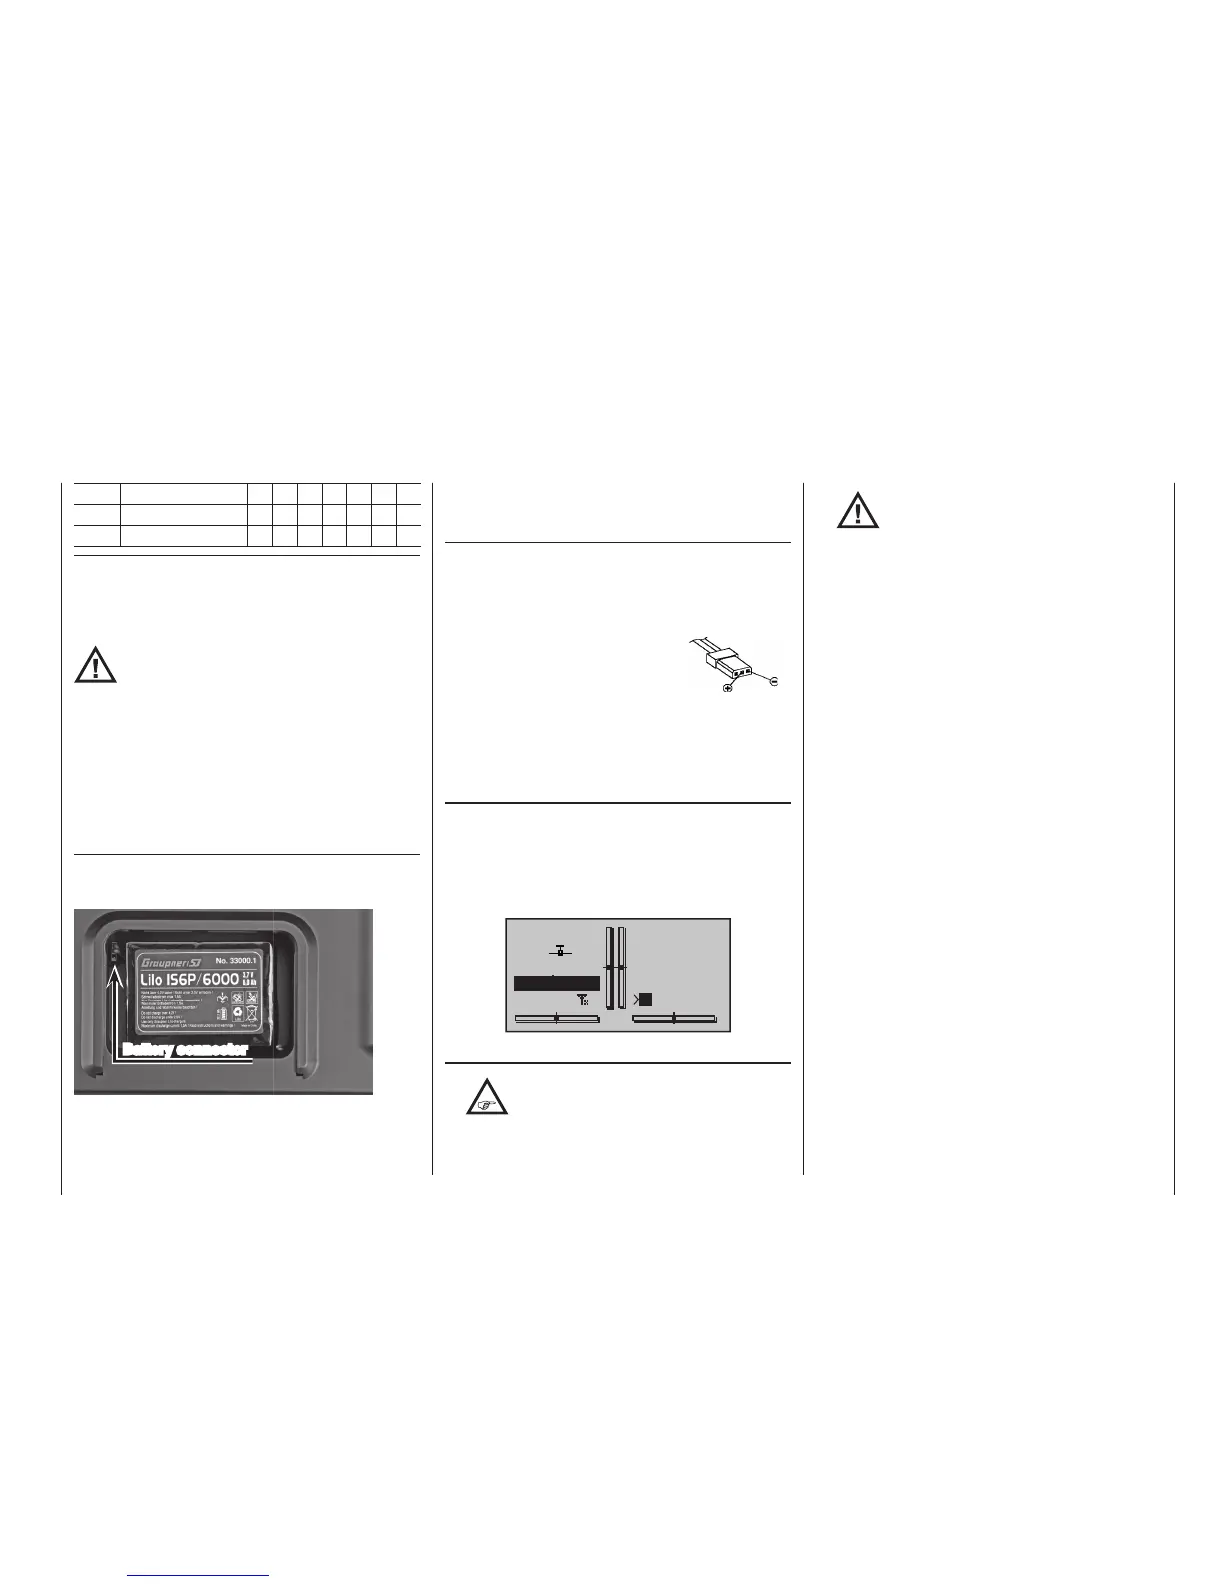
Removing the transmitter’s battery
To remove the transmitter battery locate the cover
of the battery compartment in the back of the trans-
mitter and slide it off in the direction of the arrow:
Battery connector
Lift one side of the battery and withdraw it from the
hook-and-loop tape without using force. Then discon-
nect the transmitter battery’s connector by carefully
pulling on the supply line cable.
(The photo shows the battery of the mc-20 HoTT
transmitter.)
Inserting the transmitter’s battery
The battery connector is protected against a reverse
polarity connection by two slanted edges, see illustra-
tion. When correctly plugged in, the unconnected pin
of the connector is at the bottom, as shown in the
illustration. The plus pole (red lead)
is in the middle and the minus pole
(brown or black lead) is toward the
antenna side.
Never try to force the connector onto
its circuit-board socket.
Place the battery into its compartment and close the
transmitter’s cover.
Battery operation timer at the bottom left of the
screen
This timer shows the transmitter’s cumulative operating
time since the transmitter’s battery was last charged.
This timer is automatically reset to “0:00” when the
transmitter is switched on and its battery voltage is
signifi cantly higher than when the transmitter was last
used, e. g. because the battery was charged.
GRAUBELE
#01
0:00h
Stp
Flt
«normal »
K78
0:00
0:00
0.0V
4.1V
Mx
HoTT
General charging notices
•
The charging instructions for the charger as
well as for the battery from its manufacturer
to be observed.
Transmitter
connector polarity
• Pay attention to the maximum permissible
charging current specifi ed by the battery’s
manufacturer. In order to prevent damage
to the transmitter, charging current should never
exceed 1 A. If necessary, limit the current at the
charger.
• If the transmitter battery is nevertheless to be
charged at a current rate in excess of 1 A, then it is
imperative that this is done outside the transmitter.
Otherwise there is a risk of damage to the trans-
mitter’s board due to overloading its printed circuit
paths and/or overheating of the battery.
• If an automatic charger is to be used for charging,
perform several test charging procedures to ensure
the fl awless functionality of its automatic shut-off.
This applies particularly if you want to charge the
standard installed Lithium battery with an automatic
charger unit. You may need to alter the charger’s
cut-off behaviour if the charger you are using offers
this option.
• Do not execute a battery discharge or battery main-
tenance program through the charger jack. The
charger jack is not suitable for this purpose.
• Always connect the charger cable to the charger
fi rst and then to the receiver or transmitter battery.
This avoids the possibility of shorting the bare ba-
nana plug ends together.
• If the battery heats up signifi cantly, check the bat-
tery’s condition, replace the battery or reduce the
charging current.
• Never leave a charging battery unattended.
• Follow the safety notices and handling instruc-
tions provided on page 8.

 Loading...


