282
Programming examples - Winged models
Initial steps for the programming of a new model
Example: Winged model with two ailerons and – initially – without motor propulsion
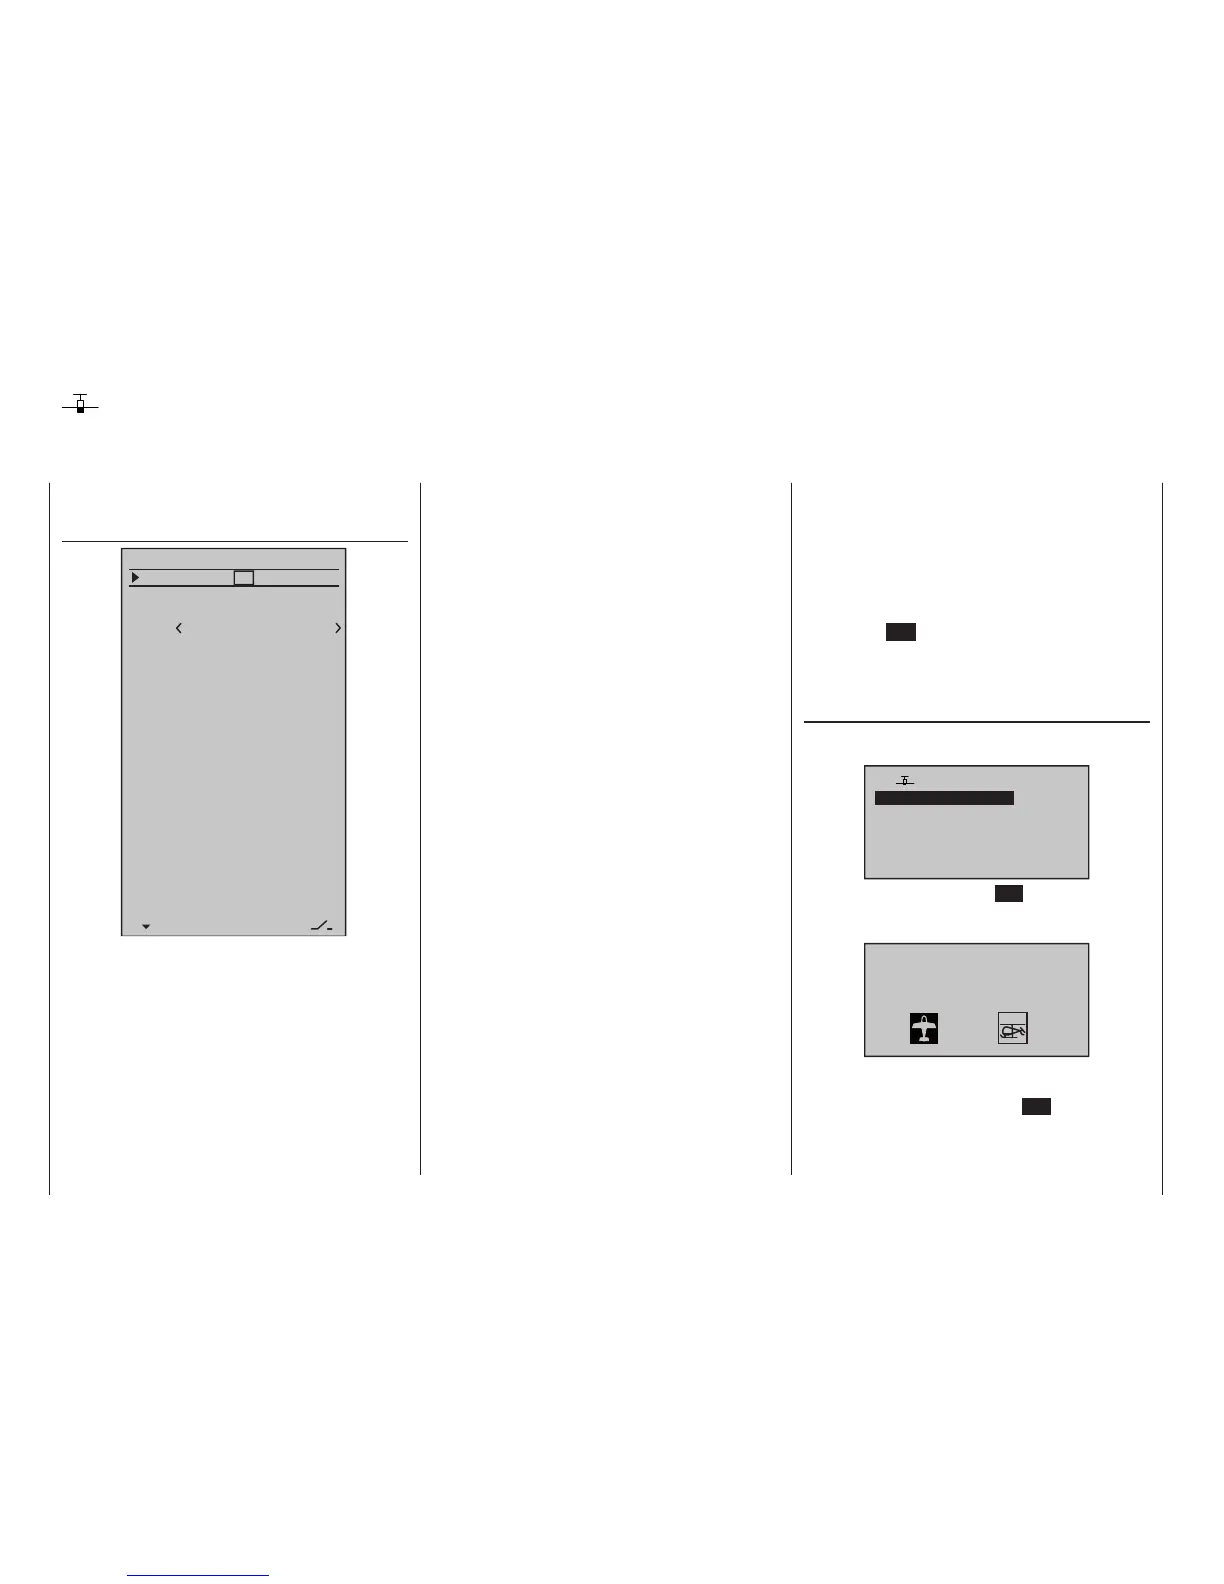
In the context of initial commissioning a new trans-
mitter, in the selection menu …
»Basic settings« (beginning on page 266)
Battery type
Battery warning
Touch Sense
Top LCD Contrast
Lith.
Display light
2
3.60V
0
unlim.
Basic settings
Vario Vol
Beeps Vol
Power-on beep
yes
Power on warn.
unlim
BT Headset
OFF
0/0
ID PAIR
OFF
BT Volume
8
Voice Vol –––5
–––7
–––7
Own
Stick mode 1
Modulation HoTT
DSC Output
PPM10
Pitch min back
Bottom LCD Contr.
0
SEL
SEL
fr
fr
fr
DATA sel Telemetry
… some basic information should be entered. This
serves various purposes:
The first three lines of this menu can be used to indi-
vidually regulate, in increments between 0 and 10, the
volume of voice and signal output emitted via the built-
in loudspeakers or the transmitter’s headset connector.
The fourth line of this menu is used to record the
transmitter owner’s name and the lines “Stick mode”,
“Modulation”, “DSC Output” and “Pitch min” are for
the storage of pre-set values used as defaults for new
models.
These are then adopted on the activation of a new
model memory in its basic settings, but can be
changed there at any time.
The “LCD Contrast” or “Top / Bottom LCD Con-
trast” lines can be used to adapt the contrast of re-
spective displays to ambient light conditions as neces-
sary by changing the standard pre-set “0” in a range of
±20.
The setting in the “Display light” line determines how
long display lighting remains illuminated after the trans-
mitter is switched on or after the last activation of a
transmitter operating element.
The selection of “yes/no” in the “Power-on beep”
line determines whether the “recognition melody” is to
sound when the transmitter is switched off or on again.
The “Battery type” line indicates to the transmitter
whether its power comes from a four-cell NiMH battery
or a single-cell Lith battery and the “Battery warning”
line can be used to individually set the threshold for
the battery warning. Make sure that you do not enter a
value which is too low, so that you still have sufficient
time to safely land your model in the event of a battery
warning.
If necessary, the “Power on warning” line can be
used to determine how long the transmitter should wait
after the last activation of an operating element before
issuing a visual and acoustic stick warning, followed
about three minutes later by the transmitter switching
itself off.
In the “DATA SEL.” line you can specify which abuts
the two possible data logs to the located under the left
front cover Data socket. By default, it is the data out-
put on the Smart-Box, No. 33700, suitable “telemetry”
protocol.
On the other hand, the setting made in the “Touch
Sense” line is merely a personal comfort setting. The
lower this number is, the more sensitive the four-way
button will be to taps and vice versa.
In contrast, the “BT Headset” menu point, and the lines
which follow it, are only relevant if you have installed
the optional Bluetooth module, No. 33002.5, in your
transmitter, and have initialised it as described on page
39.
For more information on this please refer to the instruc-
tions supplied in the set.
This menu can be exited after completing “general set-
tings” with a return to the multi-function menu by way
of the centre ESC key of the left four-way button.
To program a new model, now use the selection keys
of the left or right four-way button to switch to the
menu …
“Model select“ (page 71)
…, and use the selection keys of the left or right four-
way button to select a free model memory location:
01
06
05
04
03
M E 12
free
free
free
free
02
free
Right after a tap on the centre SET key of the right
four-way button to confirm this selection, the type of
model to be programmed will be requested:
Select model type
Since the objective is to work with a winged model in
this section, the symbol for a winged model is to be
confirmed with a tap on the centre SET key of the right
four-way button. The display switches back to the base
screen.

 Loading...


