216
Program description - Swashplate mixer and Fail-safe
This option as standard on both transmit-
ter types.
Note:
If “1 servo” is selected on the “Swashplate”
line of the »Helicopter type«“ menu, this
option is not shown on the multi-function
menu.
Use the selection keys of the left or right four-way but-
ton to scroll to the »Swashplate mixer« menu option
in the Multi-function menu:
Helicopter mixer
Free mixers
MIX active/phase
MIX-only channel
Dual mixer
Swaschplate mixer
Open this menu option with a tap on the centre SET
key of the right four-way button:
Swashplate mixer
Pitch
Roll
Nick
+61%
+61%
+61%
SEL
The number of servos installed in your helicopter for
pitch control was established in the “Swashplate” line
of the »Helicopter type« menu, see page 102. This
information is used to automatically couple together the
functions for roll, pitch-axis and collective pitch, so that
you do not need to define any other mixers yourself.
For helicopter models with only a single collective pitch
servo, this »Swashplate mixer« menu option is of
course superfluous because the software controls a
total of three swashplate servos for pitch, nick and roll
independently of one another, i. e. without a mixer. In
Swashplate mixer
Collective pitch, roll, pitch-axis mixer
this scenario, this menu option is therefore no longer
available to you from the multi-function menu.
With all other swashplate linkages employing 2 … 4
pitch servos, mixer ratios and mixer directions are set
up by default as shown above. The default is +61 % in
each case but the value can be varied from -100 % to
+100 % if required by briefly tapping the centre SET
key of the right four-way button and its selection keys.
Simultaneously tapping both or selection keys
on the right four-way button (CLEAR) will reset the
mixer ration in inverse video again to the +61 % default
value.
If the swashplate control system (collective pitch, roll
and pitch-axis) does not respond to the sticks properly,
you should alter the mixer directions (“+” or “-”) before
trying to correct the directions ofservo rotation.
Note:
Ensure that changed mixer values do not
result in the servos mechanically striking their
end-stops.
This option is available on both transmit-
ter types.
Use the selection keys of the left or right
four-way button to scroll to the »Fail-safe
adjust« menu option in the Multi-function menu:
Teacher / pupil
Tx. output swap
Telemetry
Fail-safe adjust
Profi trim
Trim memory
Open this menu option with a tap on the centre SET
key of the right four-way button:
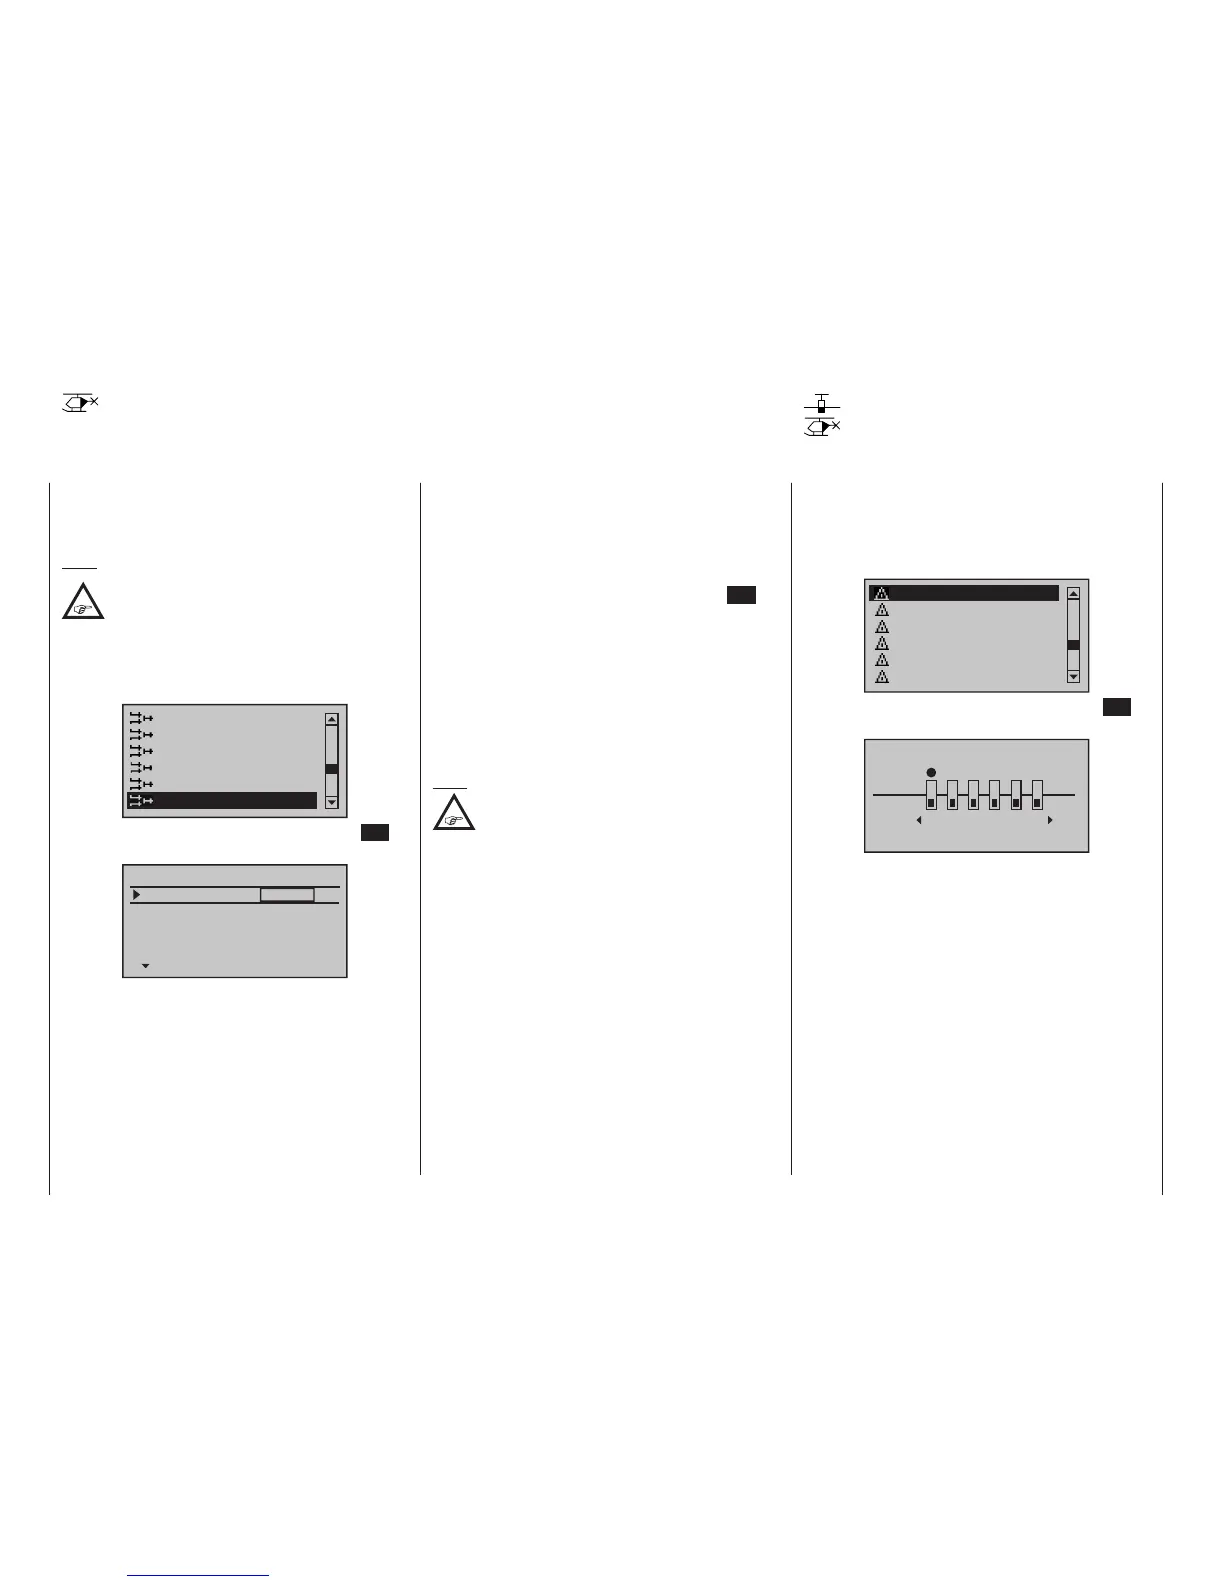
Fail-safe adjust
Pos
hold
1 2 3
4
5
6
DELAY : 0.25s STO
The higher level of operating safety exhibited by the
HoTT system when compared to traditional PPM
technology results from the fact that the microproces-
sor built into the HoTT receiver not only exclusively
processes the signals of “its” transmitter, but can also
clean up “dirty” control signals that it receives. Only
when these signals become too error-prone or garbled
due to outside interference does the processor auto-
matically replace the disrupted signals with the last re-
ceived correct signal, temporarily stored in the receiver.
This feature is configured by the settings as described
below. This feature also suppresses brief interference
caused by e. g. local drops in field strength, which oth-
erwise result in the familiar “glitches”. In this case, the
red LED lights up on the receiver.
If you have not already programmed Fail-Safe settings
in the currently active model memory, the following
message will appear in the base display for a few sec-
Fail-safe
Fault condition setpoints
mc
16 20
mc
16 20

 Loading...


