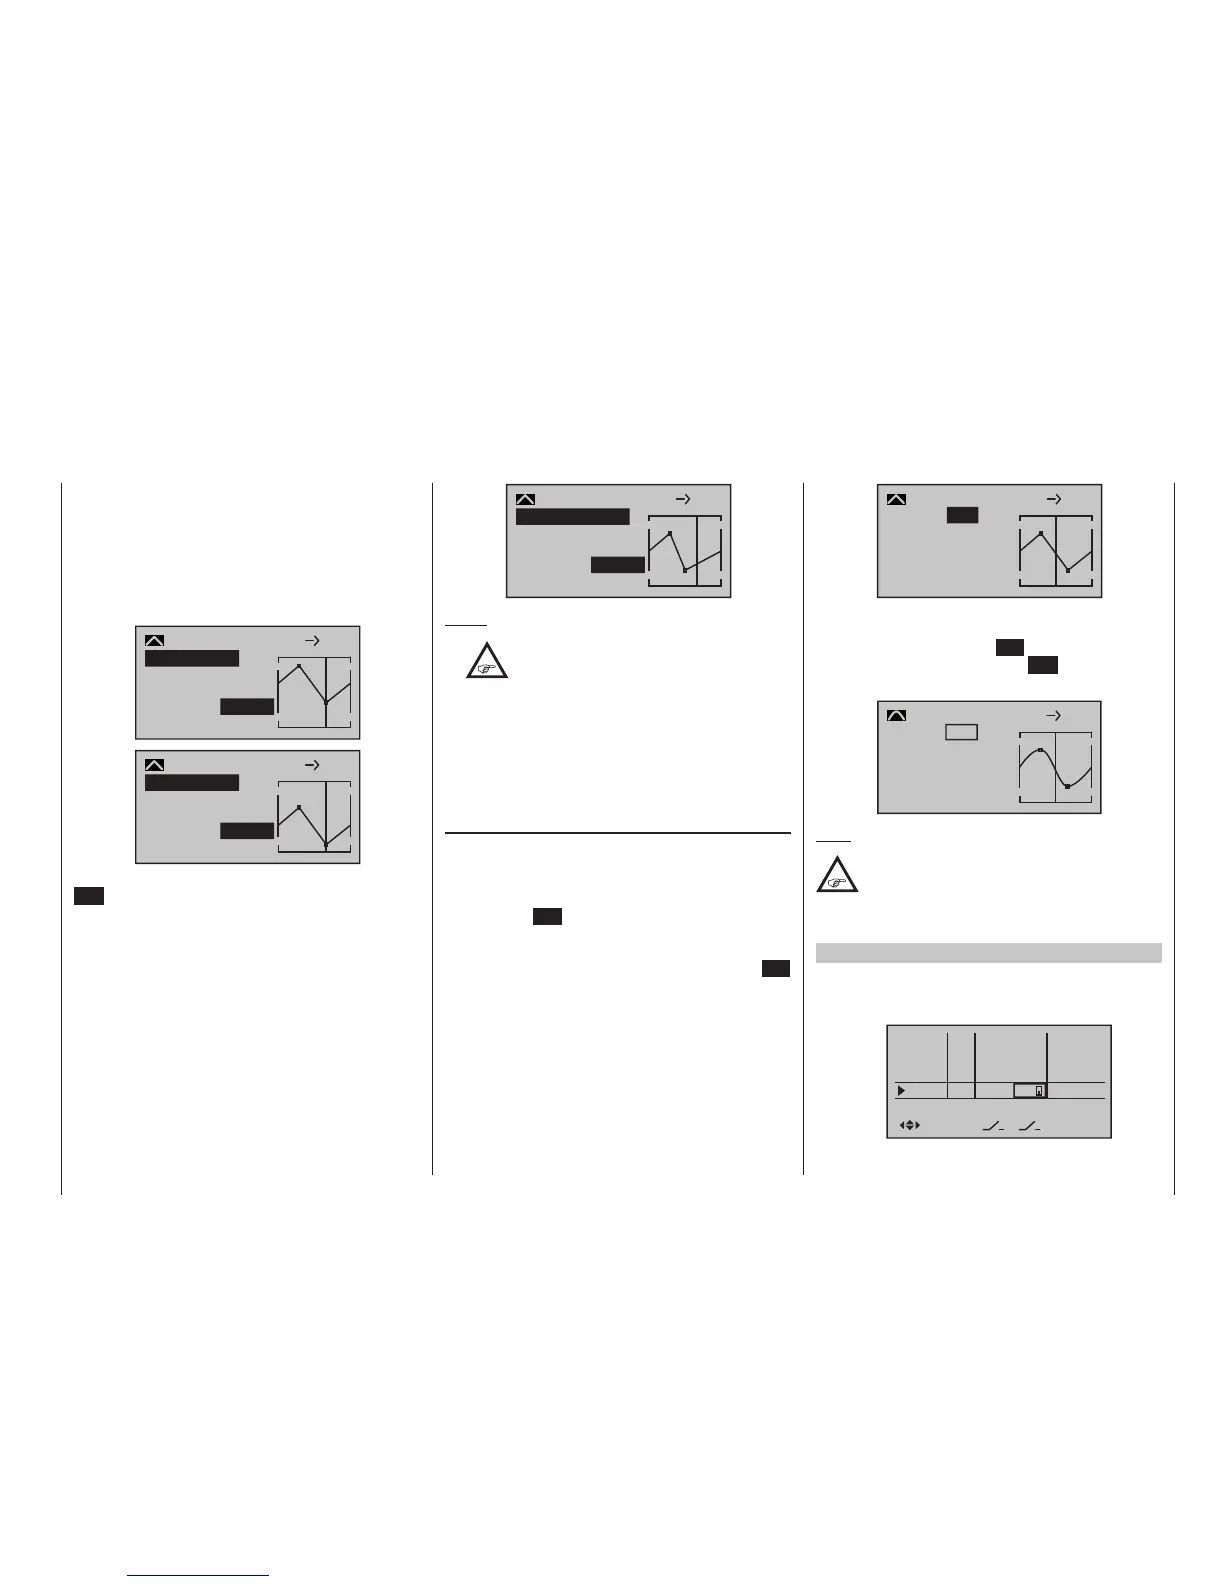
209
Program description - Free mixers
selection keys of the left four-way button and to make
a change with the selection keys of the right four-way
button, but also an existing curve can be vertically
repositioned within a range of ±25 % through use of the
keys on the left four-way button. Starting with a
point value for “Point 1” at -55 %, the control curves in
both of the following figures have been vertically shifted
within the ±25 % range by the trim offset function:
+35%
–30%
2
normal
Kurve
aus
8 10
–30%
Trim offset
Input
Output
Point
C.Mix 9
+35%
–80%
2
normal
Kurve
aus
8 10
–80%
Trim offset
Input
Output
Point
C.Mix 9
You can also exit this function by tapping the centre
ESC key of the left four-way button.
Trim x-axis function
This function is activated by tapping the left () or
right () selection key of the right four-way button with
an active (i. e. inverse video) value field. You can then
use the selection keys on the right four-way button to
reposition the active point horizontally or vertically as
you wish. In the figure below, “Point 2” which was just
shifted to -55 % with the trim point function, will now be
shifted to the left, from input value +35 % to 0 %:
0%
–55%
?
normal
Kurve
aus
8 10
–55%
TrimmX-axis
Input
Output
Point
C.Mix 9
Notes:
•
If the point is repositioned horizontally fur-
ther away from the current control position
than approx. ±25 %, a “?” sign will reap-
pear in the line Point. This question mark does not
refer to the repositioned point, however: instead, it
signies that a further point can be set at the cur-
rent control position.
• Please note that the percentage value on the
“Output” line always relates to the current stick po-
sition and not to the position of the point.
Smoothing the curve
This “angular” curve profile created in the example can
be smoothed automatically simply by pressing a but-
ton.
Starting from the situation in the previous illustration,
first press the SET button of the right-hand four-way
button to conclude the procedure. Now use the Select
button of the right-hand four-way button to move up
to the Value field of the “Curve” line, and press the SET
button of the right-hand four-way button once more:
0%
–12%
?
normal
8 10
0%
Input
Output
Point
C.Mix 9
Curve
off
Now press one of the Select buttons of the right-hand
four-way button in order to switch from “off” to “on”,
then briefly press the central SET button of the right-
hand touch-button, or the central ESC button of the
left-hand touch-button, to conclude the procedure:
0%
–12%
?
normal
8 10
0%
on
Input
Output
Point
C.Mix 9
Curve
Note:
The curves shown here are for demonstration
purposes only and are not at all representa-
tive of real mixer curves. For real-world
application examples, see the programming exam-
ples on pages 286 and 325.
Examples
1. To open and close an aero-tow, a switch, e. g. SW
2, has already been assigned to control channel 8 in
the »Control adjust« menu:
In5
offset
0%
0%
0%
–––
0%
In6
In7
In8
–––
–––
GL
GL
GL
GL
typ
normal
fr
fr
fr
2
–––

 Loading...


