297
Programming examples - Timer conrmation with control or switch
Model time
Batt. time
To p :
Centr:Flight
Alarm
–––
0:34h
1:23h
0s
0s
Stop
C1
–––
SEL
The timer in the base screen now starts with move-
ment of the C1 stick toward full throttle and stops if you
pull the C1 stick back over the switching point.
Example 1 of the preceding pages
If you have decided to continue with the model pro-
gramming described on the previous pages in Example
1 on page 289, first switch to the menu …
»Control switch« (page 141)
… and select the line of a control switch which has not
been assigned yet with the selection keys. After activa-
tion of the control assignment with a brief tap on the
centre SET key of the right four-way button, the follow-
ing window will appear:
SEL
0%
0%
0%
C1
C2
C3
–––
C4
Control switch
Gb1
Gb1
0%
STO
–––
–––
–––
SEL
Move desired
control adj.
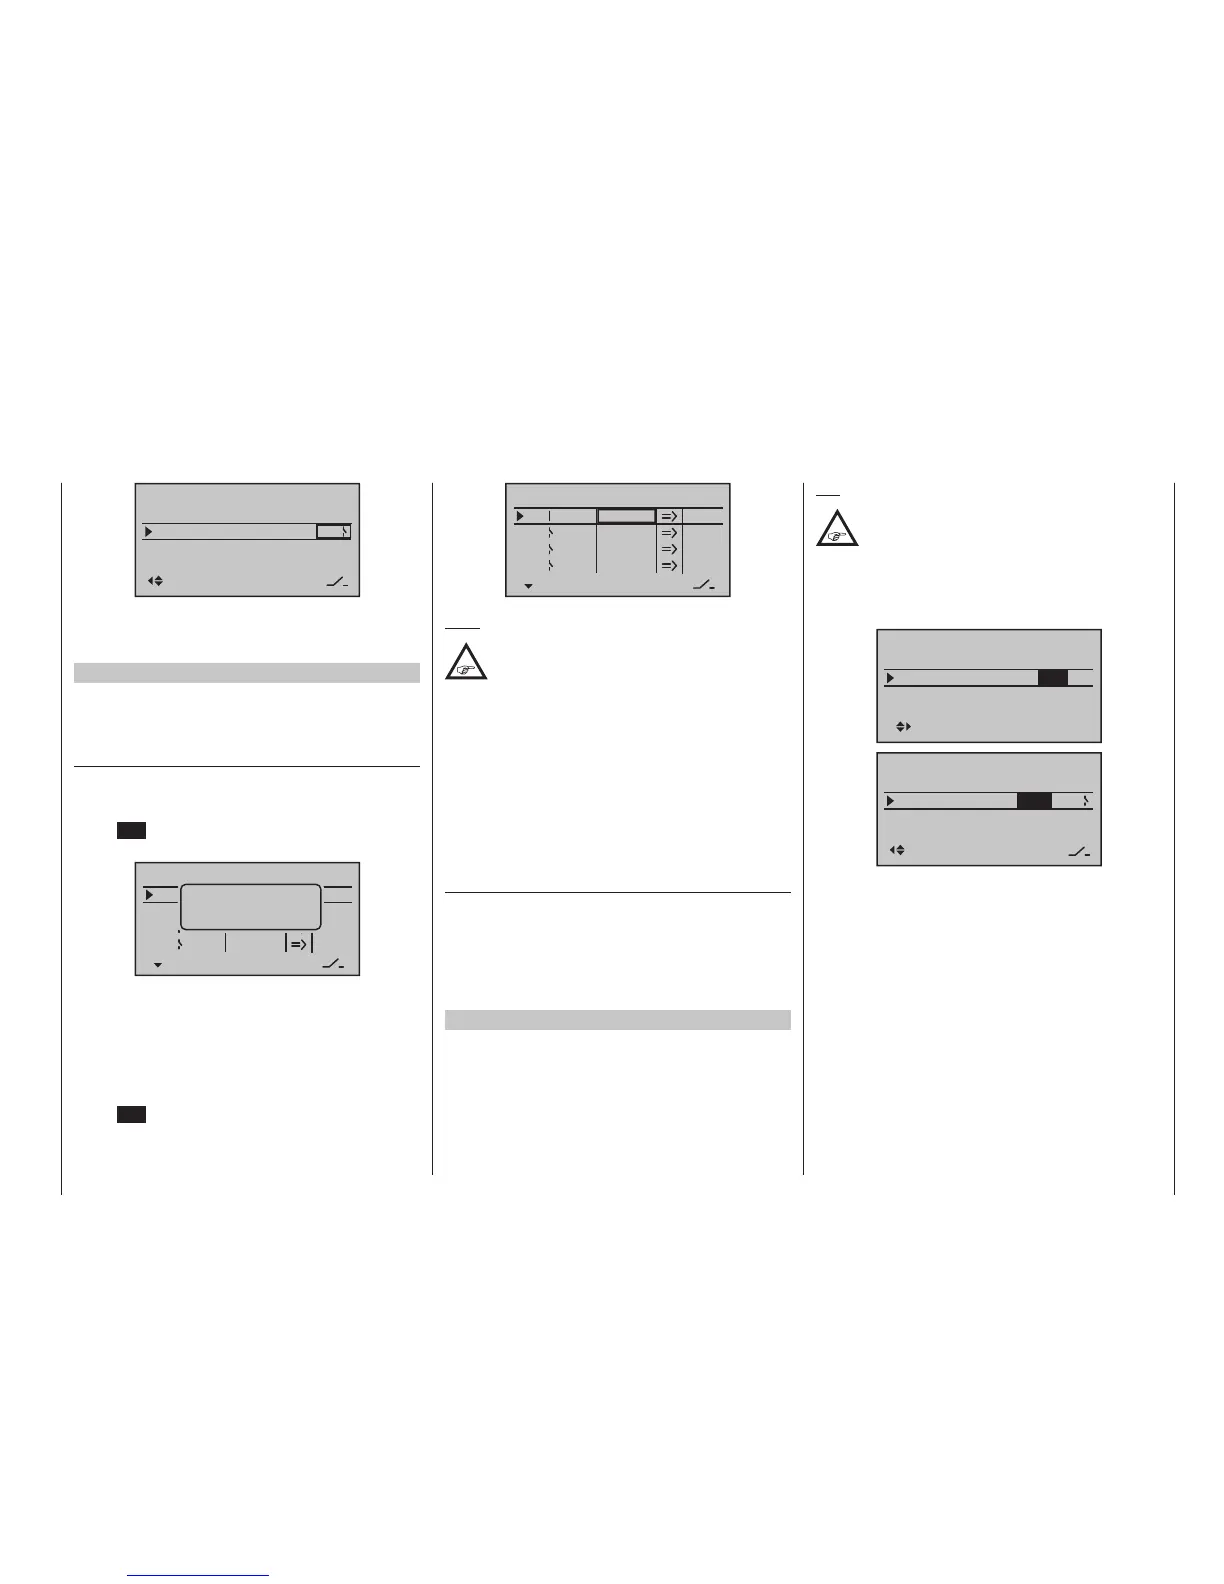
Now simply move the respective proportional control,
e. g. the left side proportional rotary control from its
motor “OFF” position toward the motor “ON” direction.
Thereafter, change to the column above STO by using
the appropriate selection key, move the selected con-
trol near its motor “OFF” position then set the switch-
point at the selected position with a brief tap on the
centre SET key of the right four-way button. The switch
status is shown to the right of the control number:
SEL
0%
0%
0%
C1
C2
C3
–––
C4
Control switch
–85%
STO
–––
–––
–––
Lv2
SEL
Note:
Do not, however, set a switching point at a
transmitter control’s travel end-point, since
this makes reliable switching impossible.
C1 used in the example here should be “closed” in the
“full throttle” direction and “open” below the switching
point.
Towards “full throttle” should now G1 be used here as
example, “closed” and again “open” under setpoint.
However, should this be the other way around the
case, go to the column on the right-hand SEL and
correct this by changing the shifting direction of “=>” in
“<=”.
Now switch to the menu …
»Timers (general)« (page 158)
… and select the line “Top” with the selection keys.
This is the standard line assigned to the stopwatch.
The stopwatch in the basic display now starts with
movement of the proportional rotary control toward
full throttle and stops if it is turned back again over the
switch-point.
Examples 2 and 3 of the preceding pages
If you control your motor with a switch, on the other
hand, you do not need the control switch described
above. It is completely sufficient if you assign the same
switch to the timer, so that it also begins to run when
you switch on the motor.
Tip:
If the motor run time for an E-model is limited
by the battery capacity, you can have the
stopwatch count down. Enter the maximum
permissible motor run time in the “Timer” column,
e. g. “5 min”, and shortly before expiration of permis-
sible time, e. g. “30 s” before, have the transmitter
issue an acoustic warning signal:
Model time
Batt. time
To p :
Centr:Flight
Timer
–––12:34h
1:23h
0:00
Stop
5:00
Alarm
–––
0:34h
1:23h
0s
15
–––
SEL
30s
Model time
Batt. time
To p :
Centr:Flight
Stop

 Loading...


