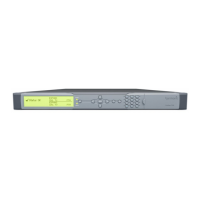
Chapter 2 Hardware Installation Power Supply to the Unit
© 2011 Harmonic Inc. 19 ProView 7000 v.2.4, Rev. A
2.3 Power Supply to the Unit
To ensure correct and safe operation of the unit, ensure the following:
■ Ensure that a qualified electrician has installed the main power supply in accordance with
power authority regulations. Make sure all powering must be wired with an earth leakage,
according to local regulations.
■ When the unit is rack-mounted, ensure that the rack is correctly grounded.
DANGER: To avoid electrocution, ensure that the rack has been correctly grounded before switching on
the ProView 7000 device. When removing the unit, remove the grounded connection only after the unit is
switched off and unplugged.
2.4 Installing the Unit in a Rack
CAUTION: For rack installation, ensure that a designated 19" rack is fully prepared for installation.
Ensure sufficient space behind the rack for easy access for installation and maintenance. Rack mounting
requires the use of special “L” shape slides, available from Harmonic. The amount of units installed in a
rack is a function of the units’ power consumption and heat dissipation. Address Harmonic support for
calculating the maximum load on the rack.
The following sections detail the installation of a ProView 7000 unit in a 19" rack using the
dedicated mounting slides.
2.4.1 Fitting the Brackets
To fit the brackets:
1. Fit a pair of brackets to both side rails of the rack housing with two flatwasher screws on
each side. Use the two front holes at the sides of the housing to attach the brackets.
(Complementing nuts are already installed on the inner side of the holes, the four screws
required are not included in the supplied kit).
2. Ensure proper grounding of the rack assembly to prevent potential electrical problems.
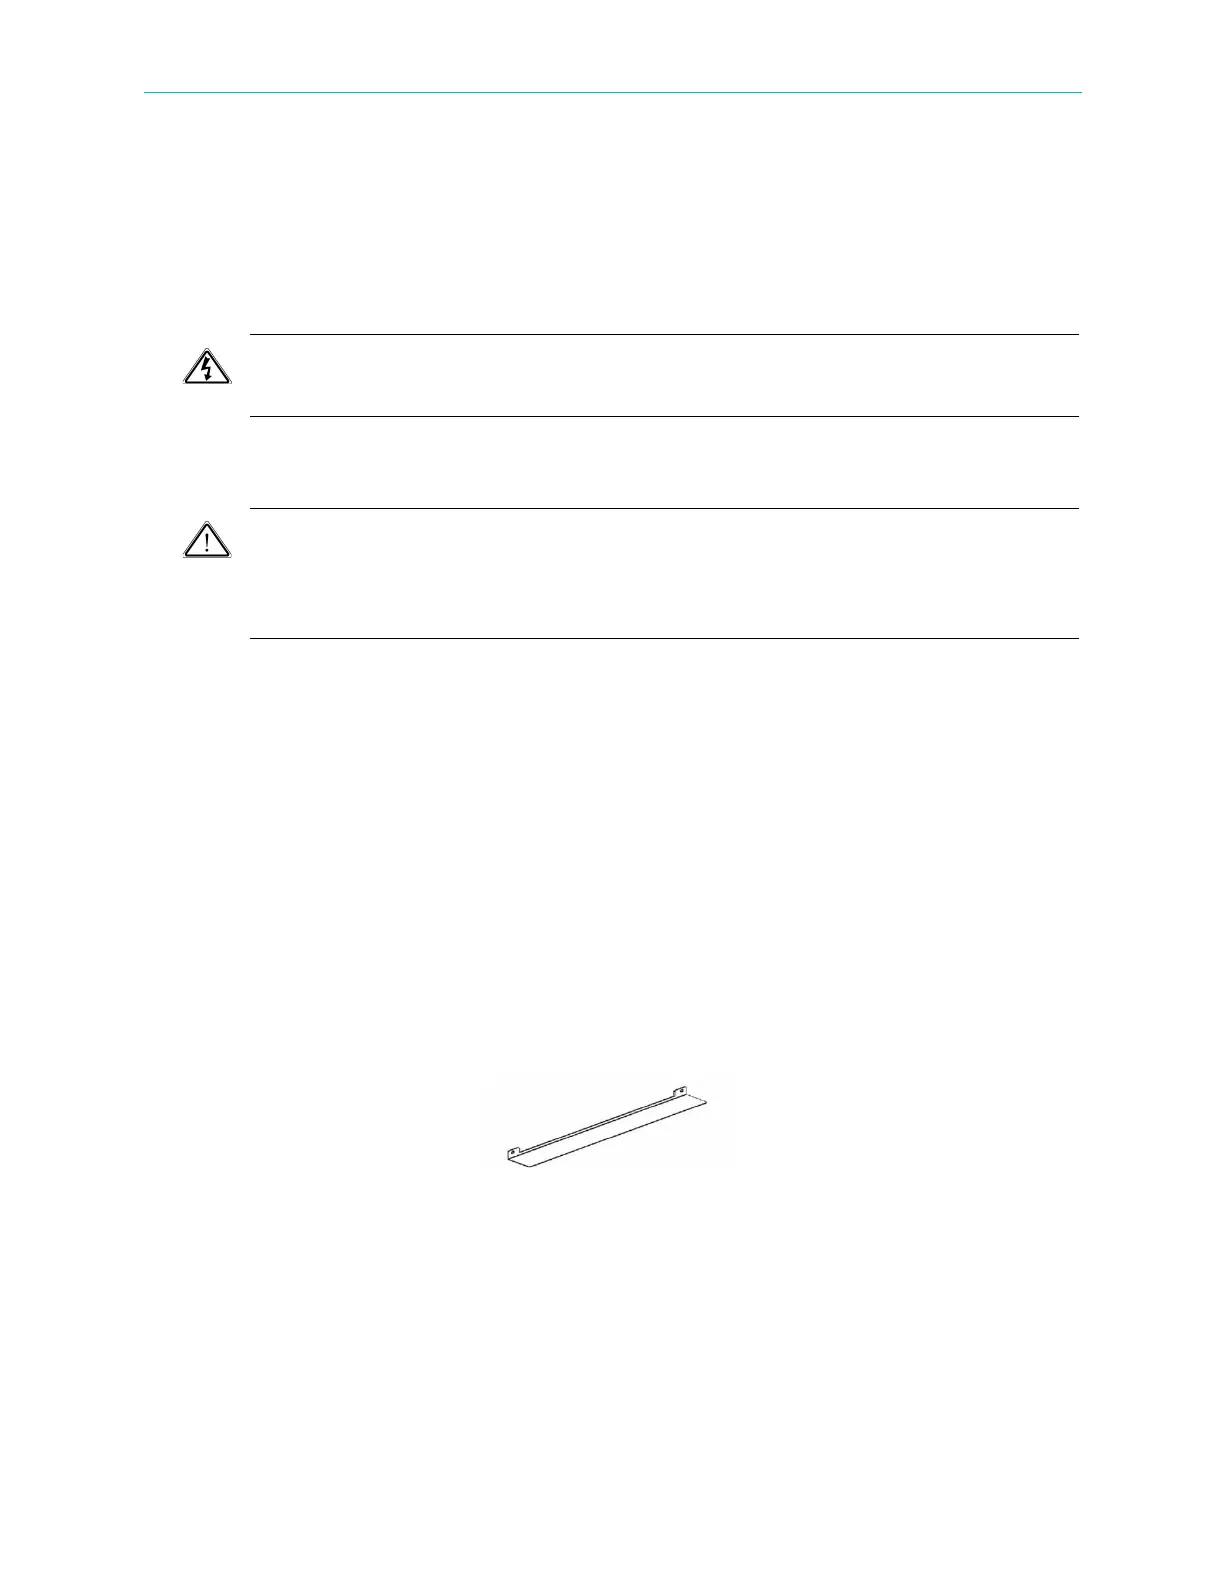
2.4.2 Installing the L Shape Slides
The ProView 7000 uses forced air ventilation, evacuating the air out the left side of the 19”
rack. To ensure smooth airflow, special L shape slides are provided for rack mounting.
To fit the L shape slides:
1. Ensure that the brackets are fastened with appropriate screws to each side of the chassis’
rails.
2. Fit the L shape slides to the fitted brackets and fasten with four screws (not included).