MAN0923_Issue 3_04/15 Touchpoint Pro
Operating Instructions
80
6. Commissioning
To access the TCP/IP settings:
1. On the Touchpoint Pro Controller touchscreen, from the System Status screen select the Extras icon
then Global Settings
2. Select “TCP/IP Settings” to display the current values
3. Select “Edit” to change the values as appropriate to match the PC being used
Note: If the Subnet Mask is set to 255.255.0.0, this means that the rst two bytes of the IP Address must
match both in the controller and the device that is trying to connect to it. For example, if the controller
IP Address is set to 192.168.1.2 it can connect to another device or network that has an IP Address of
192.168.xxx.xxx (where xxx can be any whole number between 0 and 255 inclusive). If the Subnet Mask is
set to 255.255.255.0, the rst three bytes of the IP Address must match both in the controller and the PC.
4. InstalltheTouchpointProPCCongurationSoftwareonthePCtobeused,andfollowthe
installation routine
Note: To install the software correctly, it is necessary to run the setup program as an administrator. in
Windows 7, right click on the setup program and select “Run as administrator”.
5. ConnecttheTouchpointProunittothenetworkandlaunchthePCCongurationSoftware
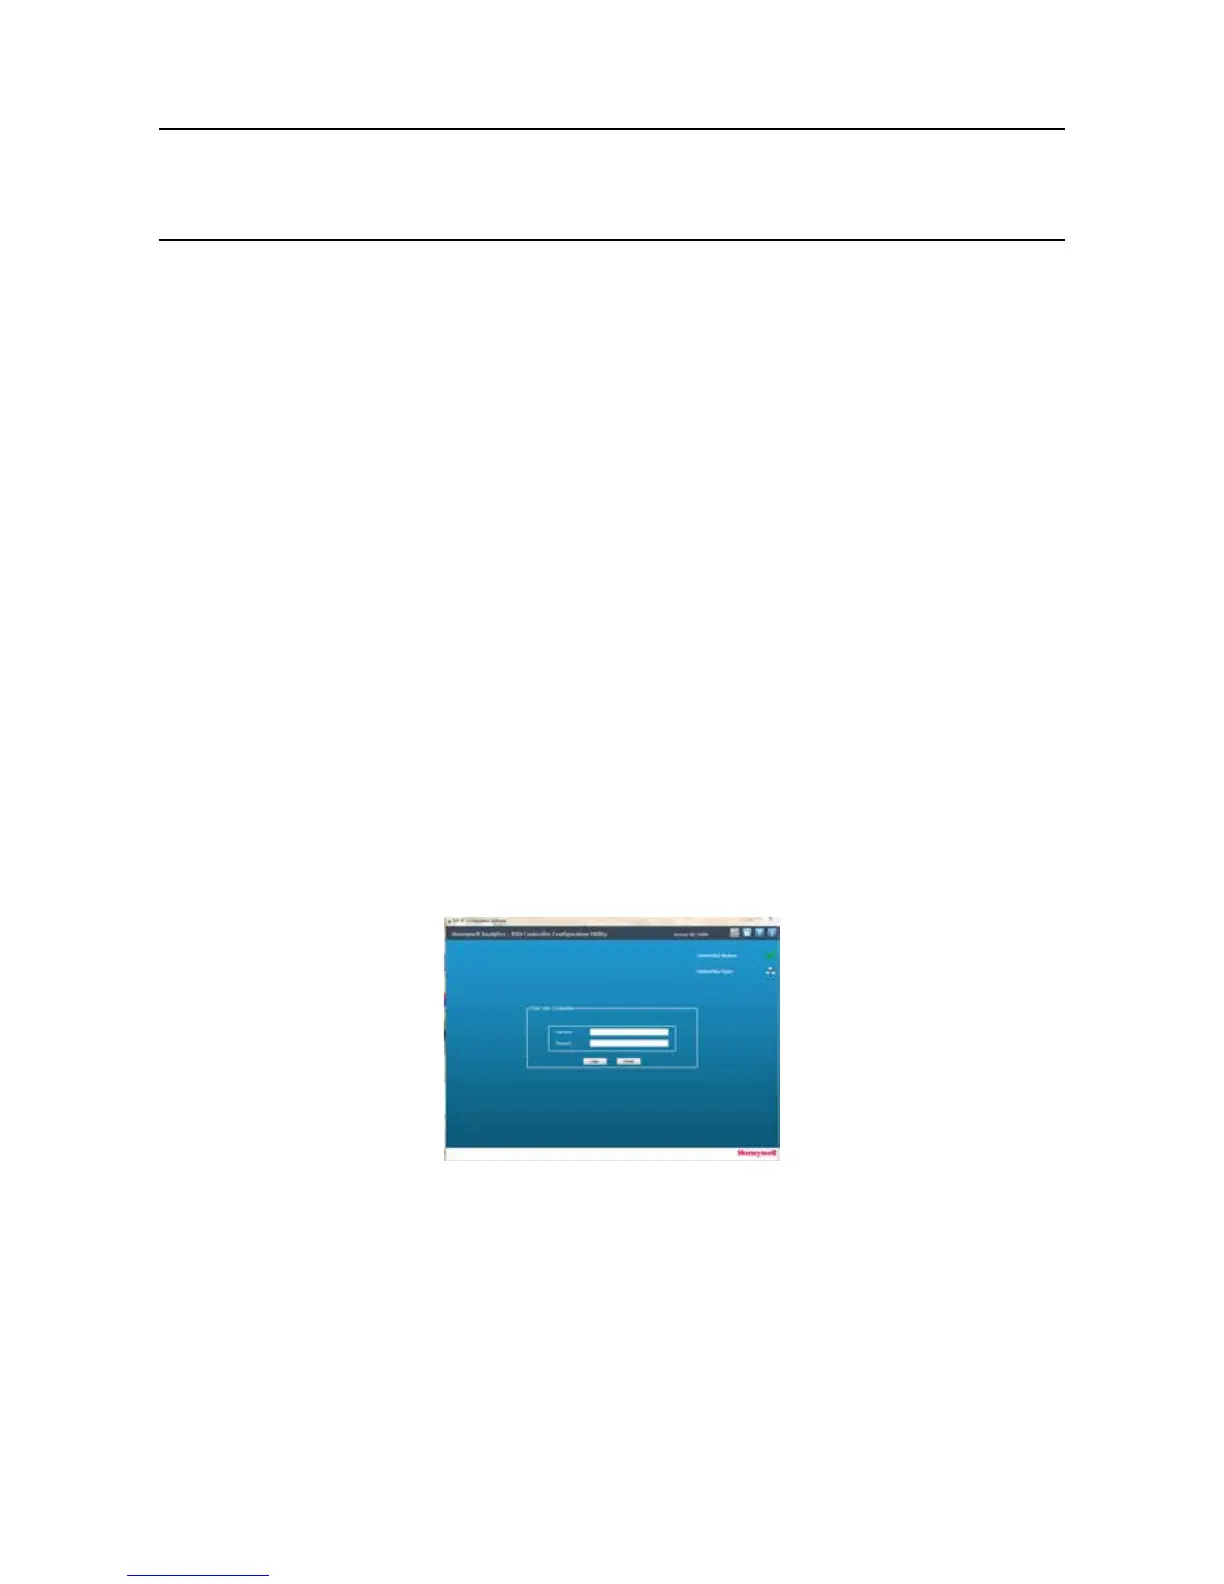
6. Enter the IP address of the Touchpoint Pro unit and select Connect
7. The Login screen will appear. Enter a valid user name and password
Figure 6.2 Login Details Dialog
ThePCCongurationSoftwarefollowsthesamescreensasthetouchscreen,withtheexceptionthat
several screens are combined together. Therefore it is possible to follow through all the instructions in this
chaptertoconguretheTouchpointProsystem.Foradetailednavigationandmenustructure,pleaserefer
to the Appendix - User Interface Software Menu Structure.