MAN0923_Issue 3_04/15 Touchpoint Pro
Operating Instructions
81
6. Commissioning
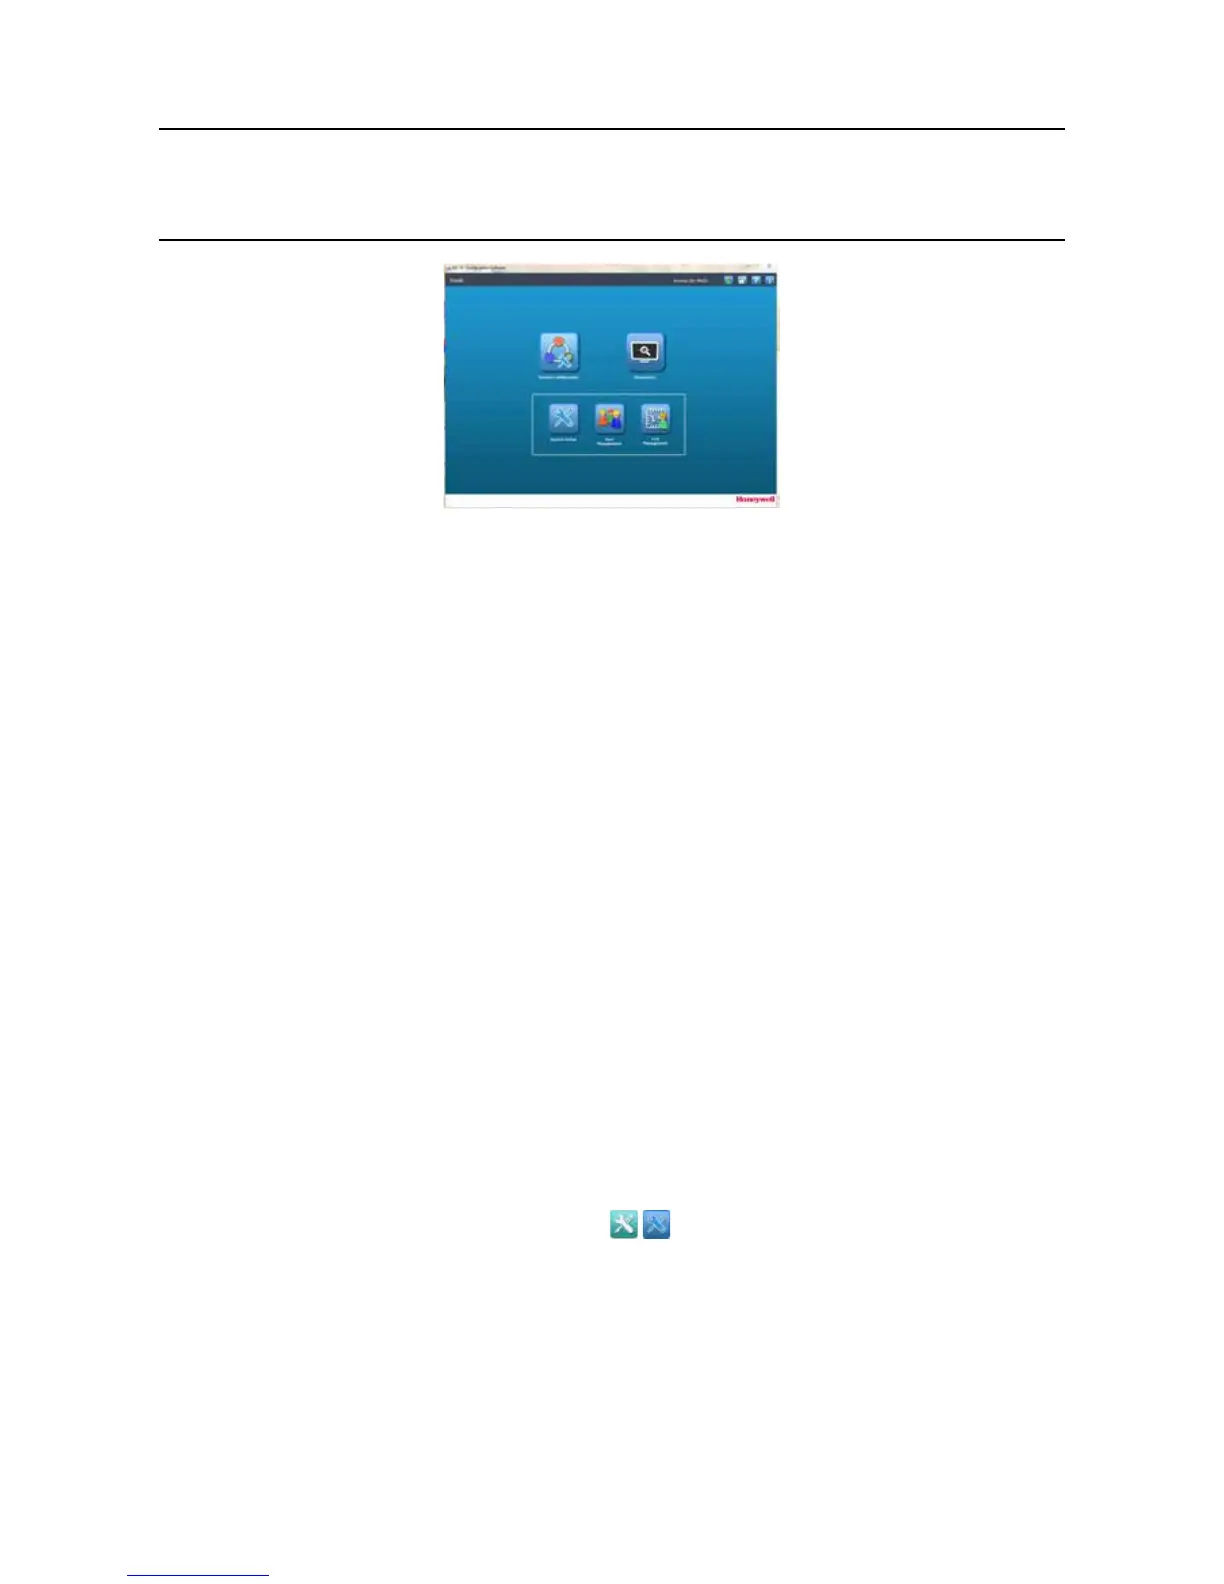
Figure 6.3 PC Conguration Interface
6.7 Verify Default Conguration and Program Tags
Note: Read this section ONLY if your system has been programmed by Honeywell Analytics with the default
conguration during manufacture. Otherwise proceed to section 6.8
Ifthesystemhasbeendeliveredwithadefaultconguration,thenallAnalogueInputchannels(mAandmV)
havebeencongured.Thissectionexplainshowtoverifythatthechannelcongurationiscorrect,andhow
to program any tags that are required.
Note: It is necessary to congure any Digital Input channels and all Output channels
Note: Engineer level access is required
1. If not already logged in, login with a valid engineer level user name
2. From the System Status screen select the Extras icon then System Conguration
3. Re-enter the password and press Login
4. Select System Setup
5. The screen will show a list of all installed I/O modules and Control Centre Board(s)
6. Press the + beside each module to expand and show the four channels of that module
7. Select the required channel, press the Menu icon
and select View Conguration
8. Use the Next and Previousbuttonstostepthroughthecongurationsettingsandverifythatthey
areasexpected.Ifanysettingsareincorrect,pleaserefertothesection“Editingaconguredchannel”
9. Press Exit
10. Select the channel again, press the Menu icon and select Edit Conguration
11. From the menu window select Channel Name Settings
12. The screen will show the current location tag and custom ID
13.EntertherequiredvaluesintheeldNew Value and press Send
 Loading...


