In Case of
Difiblty
1. Inspect
alI
connections.
Caution
Do
NOT disconnect the cables from the analyzer test ports.
Doing so
WILL
lNkYLU?B
the calibration that you have done
earlier.
2.
3.
4.
5.
Press
[EJ
‘Save/Recall,
+&g@$$g&K.
~~~~~~~~~
f&@g.
using
the
_.
-
i:
_...
>u
i
-
__,.....
..:.:.:
.._
.:
..:.
:...
i..
.
.
.
.
.
.
.
.
.
.
.
.
..,...
,....
.
.
.
.
.
.
.
.
.
.
.
.
.
.
.
.
.
.
.
.
.
._...
.:
.._...
.::::
..,......
A......
:::::::
.::
-.:
front panel knob, highlight
the,,title
of the full
2-Port
calibration that you
...
..,.;
,.,,.,.,.,:
;:
have done earlier, then press
~~~~~~~~.
Repeat the “Device Verification” procedure.
If the analyzer still fails the test, check the measurement calibration as
follows:
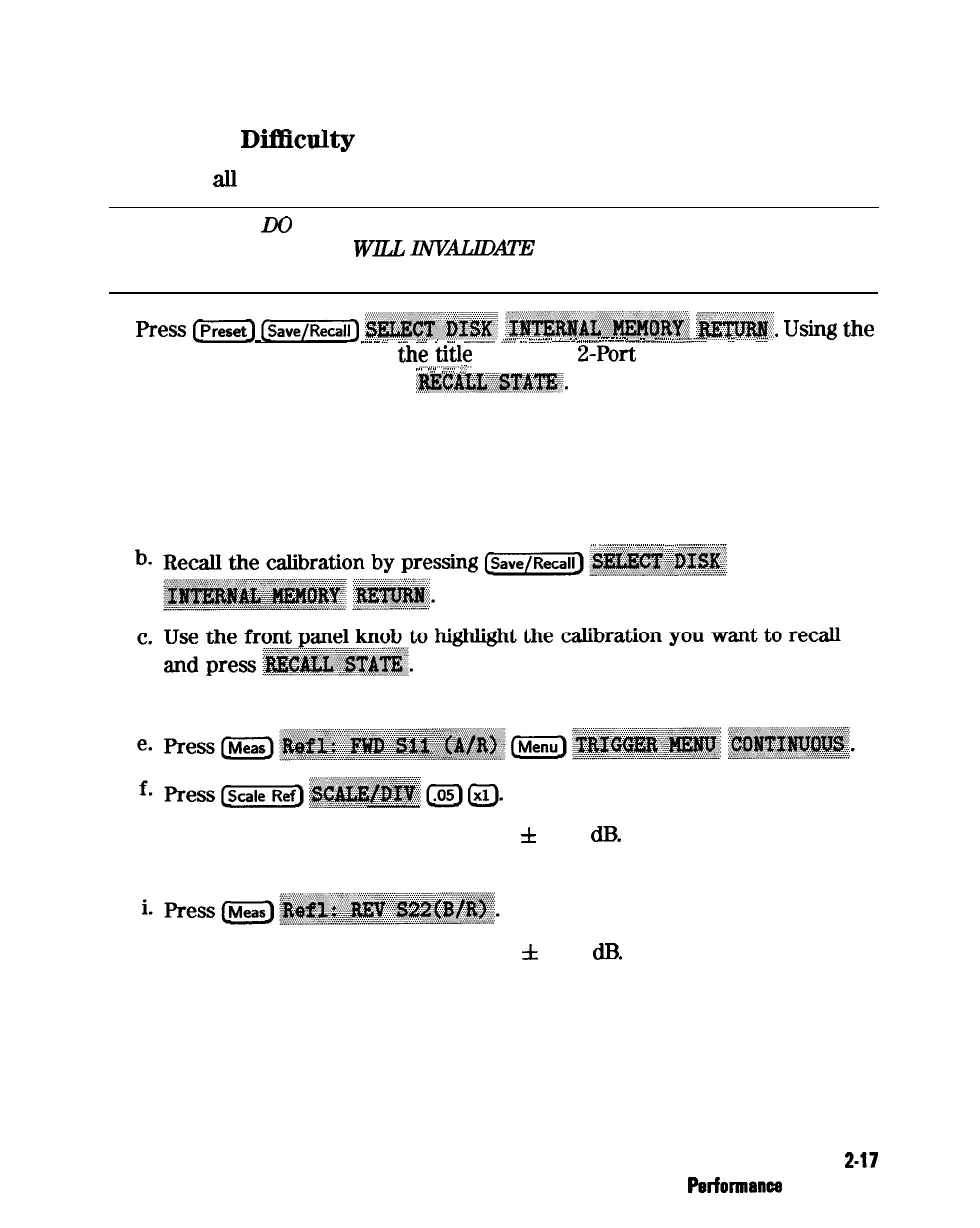
a. Press [preset).
d. Connect the short to reference test port 1.
g. Check that the trace response is 0.00
f
0.05
dB.
h. Disconnect the short and connect it to reference test port 2.
j. Check that the trace response is 0.00
f
0.05
dD.
k. If any of the trace responses are out of the specified limits, repeat the
“Measurement Calibration” and “Device Verification” procedures.
Refer to Chapter 4, “Start Troubleshooting Here,” for more troubleshooting
information.
System Verification and
2-17
PerfonnanEe
Tests