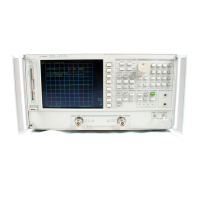
Assembly Replacement Sequence
The following steps show the sequence to replace an assembly in an HP 8753E
network analyzer.
1. Identify the faulty group. Refer to Chapter 4, “Start Troubleshooting Here.”
Follow up with the appropriate troubleshooting chapter that identifies the
faulty assembly.
2. Order a replacement assembly. Refer to Chapter 13, “Replaceable Parts.
n
3. Replace the faulty assembly and determine what adjustments are necessary.
Refer to Chapter 14, “Assembly Replacement and Post-Repair Procedures.
n
4. Perform the necessary adjustments. Refer to Chapter 3, “Adjustments and
Correction Constants.
n
5. Perform the necessary performance tests. Refer to Chapter 2, “System
Verification and Performance Tests.
n
Having Your Analyzer Serviced
The HP 8753E has a one year on-site warranty, where available. If the analyzer
should fail any of the following checks, call your local HP sales or service office.
A customer engineer will be dispatched to service your analyzer on-site. If a
customer engineer is not available in your area, follow the steps below to send
your analyzer back to HP for repair
1. Choose the nearest HP service center. (A table listing of Hewlett-Packard
sales or service offices is provided at the end of this guide.)
2. Include a detailed description of any failed test and any error message.
3. Ship the analyzer, using the original or comparable antistatic packaging
materials.
4-2 Start Troubleshooting Here

 Loading...


