18. Write the marker value (which appears on the analyzer display) in the
“Performance Test Record.
n
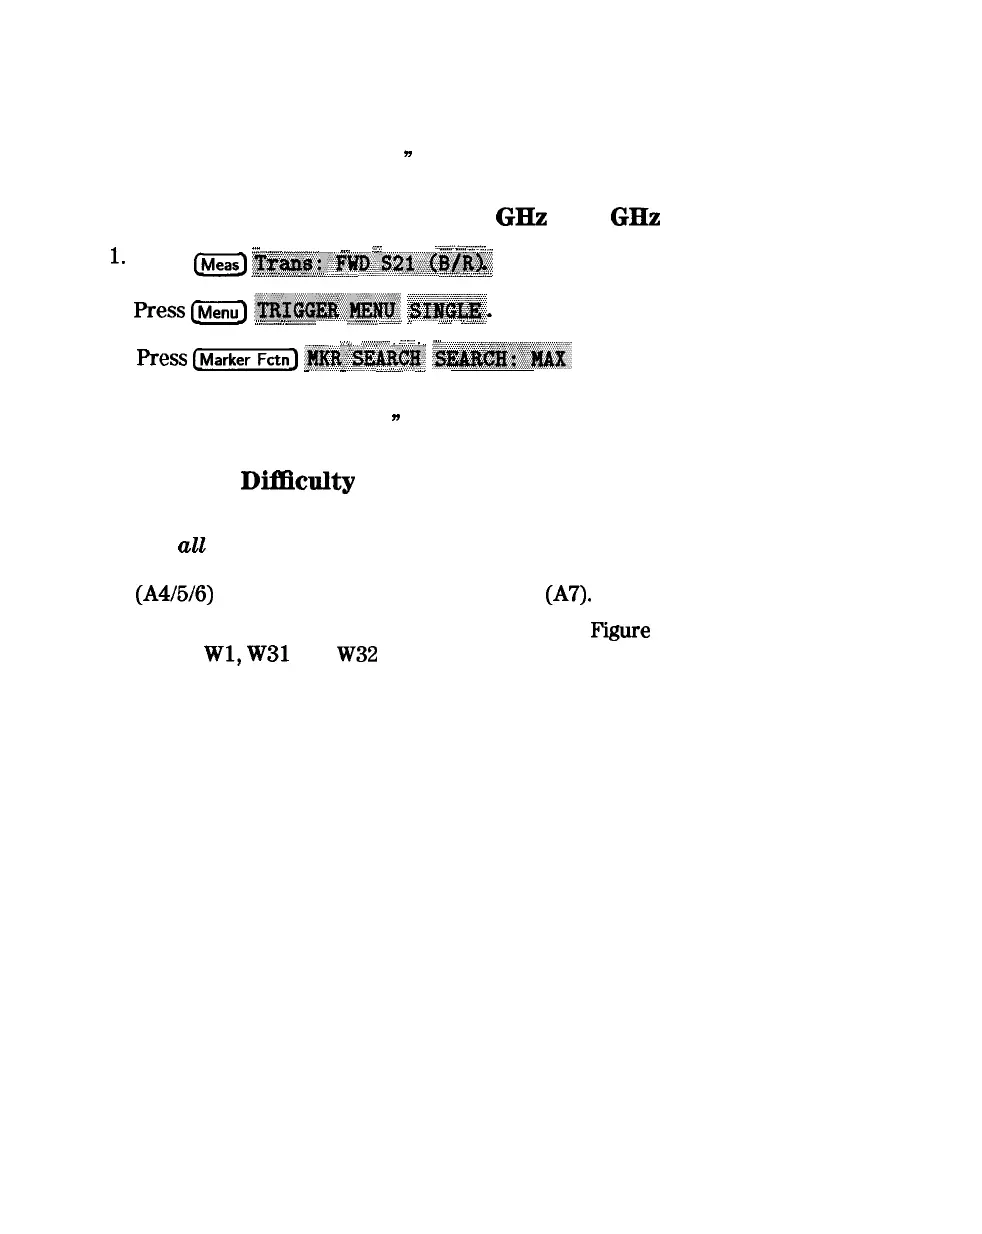
Crosstalk to Test Port 2 from 3 GHz to 6
GHz
.._
. . . . . . . .
....
..:.
:
. . . . .
.._.
_
._
_
i . . . .
.,......_
i
..,.,.,.,.,.,...,.,.,.,..,,
:i
,,,
. .
..~_
._
_
_
l-
Press
(Meas)
~~~~~;,~,~~~~~~~~~~~~~~~~~~~
_..i.
_../..i
awA>>..>
.i...
A..L../......~.i-
......
. . . . .
...................
..___._
-
2. Press
Ihnenu_)
~~~~~~~~
~~~~~
-
i.~.~.~.~_..>...~
ii
z.sw;..i.ii
. . . . . . . . . . . . . . . . ..
.
ii
^................._
./:....:..:.... ..:
. . . . .
.
. . . . . . .
.
. . .
..
:::.;x
. . . . . . . . . .
A ..:..s.......:
3.
. . . . . . . . . . . . . . . . . .
/,:
:.,.
,;.,.;,.,.;........
*
:;
.:
/
,,
,.,.,.,.
Press
(-Fan_)
,,~~~~~~~~
~~~~~’
-
.
-
.
AS
._.
4. Write the marker value (which appears on the analyzer display) in the
“Performance Test Record.
n
In Case of
DifBculty
1. Remove the instrument top cover. Using an 8 lb-inch torque wrench, verify
that
all
semirigid cables connected to the sampler/mixer assemblies are
tight. In addition, tighten any loose screws on the sampler/mixer assemblies
(A4/5/6)
and the pulse generator assembly
(A7).
2. Remove the instrument bottom cover. Refer to
F’igure
2-26. Verify that
cables Wl,
W31
and
W32
are tight.
3. Repeat this test.
2-56 System Verification and
Performance Tests