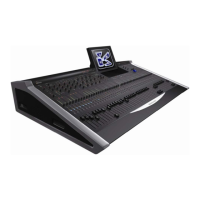
Chapter 6: Console Configuration
User Defined Panel
Eclipse User Guide 2.0 337/ 526
Flip
1. Press the Flip switch to flip channels assigned to the
Smart Panel onto the console’s 48 Fader strips (and
channels assigned to the Fader strips onto the Smart
Panel).
The Main Mix display follows your Desk vs Smart Panel
selection.
2. You can now use the Fader strips to quickly set levels
and panning.
3. When you have finished, remember to deselect the Flip
switch to return the console to its normal mode of
operation.
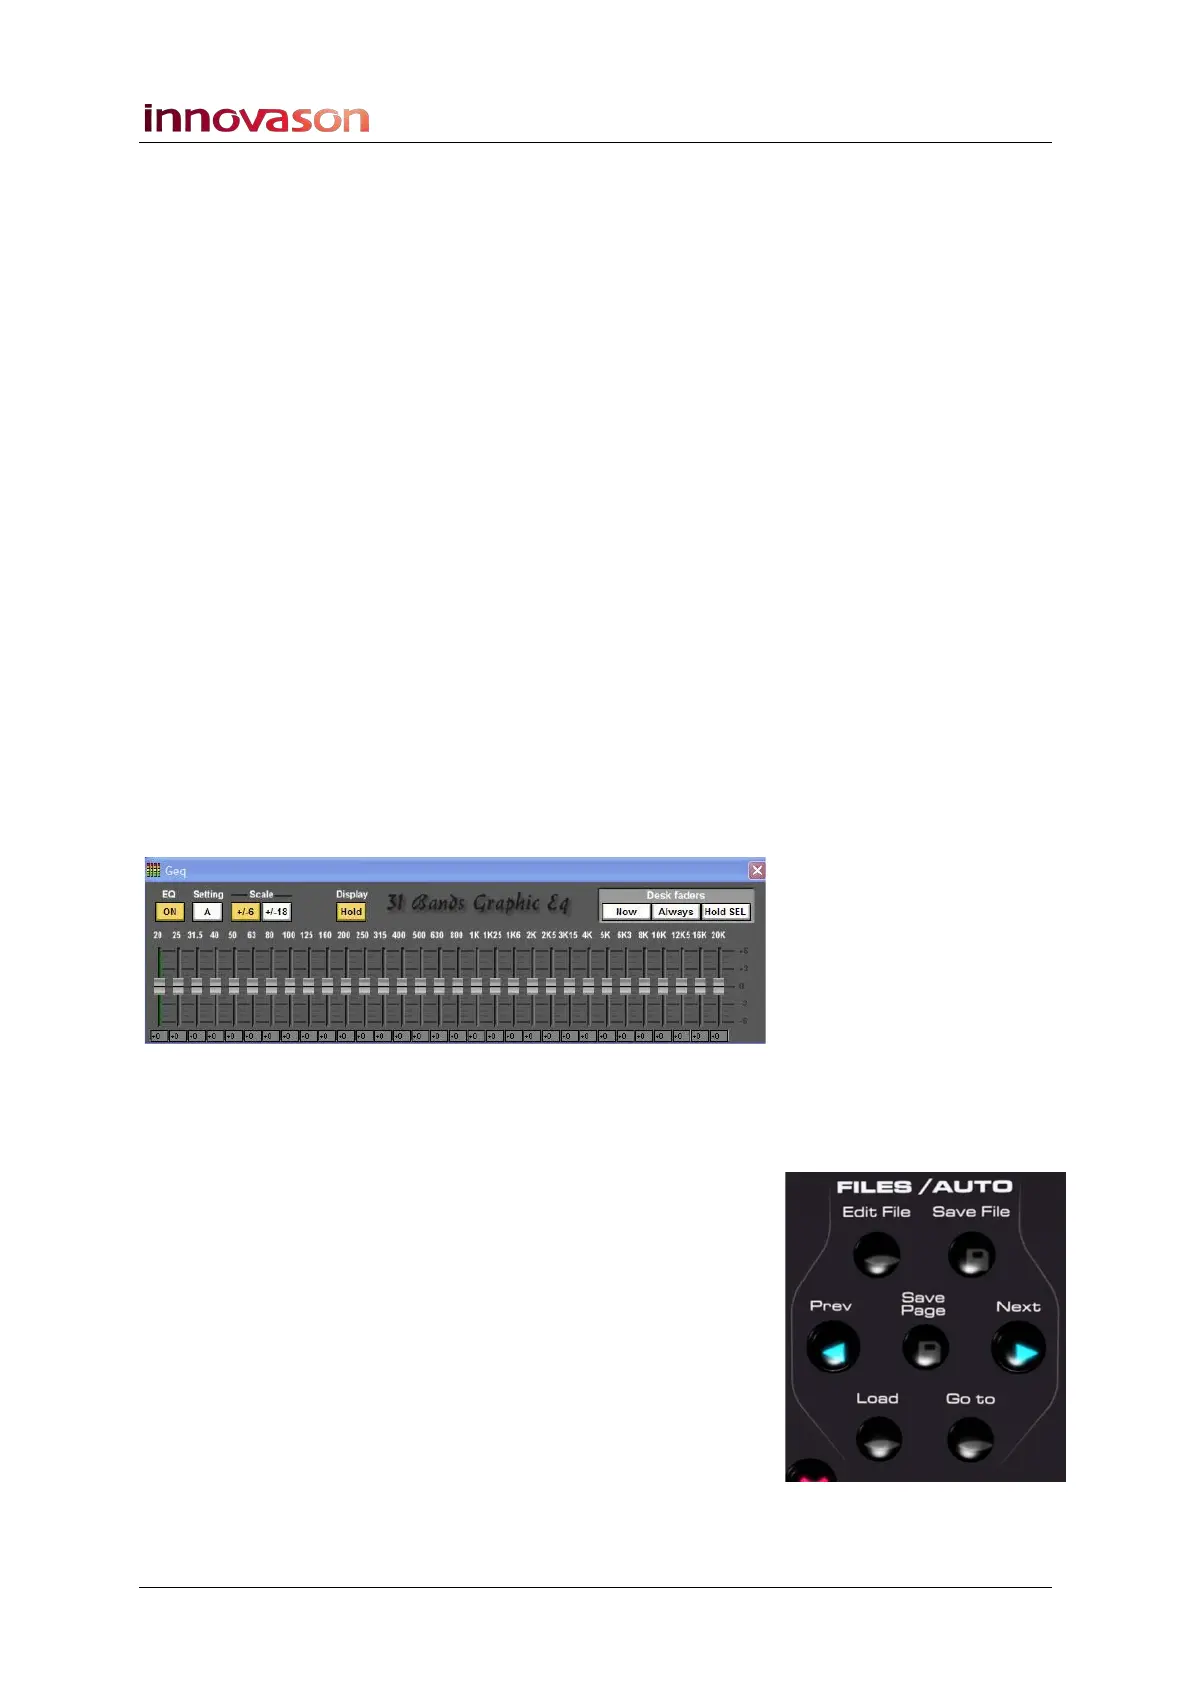
GEQ Editor
This switch provides quick access to the Geq Editor window
and maps the graphic EQ frequencies onto the console faders,
see Page 180.
1. Press SEL on an output channel with Graphic EQ
processing – e.g. an Aux routed to a UM8 output.
2. Then press the Geq switch.
The Geq window for the selected aux opens, and the
frequencies are automatically assigned onto the console faders:
3. When you have finished making changes, turn off the
Geq button to return the faders to their normal
operation.
OK and Cancel
Short cut keys for OK and Cancel. These switches perform the
same functions as the buttons to the right of the trackball.
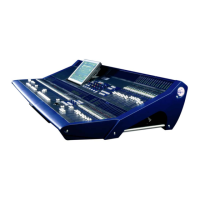
Next Page and Previous Page
These switches will load the next or previous page and are the
same as the Next and Prev buttons on the FILES/AUTO panel.