Chapter 3: Operating Principles
Routing, Sends and the SEL Button
Eclipse User Guide 2.0 75/ 526
To change the routing:
4. Press and hold the flashing SEL button on the input
fader while you press the SEL buttons on your outputs.
• SEL lit steady state = assigned.
• SEL unlit = not assigned.
You can route to multiple outputs in one operation using the
multiple assign method described on Page 78.
5. Now move your selected input fader – you are
controlling the main level of the input channel.
You can confirm this by looking at the Main Mix display:
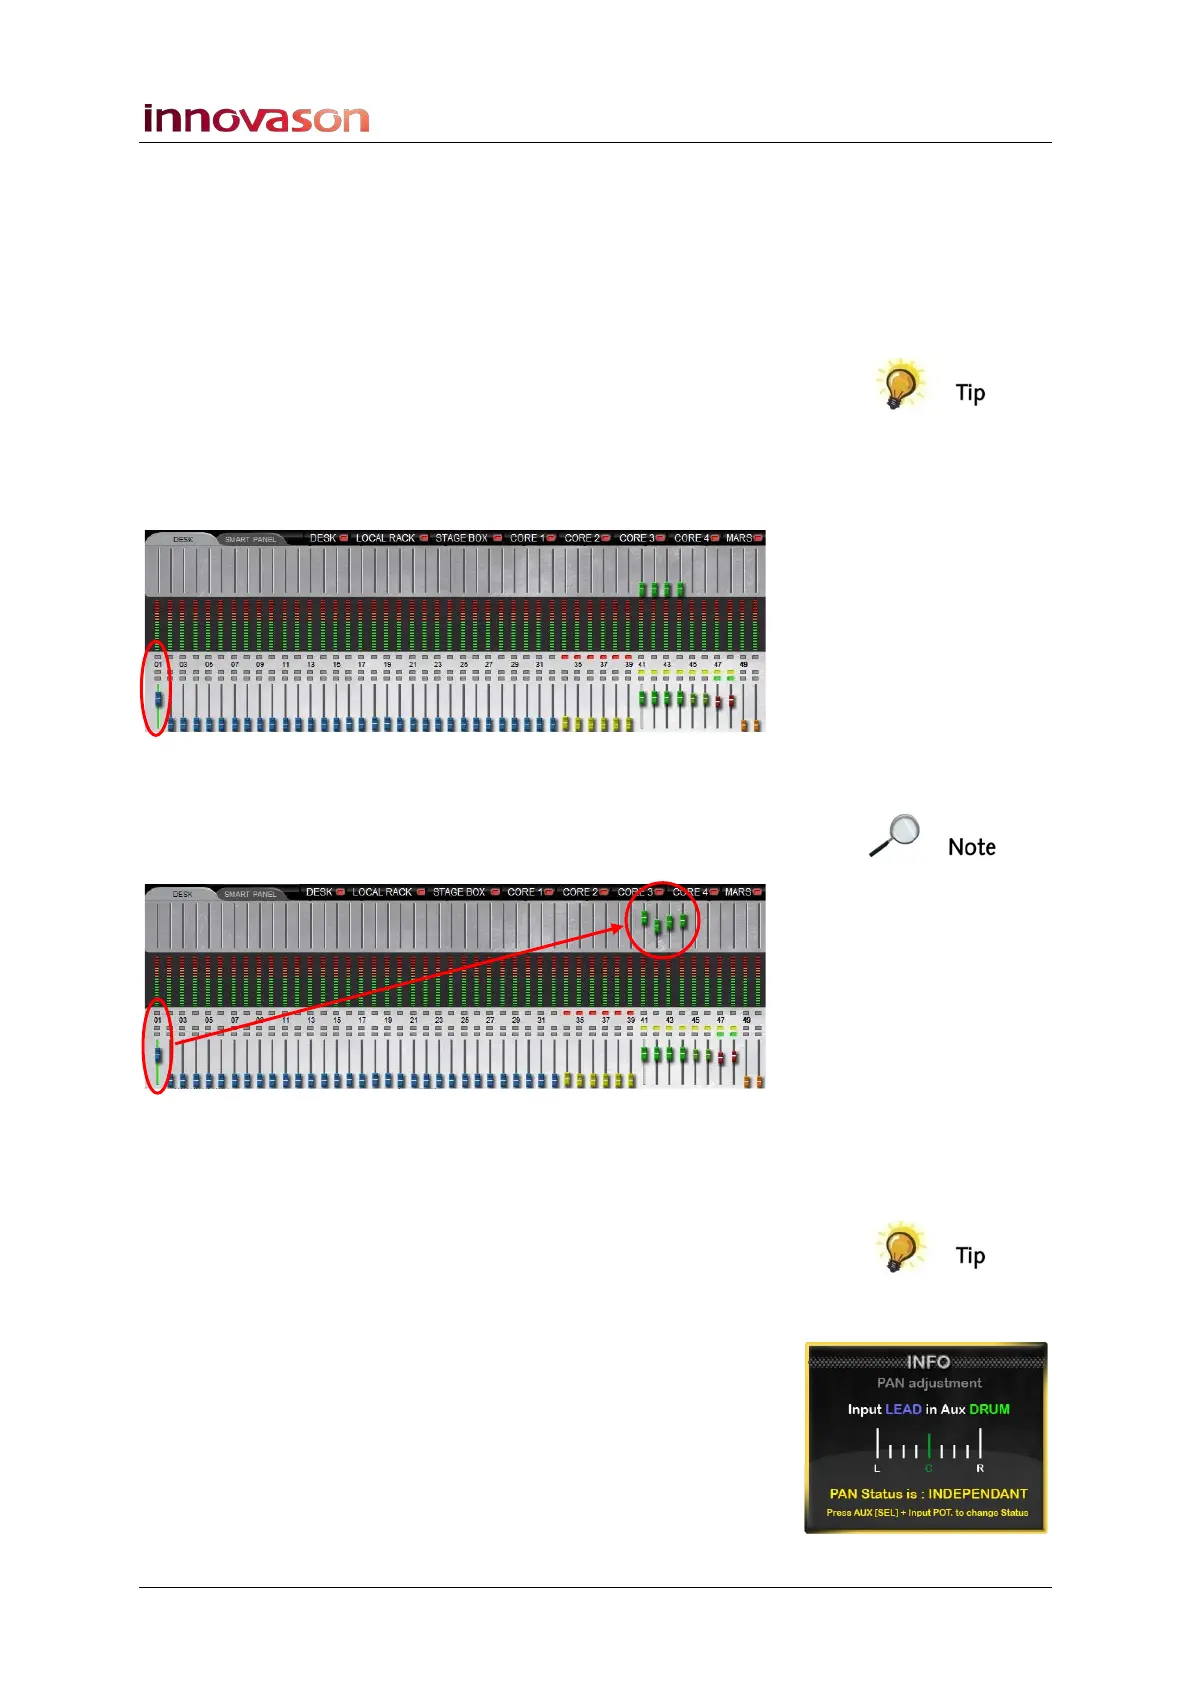
6. Move your Aux faders – in our example, 41 to 44.
Rather than controlling the Aux master levels, these faders are
adjusting the Aux send levels from the selected input. You can
confirm this by looking at the upper row of faders:
7. Now select a different input channel.
Notice how the Aux faders jump. This is because they are now
controlling the Aux send levels from a different input.
This is a great way to work for Front of House where you may
be using your Auxes to feed some effects. Simply press the
SEL button on each input and reach out for the Aux faders to
set the levels sending to each effect.
Note that Aux sends can be pre-fader, post-fader or
independent of channel panning. If panning is independent and
you have an input channel selected, then turning the Pan
control on a stereo Aux sets the pan for the aux send. See
Page 164 for details.
You can also set a General Preferences option so that when
an input is routed to an Aux, the Aux send is automatically set
to 0dB, see Page 428.