155
9.7.1 Adjusting a receiver [+RANGE-] [TX/PRF] [AUTO-TUNE] [MENU]
1. Tuning preset
On this menu, make a rough tuning adjustment. When this menu is displayed, the automatic
tuning setting state is temporarily changed to manual tuning setting during adjustment. At
completion of adjustment, the mode is reset to automatic tuning setting.
Use the following procedure to perform tuning preset.
Use the following procedure to perform tuning preset.Use the following procedure to perform tuning preset.
Use the following procedure to perform tuning preset.
(a) Press the [+RANGE-] key and set the range to 24NM.
(b) Press the [TX/PRF] key and send signals for 10 minutes or more.
(c) Set the [AUTO-TUNE] knob to a 12 o'clock position.
(d) Display the INSTALLATION menu by pressing the [MENU] key in long mode, select
RADAR , RADAR ADJUST , and TUNE PRESET , and press [JOG DIAL] or
[ACQ/ENT].
(e) When the following menu is displayed, press [JOG DIAL] to maximize the tuning
oscillation, and end the operation by pressing [JOG DIAL] or [ACQ/ENT].
T
TT
TU
UU
UN
NN
NE
EE
E
P
PP
PR
RR
RE
EE
ES
SS
SE
EE
ET
TT
T
0
00
00
00
06
66
63
33
3
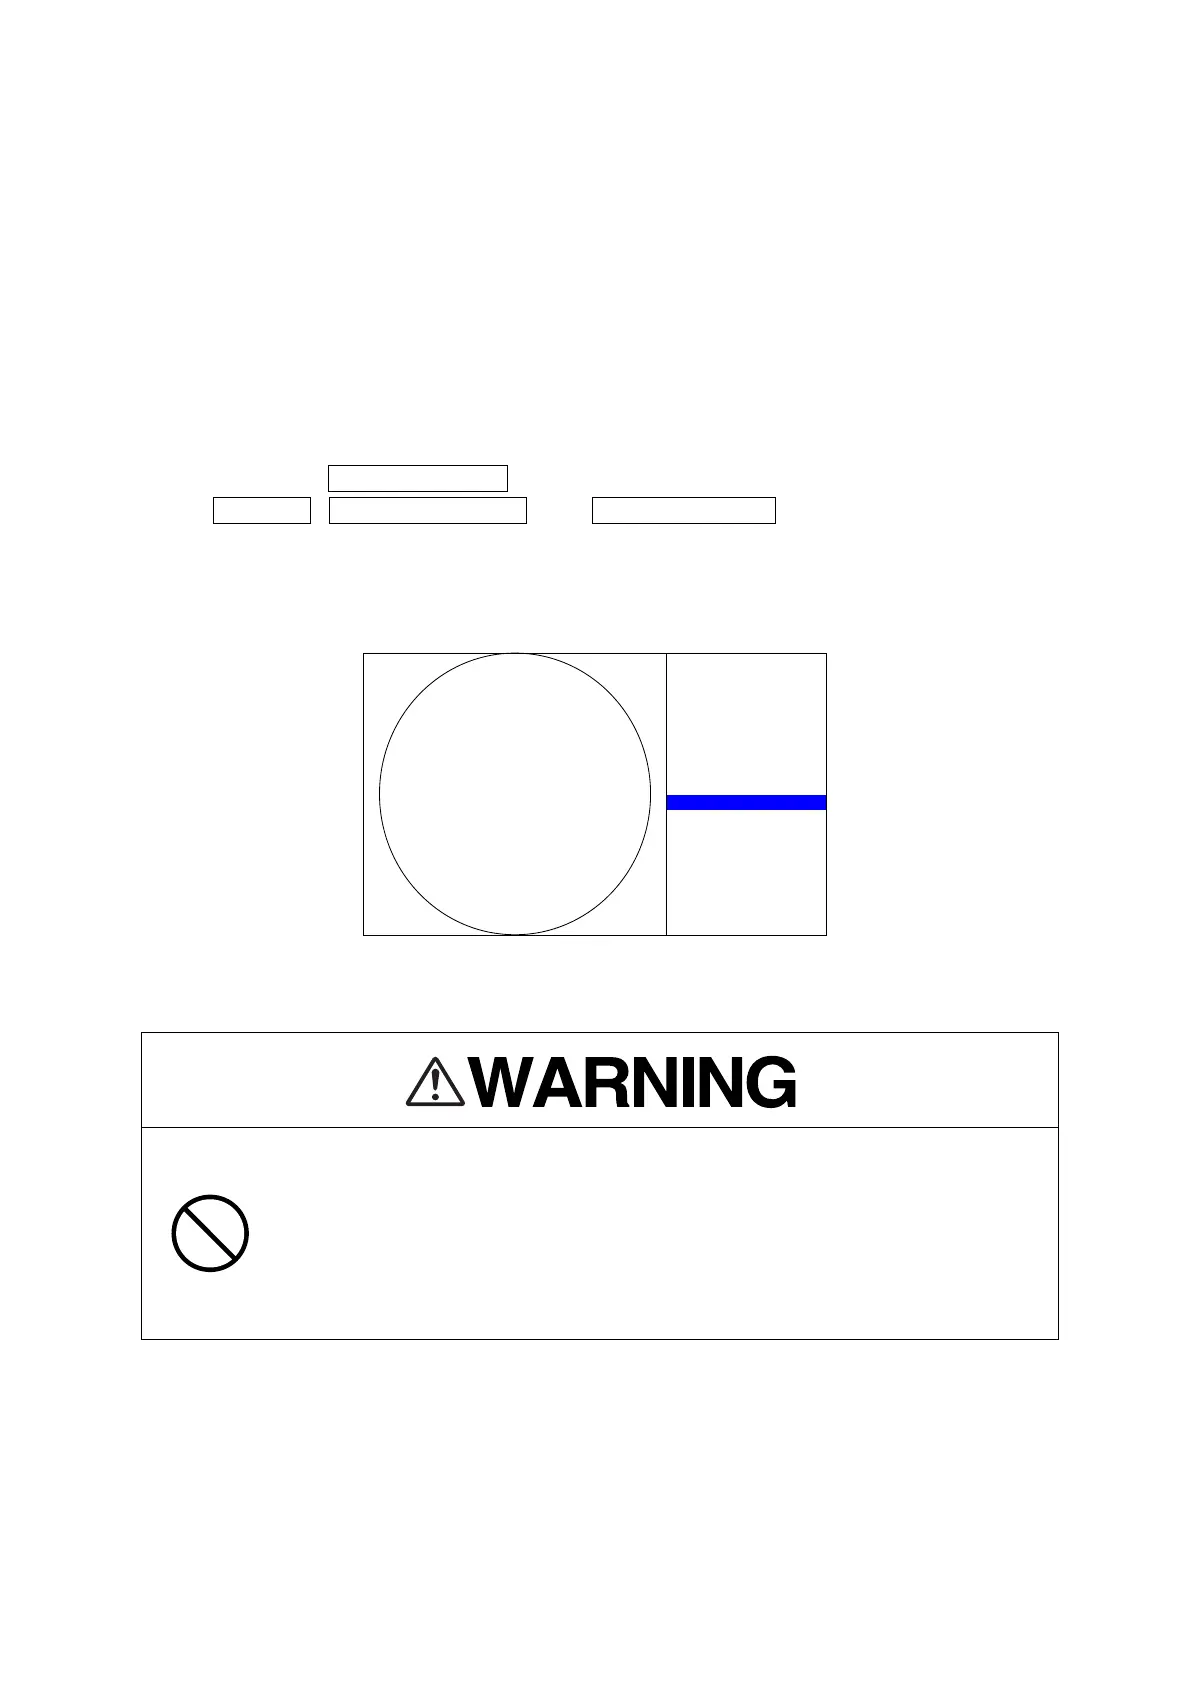
2. Center frequency adjustment
This adjustment is a function of adjusting tune indication and peak of echo, it is
already made at the factory.
The default value is 64.
The settings must not be changed on the spot.
When the tune indication and peak of echo shift, if the settings are carefully
adjusted, you can not get the tuning.
The gain falles, a collision etc. may occur.
Adjust the frequency so that the image size becomes the maximum when oscillation of the
tuning indicator reaches the maximum.
Use the following procedure to set a central frequency.
Use the following procedure to set a central frequency.Use the following procedure to set a central frequency.
Use the following procedure to set a central frequency.
(a) Carry out steps from (a) to (c) of "1. Tuning preset".
 Loading...