Repair information 4-9
5026
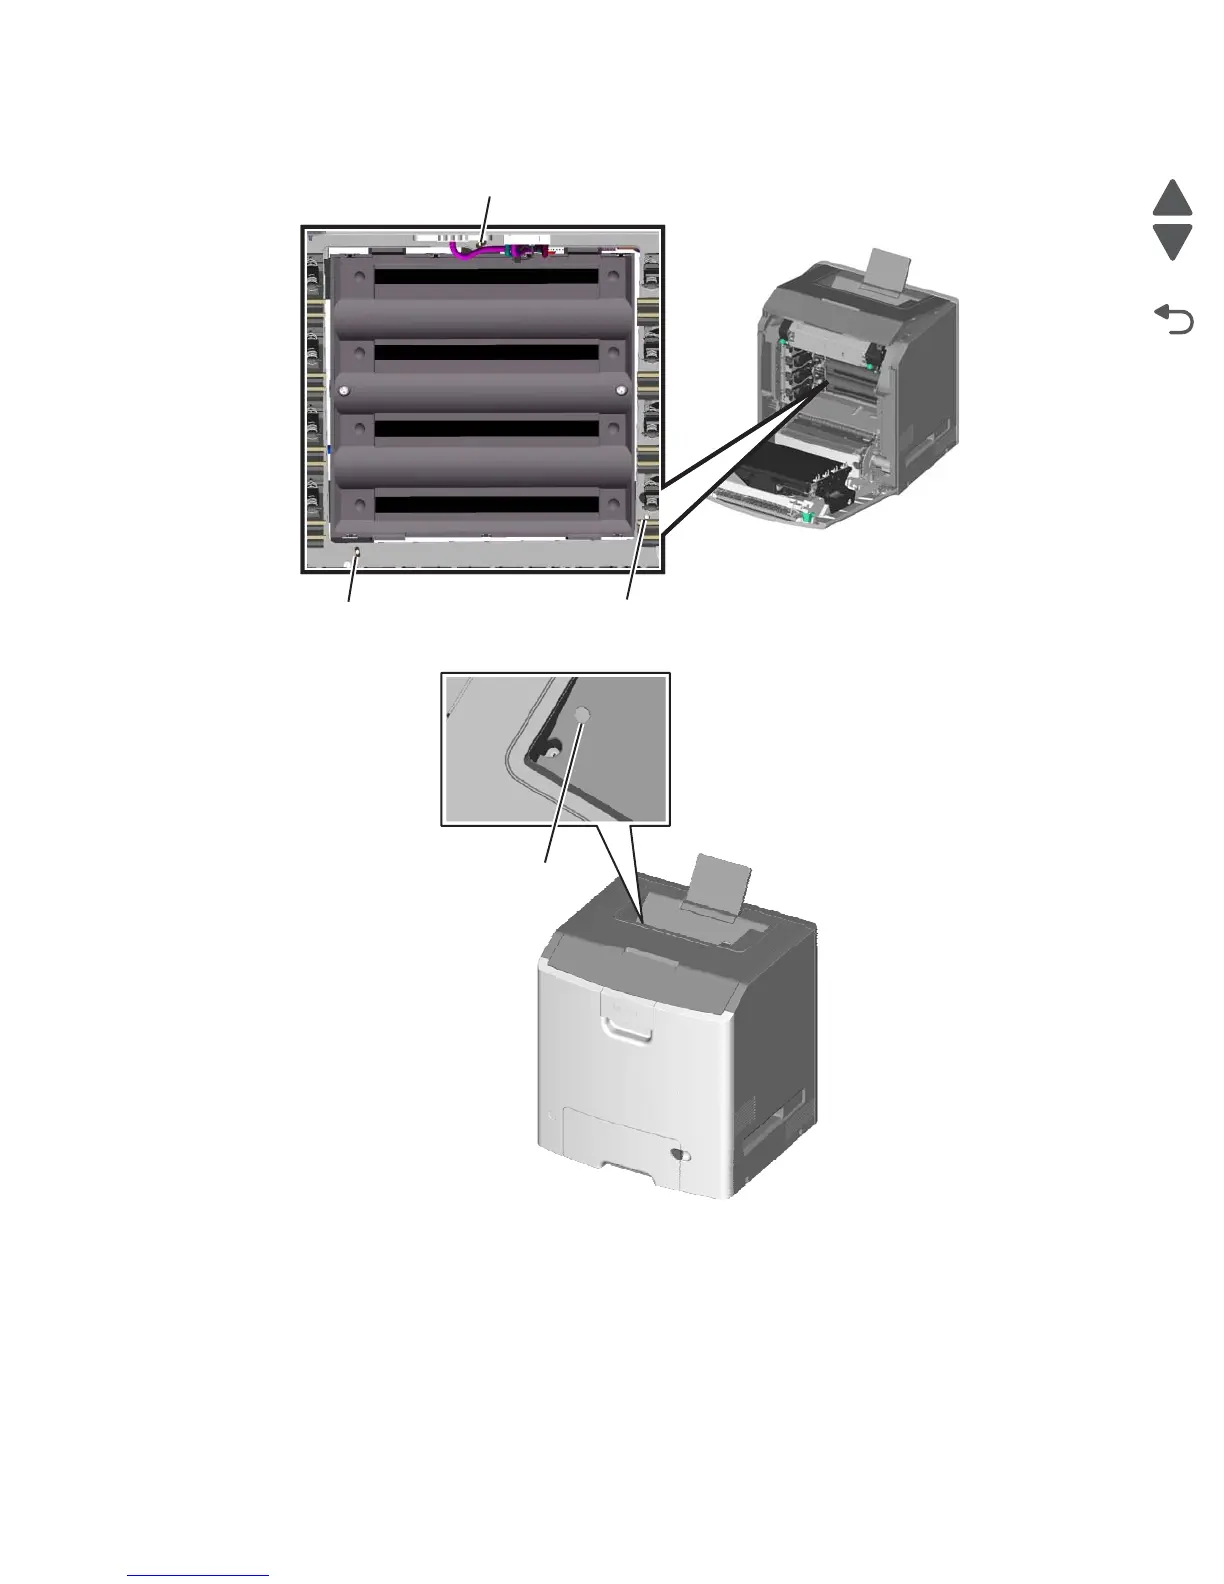
4. Loosen the printhead mounting screws in the following order: D1, D2, and D3.
5. Remove the printhead alignment screw cover (E).
6. Reinstall the transfer module with the photoconductor units still attached.
7. Reconnect the transfer module cable.
8. Replace the toner cartridges.
9. Close the top access door.
10. Close the front access door.
11. Plug the electrical cord into the printer.
12. Plug the electrical cord into the outlet.