4-22 Service Manual
5026
14. Tighten the printhead mounting screws.
a. Turn off the printer.
b. Disconnect the power cord from the electrical outlet.
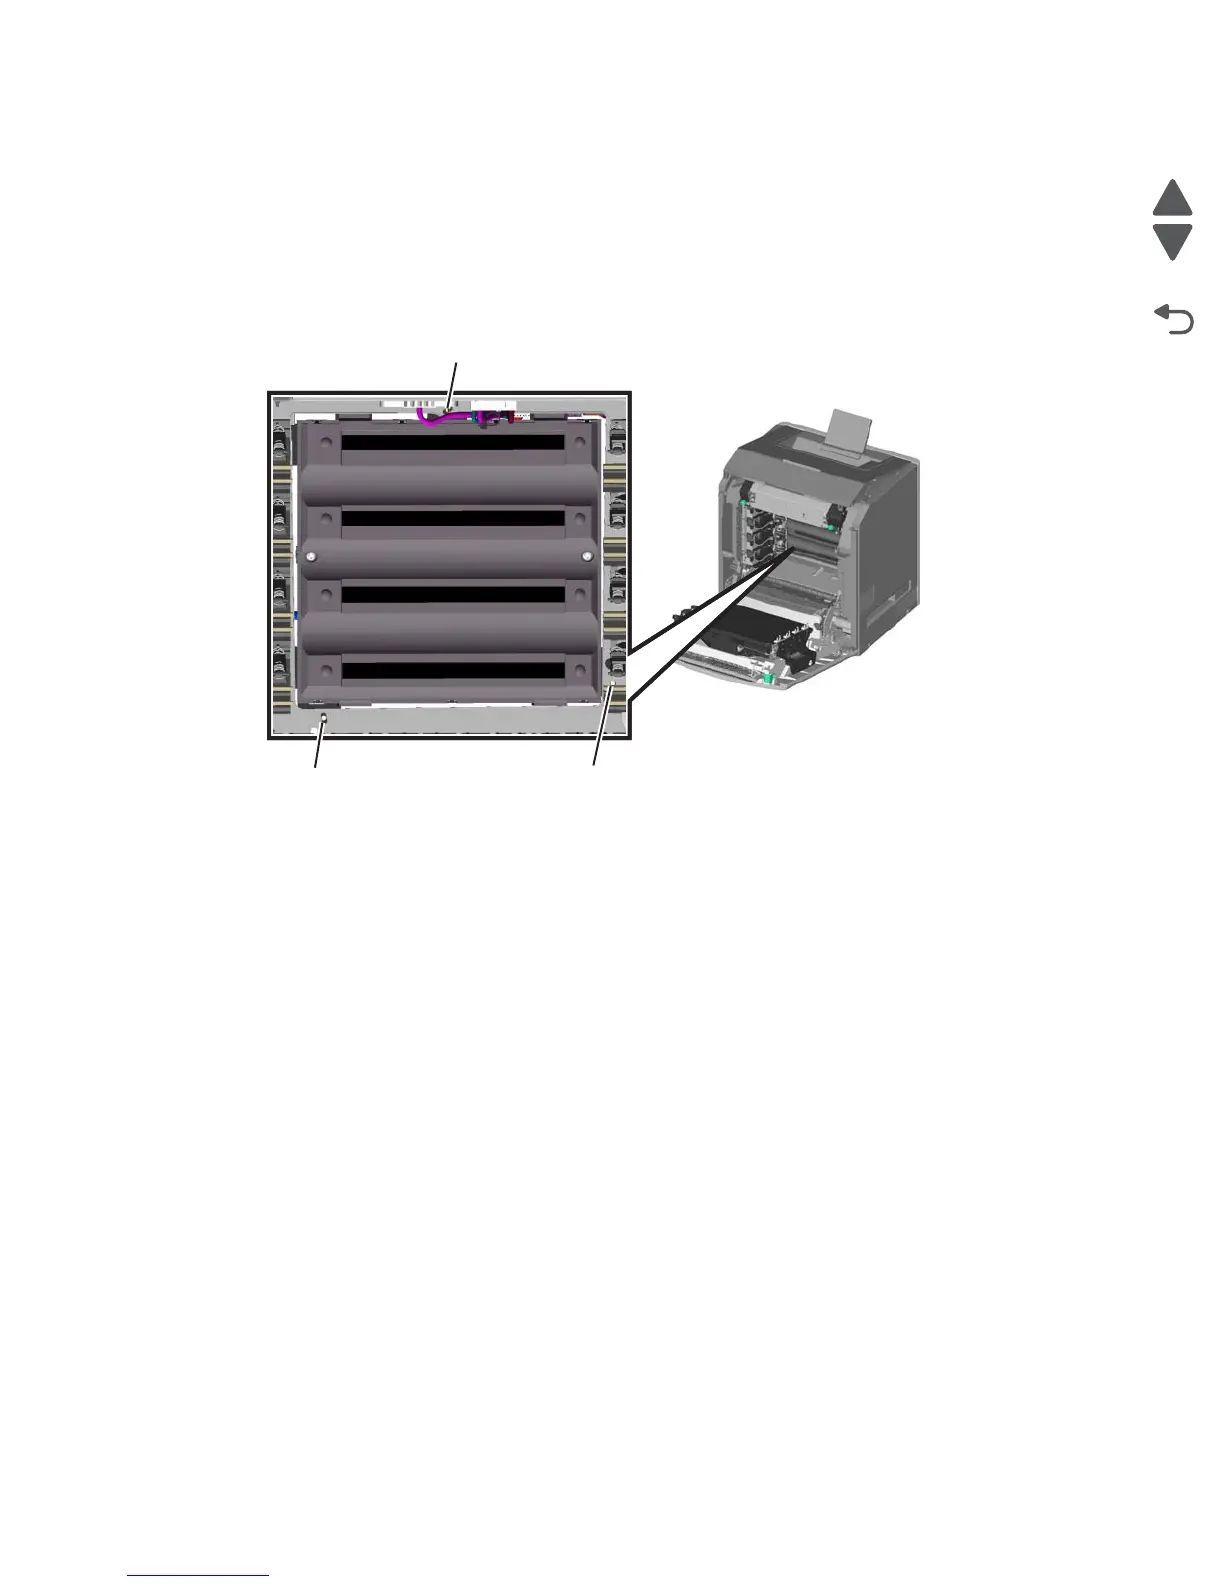
c. Disconnect the transfer module cable.
d. Press the two tabs on either side of the transfer module, and lift out the transfer module with the
photoconductor units in place.
e. Remove all of the toner cartridges.
f. Tighten the printhead mounting screws in the following order: H1, H2, and H3.
15. Replace the printhead alignment screw cover.
16. Replace the toner cartridges.
17. Reinstall the transfer module and the photoconductor units.
18. Connect the transfer module cable.