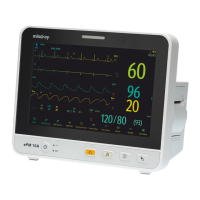
24 - 3
• Auto recording on alarm happens only when Print on Alarm is set to Recorder. For more information,
see 27.4.6The Other Tab.
24.7 Clearing Recording Tasks
To clear recording tasks, follow this procedure:
1. Select the Main Menu quick key → from the Report column select Record Setup.
2. In the Record Setup menu, select Clear All Record. This clears all queued recording tasks and stops the
current recording.
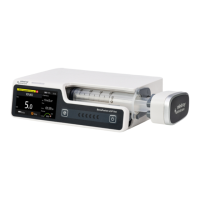
24.8 Loading Paper
To load paper, follow this procedure:
1. Use the latch at the upper right of the recorder door to pull the door open.
2. Insert a new roll into the compartment as shown below. Feed the paper through and pull some paper out
from the top of the roller.
3. Close the recorder door.
• Use only specified thermal paper. Otherwise, it may cause damage to the recorder’s printhead, the
recorder may be unable to print, or poor print quality may result.
• Never pull the recorder paper with force when a recording is in process. Otherwise, it may cause
damage to the recorder.
• Do not leave the recorder door open unless you reload paper or remove troubles.
24.9 Removing Paper Jam
If the recorder works incorrectly or produces unusual sounds, check if there is a paper jam first. If a paper jam is
detected, follow this procedure to remove it:
1. Open the recorder door.
2. Take out the paper and tear off the draped part.
3. Reload the paper and close the recorder door.