Create and open a Smart Inbox for scan jobs
Introduction
Next to the Smart Inboxes for print jobs you can also create Smart Inboxes for scan jobs. You can
create a Smart Inbox for scan jobs under the [Configuration] tab. The Smart Inbox for scan jobs is
present as a scan location on the user panel.
NOTE
After the time defined in Océ Express WebTools or when the Smart Inbox is full, jobs will be
deleted from the Smart Inbox.
Procedure
1.
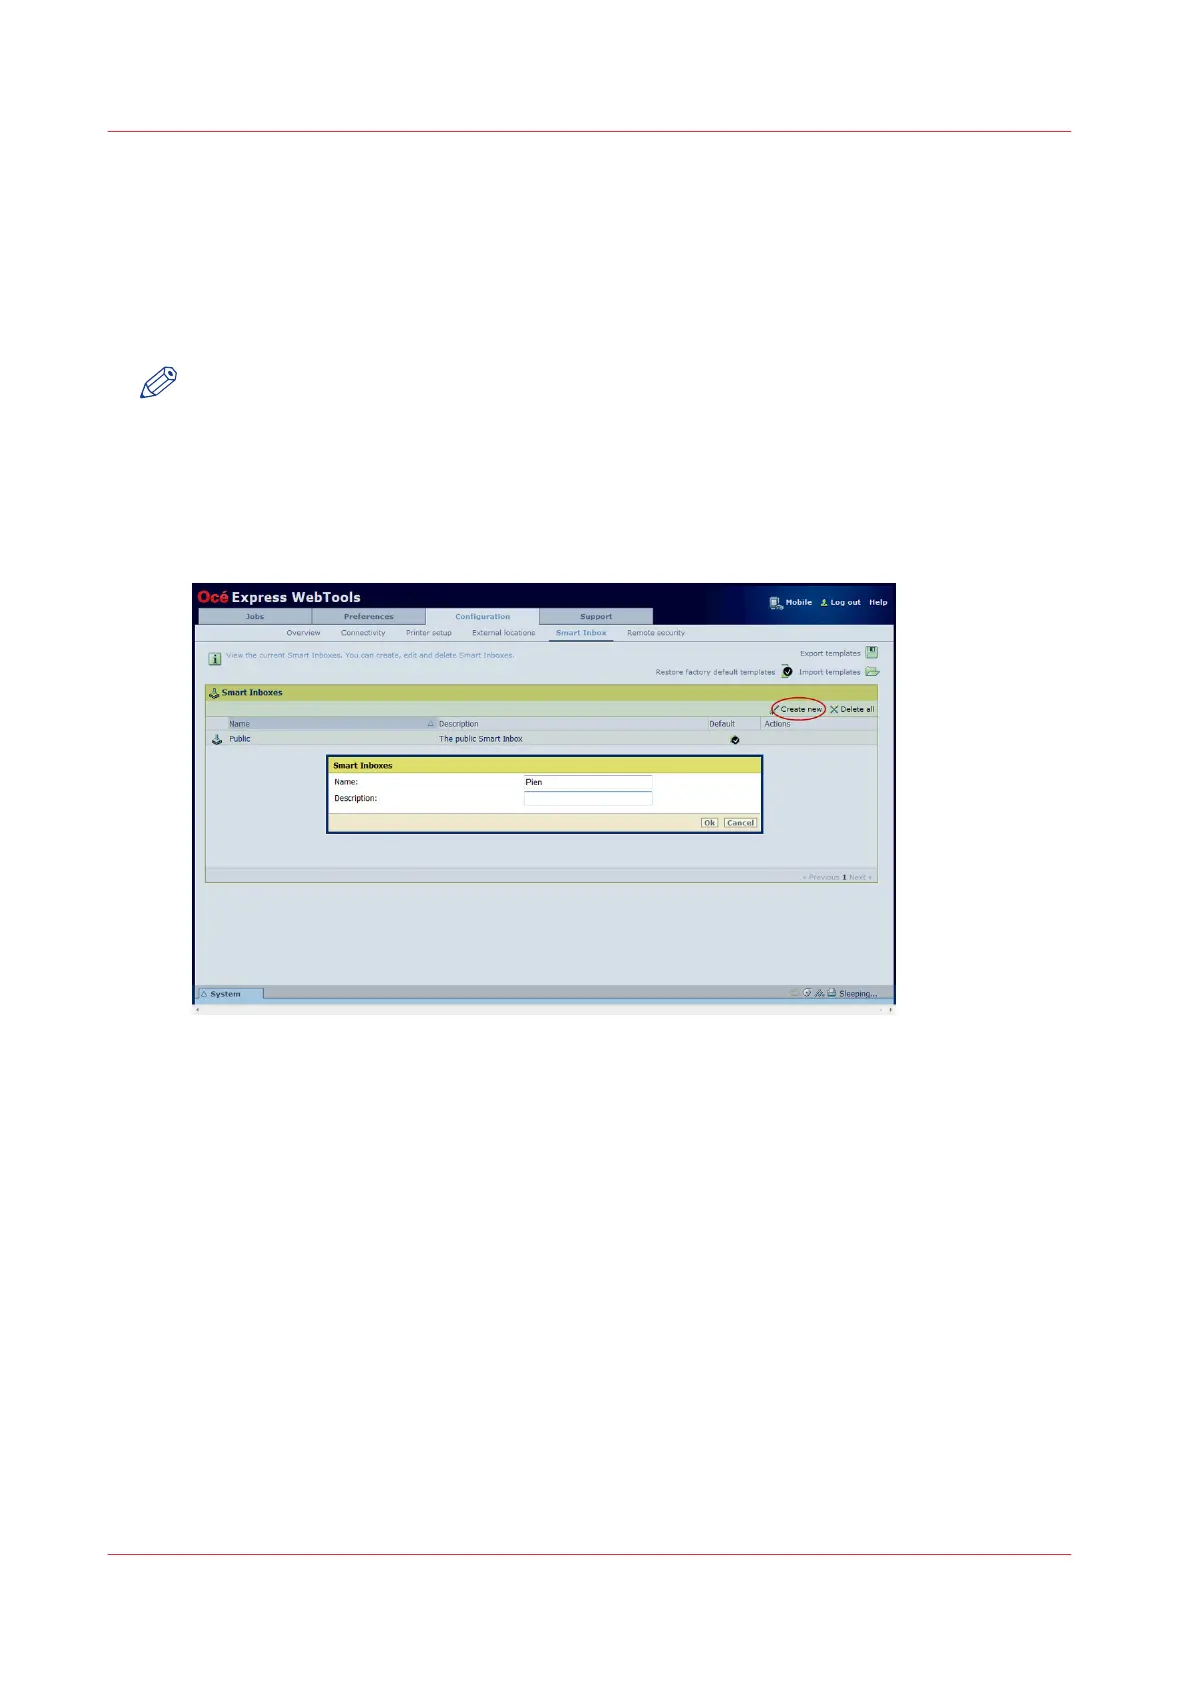
Open the [Configuration] - [Smart Inbox] tab.
2.
Click on [Create new]. A window opens
3.
Enter a [Name] recognisable for the user. This name appears on the user panel.
4.
Enter a [Description].
5.
Click Ok to confirm.
Result
The Smart Inbox is now displayed in the Smart Inbox section and is visible on the user panel as a
location.
Create and open a Smart Inbox for scan jobs
102
Chapter 3 - Define your Workflow with Océ Express WebTools