Change the name of a scan job on the user panel
Introduction
You can make settings for a scan-to-file name in Océ Express WebTools under the [Preferences] -
[Scan job defaults] tab, but you can also change the name of the job on the user panel.
NOTE
• The name you enter is used for the next scan. It is not possible to change the name when the
scan starts or after the scan has been made.
• You can only change the name under the scan menu, not under any of the other menus.
When you cannot change the name, the name is greyed out.
Procedure
1.
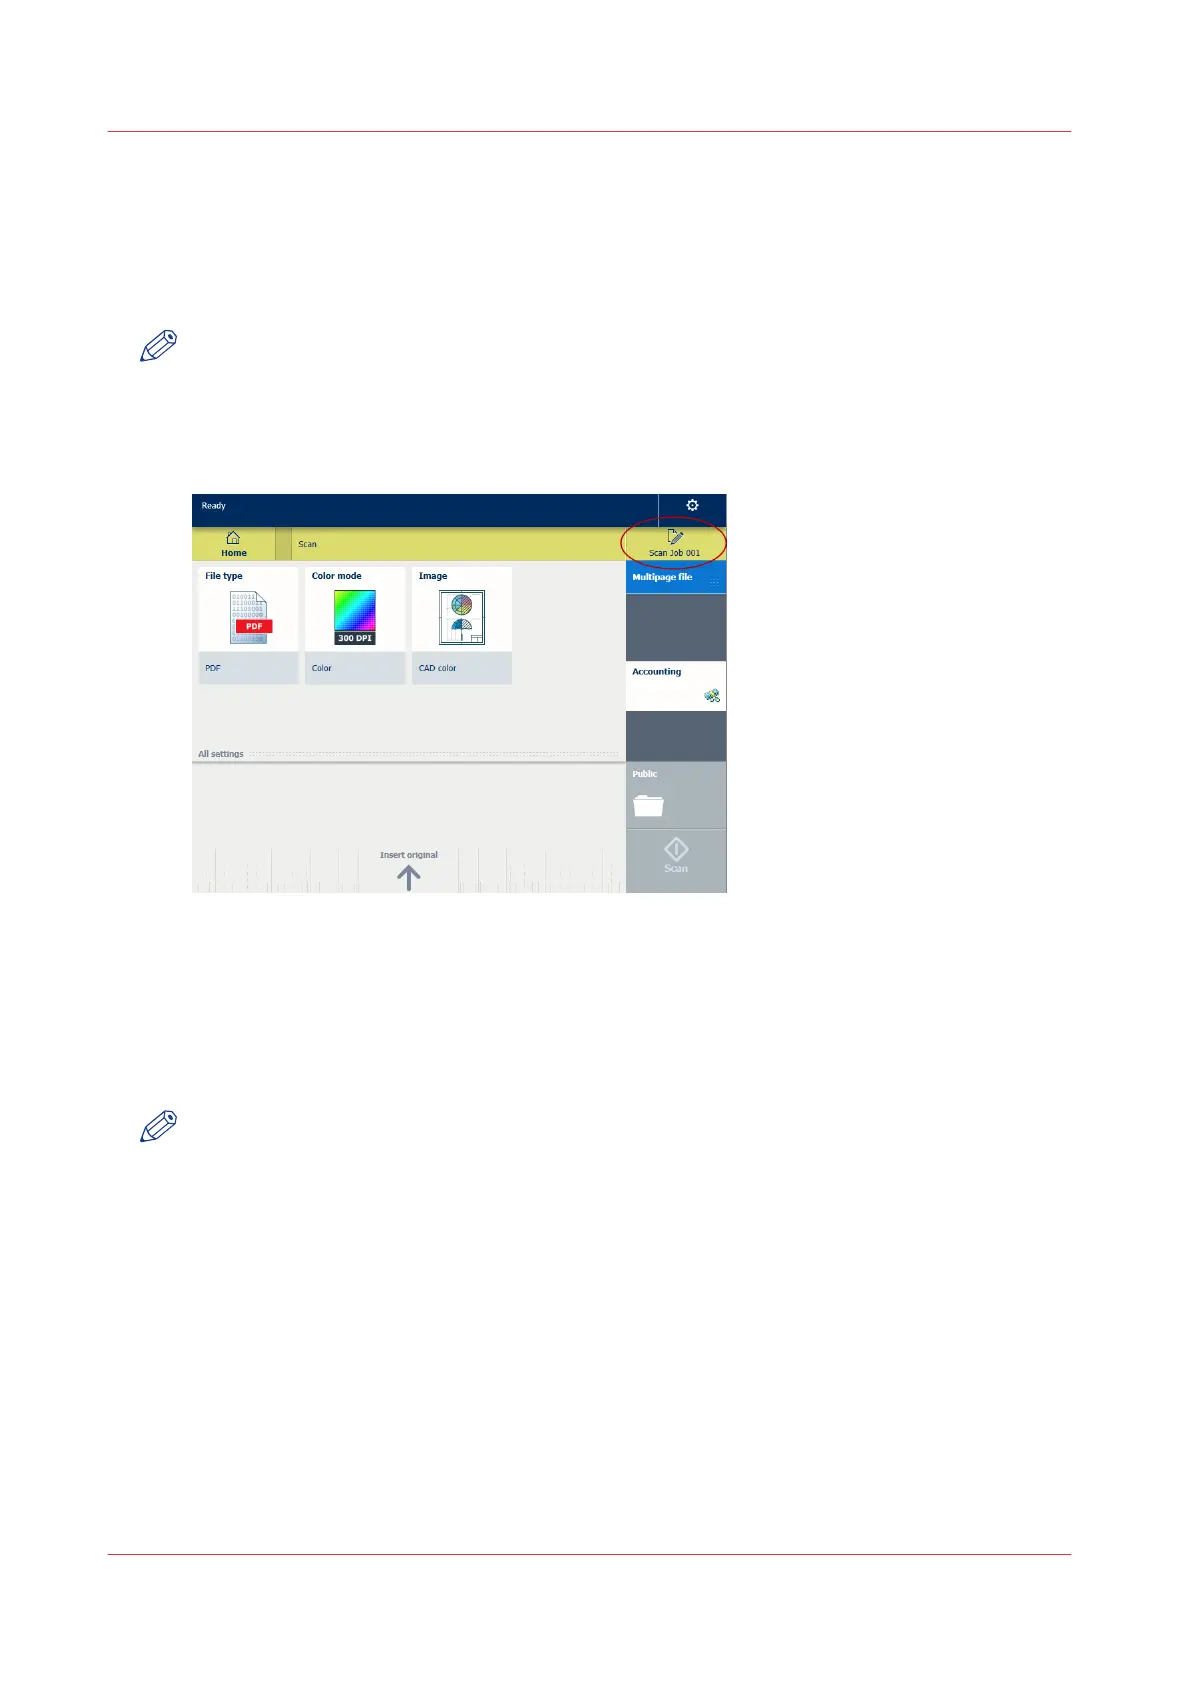
Tap the scan tile on the user panel. A window with a list of presets opens.
2.
Tap the file name of the job on the right hand corner, under the system menu thumbnail.
A keyboard appears, with the current file name filled in.
3.
Use the erase key and fill in your preferred name.
NOTE
Note that the file extension is automatically generated, so do not put the file extension in the
name.
4.
Tap Ok to confirm. Your preferred name is now used for the next scan.
Change the name of a scan job on the user panel
230
Chapter 4 - Use the Printing System