Component Function
1. locations Select the location you want to send your scanned file to.
You can swipe through the list of various locations, from Smart Inbox-
es, USB, to cloud locations.
For more information on how to configure the locations, see
Create
and open a Smart Inbox for scan jobs and print jobs
on page 102 and
Create an external location
on page 136.
2. [live scan view] Check how your document is being scanned by the printer.
You can check the width and alignment of the original to ensure best
performance.
3. [green button] Tap the green button to start the job.
The Print Smart Access
Tap the print tile on the user panel to view the print Smart Access. The Smart Access has the
following functionalities:
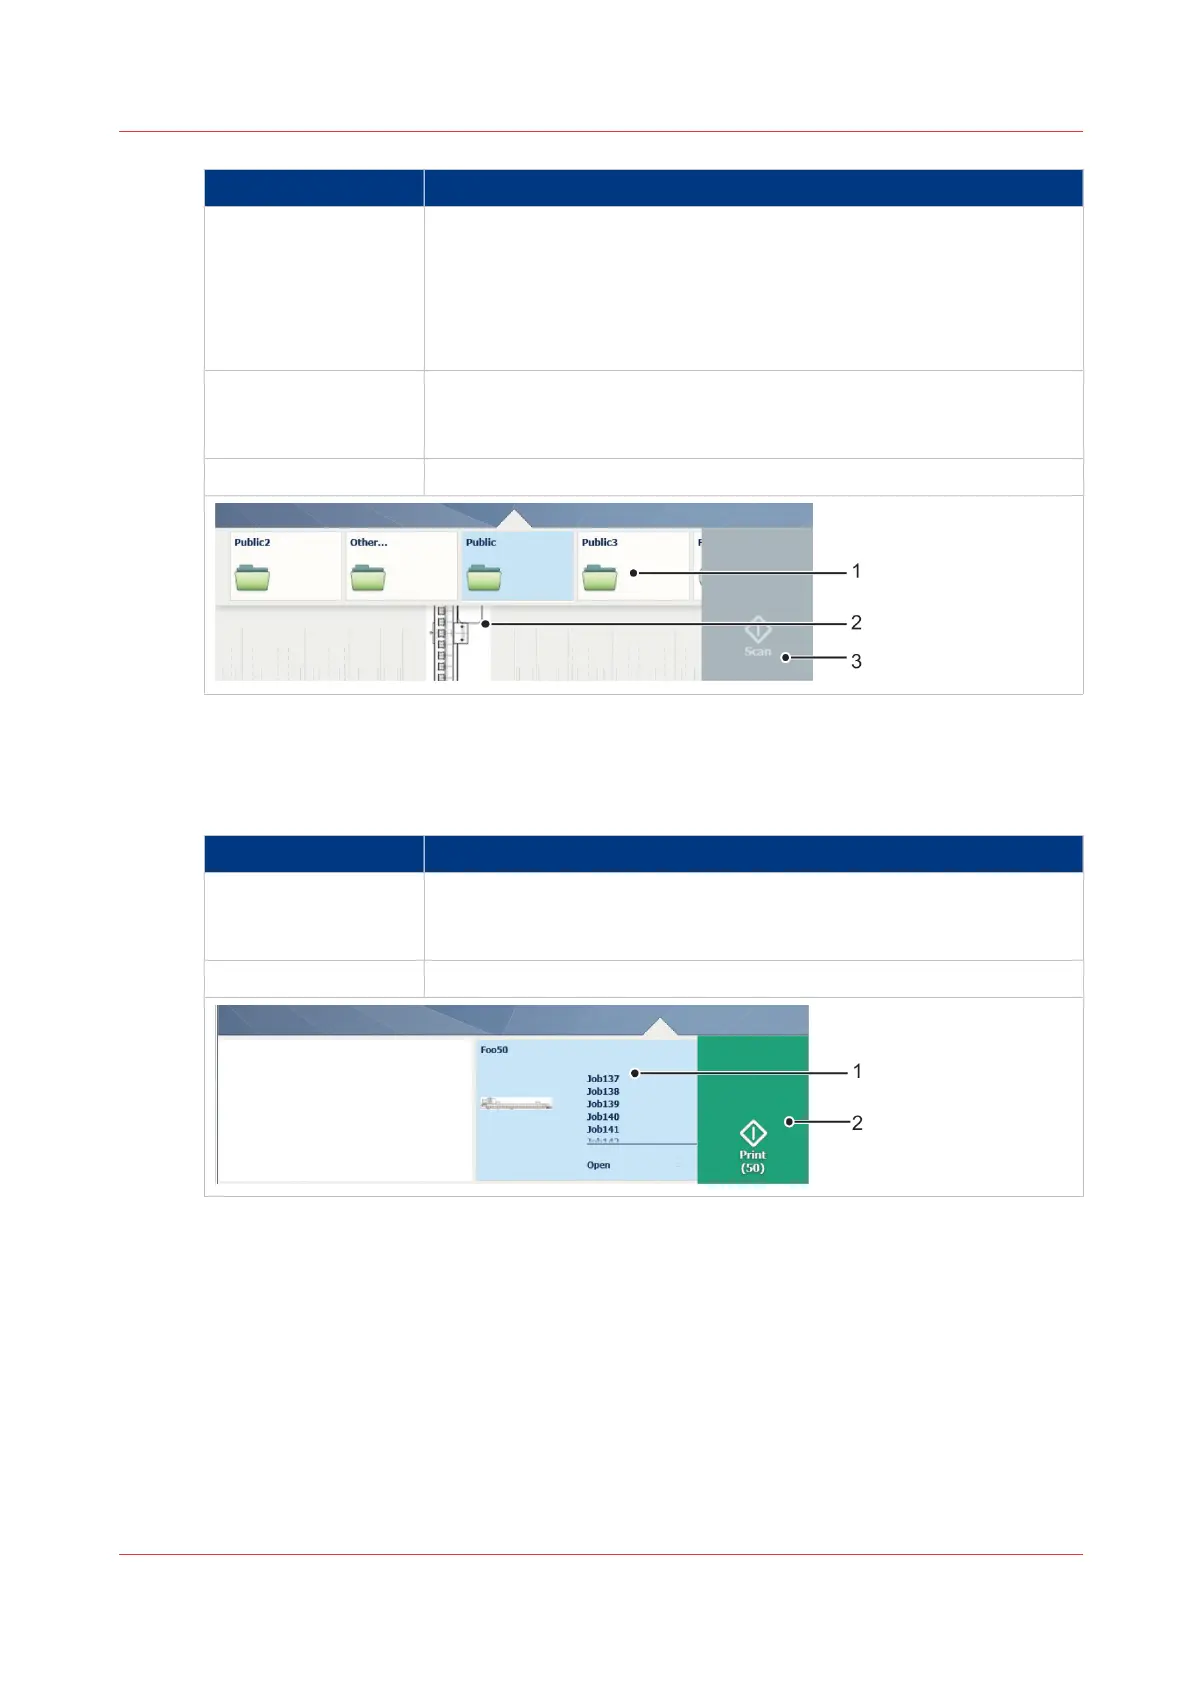
Component Function
1. locations Select the location you want to retrieve your unprinted job from. You
can swipe through the list of various locations, from Smart Inboxes,
USB, or cloud locations.
2. [green button] Tap the green button to start the job.
The Smart Access
Chapter 2 - Get to Know the Printing System
43