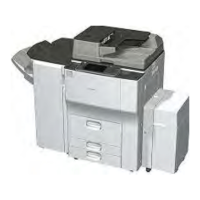
Enabling Booklet Binding (D612 Only)
To enable booklet binding (saddle-stitching) for the D612, you must make sure that the
center-position stapling option is displayed.
1. Press the User Tools key.
2. Touch “Copier/Document Server Features”.
3. Touch the “Input/Output” tab, then touch “Stapling Position”.
4. Touch any “Stapling Position” button and touch the center (saddle-stitch) stapling symbol.
5. Exit the User Tools mode. Specify the number of copies, touch the center stapling symbol on
the operation panel, then start the print job.
Auxiliary Trays
The auxiliary trays are stored in the auxiliary tray storage pocket mounted on the back cover of
the finisher.
Make sure that the customer understands the following points about these auxiliary trays:
The trailing edges of excessively curled or Z-folded paper can activate the tray full sensors
before the tray is actually full.
Once the "Exit Tray Full" message displays, the job cannot continue until some sheets are
removed from the tray which is only partially full. The trays are designed to prevent this
problem.
The auxiliary tray for the shift tray should be installed for Z-folding jobs.
The auxiliary tray for the proof tray should be installed only when excessively curled paper is
triggering early "Exit Tray Full" alerts.
Normally, both auxiliary trays should be placed in the pocket mounted on the back of the
finisher.
Proof Exit Auxiliary Tray
Follow the procedures below to install the auxiliary tray for the proof tray.
1. First, remove the paper from the paper feed tray, turn it upside down, and continue printing.
This may solve the problem.

 Loading...