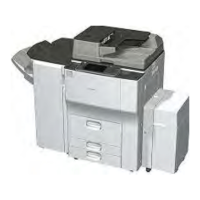
Main Machine
D131/D132/D133 2-18 SM
10. Remove the rear bottom plate [A] ( x 1).
11. Re-position the return position sensor bracket [B] (
x 1). To use the paper tray for A4 size,
put the screw in the left hole as shown. (For LT size, the screw should be placed on the right.)
12. Re-install the rear bottom plate.
13. Change the paper size using SP5959-001 (Paper Size – Tray 1). For details, see SP5959 in
“Service Tables”.
Machine Level
1. Set a stand [A] at two front foot of the machine.
2. Set the leveling shoes [C] (x2) under the feet [B], then level the machine.
Two leveling shoes should be installed at the front side.
3. Install two supports [D] at the front side of the machine.
4. Check the machine operation. With the customer, determine the best place to attach the
cleaning reminder decal.
Date/Time Setting
Use the User Tools menu to set the current date and time.
On the operation panel, press the User Tools key.
On the touch-panel, press “System Settings”.
Press the “Timer Setting” tab.
Press “Set Date” to enter the date.
Press “Set Time” to enter the time.

 Loading...