Maintenance
Repair
404 MagneMotion
Rockwell Automation Publication MMI-UM002F-EN-P - October 2022
Procedure
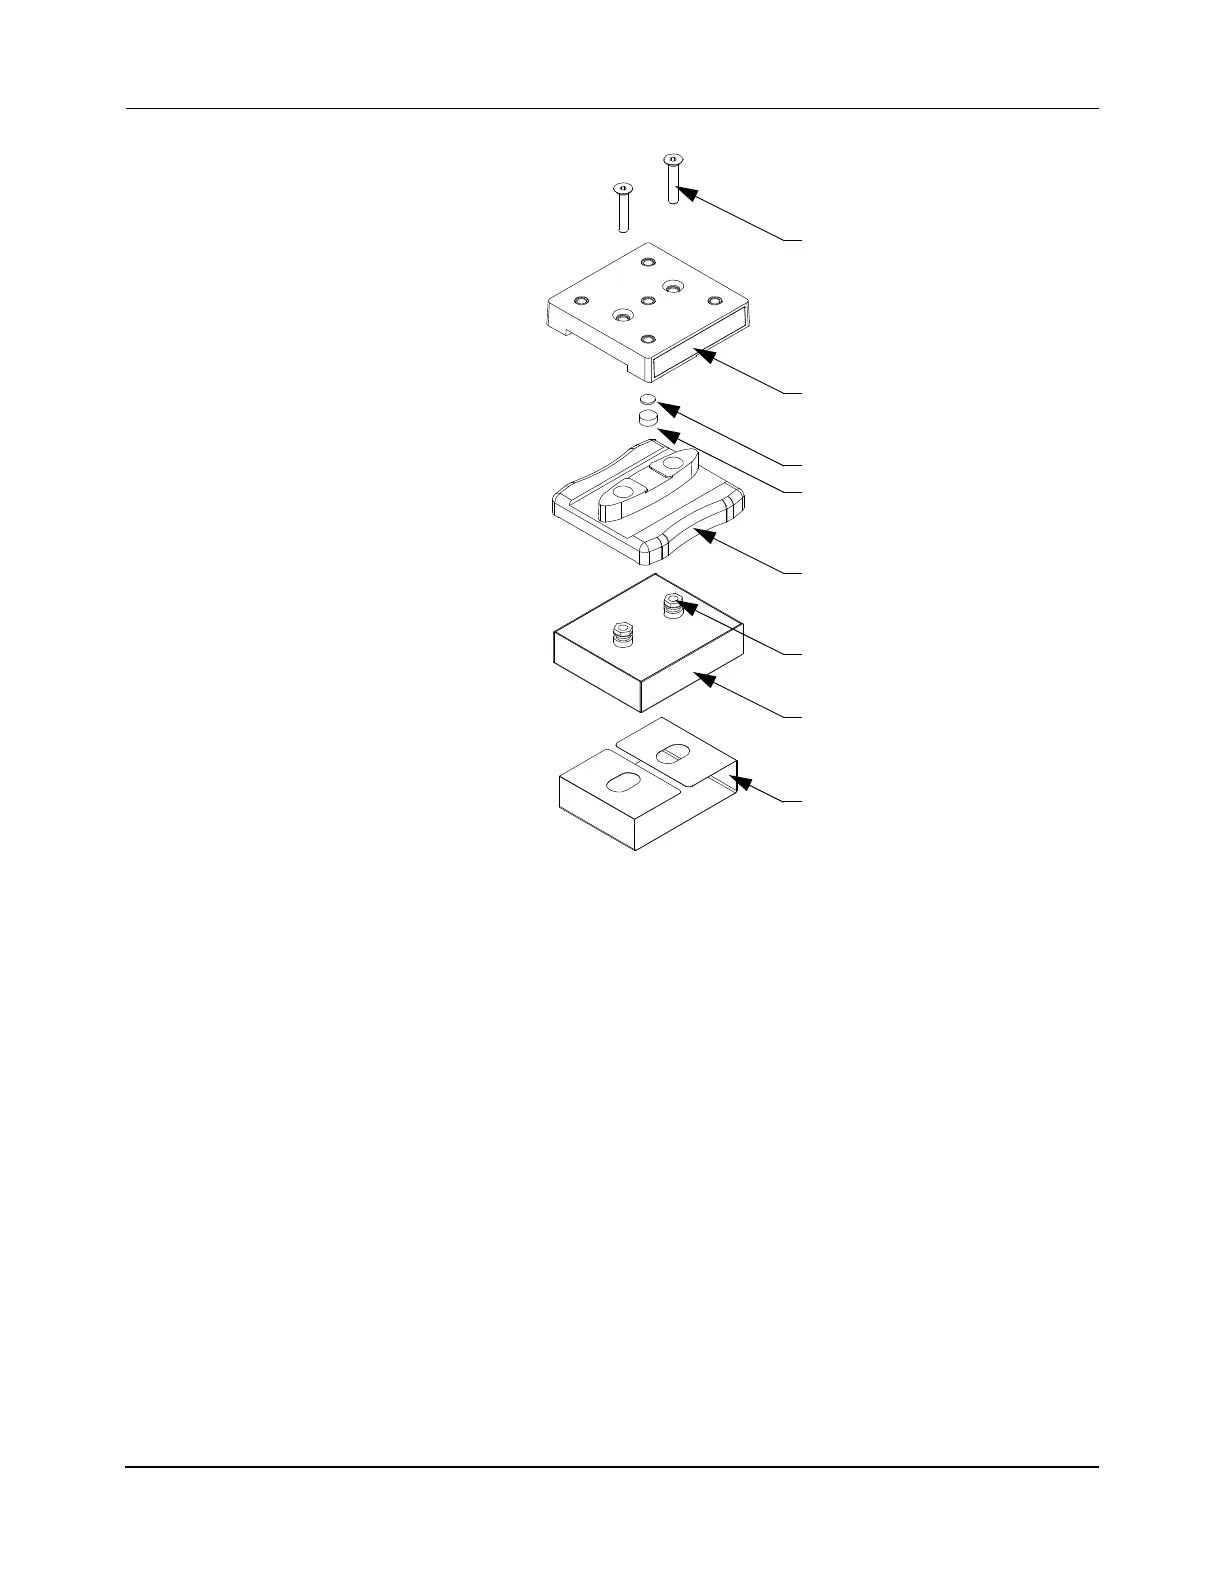
Figure 7-18: Remove Plates from Magnet Assembly
1. Remove the glide puck from the MagneMover LITE transport system (see Replace
Pucks on page 399).
2. Place the puck on a non-metallic work surface with the magnet array down. Keep the
magnet array at least three feet away from metal objects and tools.
3. Remove the two screws that secure the puck top and center plates to the magnet
assembly. Lift the top and center plates off the magnet assembly as shown in
Figure 7-18 and dispose of properly.
4. If there are O-rings on the threaded standoffs on the magnet assembly, remove the
O-rings and dispose of properly.
OPTIONAL
A. Remove the protective strip from the magnet assembly.
B. Use Isopropyl alcohol to clean the magnet assembly and remove any residue.
M4 x 22 Screw
(2X)
Magnet Assembly
Top Plate
Center Plate
Protective Strip
Compliant Spacer
Threaded Standoff
Glue Dot
(Ref)
 Loading...


