Reference Modification no.
- 5 -
Page
128
Date
2003 03 01
Main
914 F
d03050
Zyl. (cyl.) 1/3
Zyl. (cyl.) 2/4
Pic. 69
00027
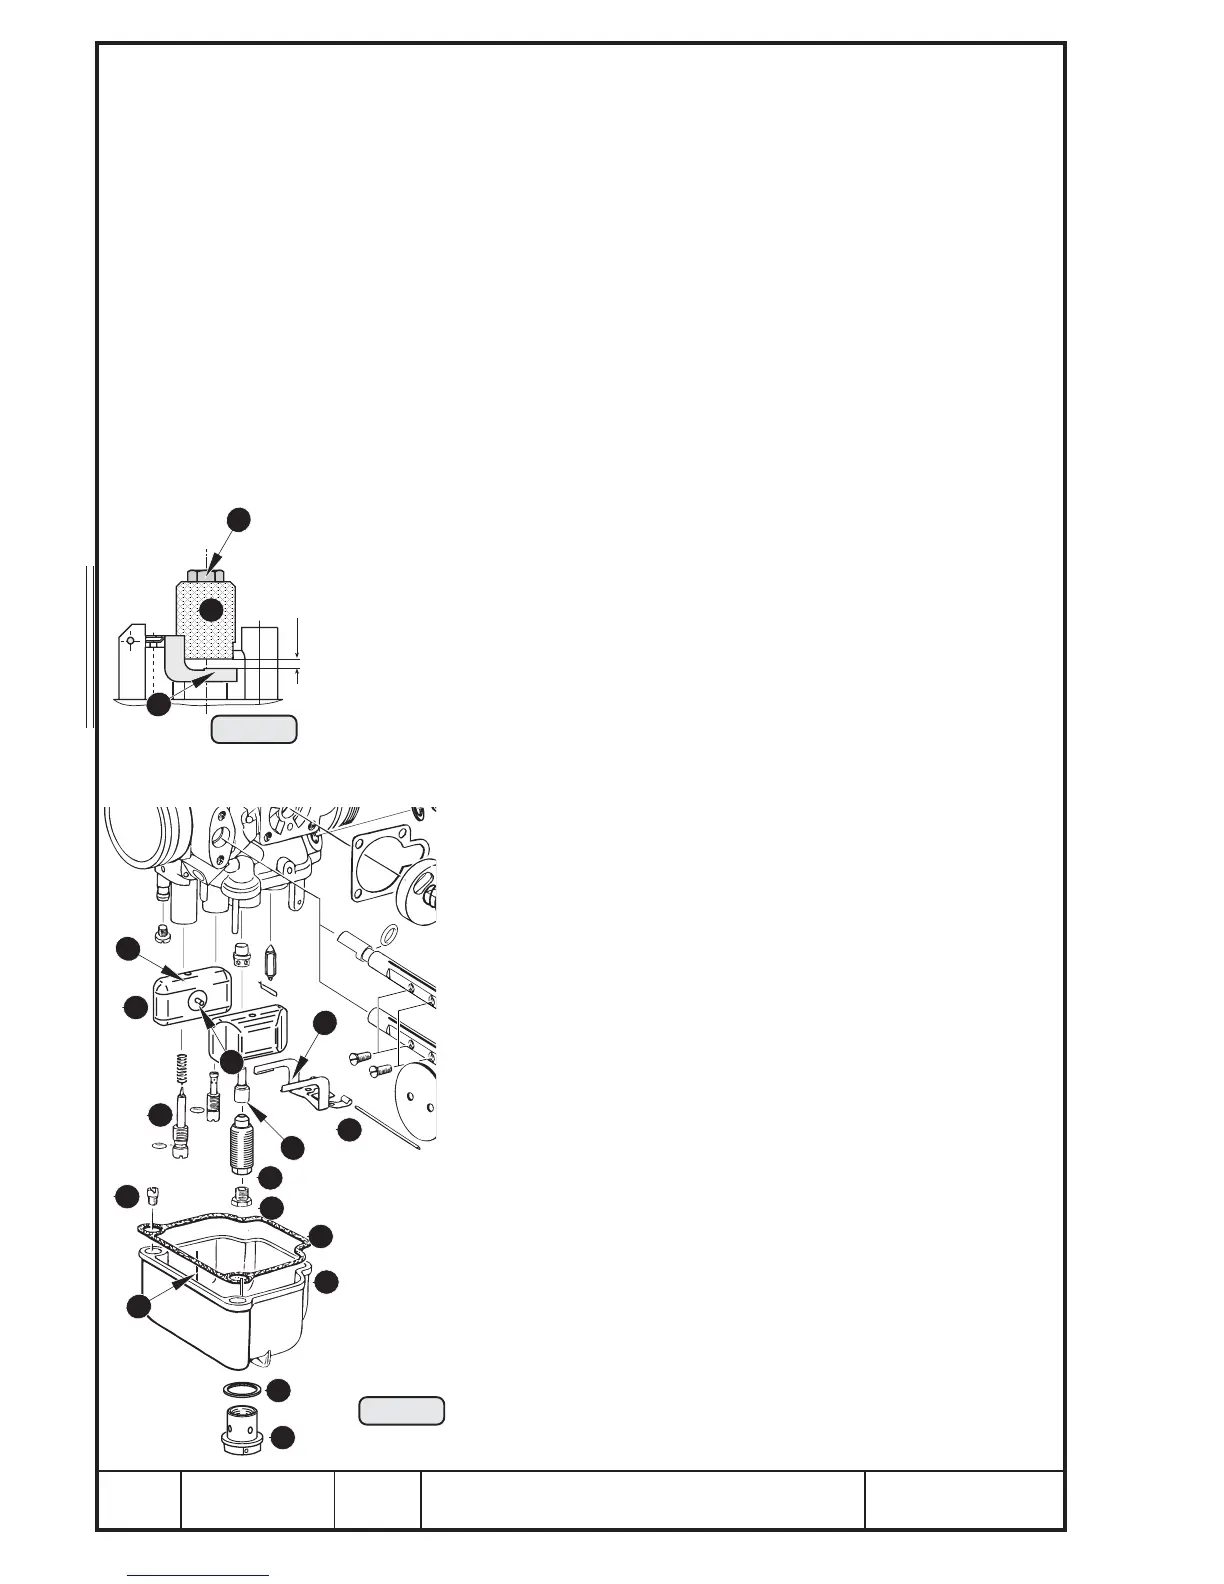
13.1.2.6) Float chamber, floats
See Pic. 63 and 69.
Remove safety wiring and plug screw i (tightening torque 5,5 Nm
(40,6 ft lb))with sealing ring o 16/22/1.
Remove float chamber p with gasket [ and clean float chamber.
Check both floats ] for free movement on the guide pin A. When the float is
at its lowest position it still must have clearance and must not stick on the float
chamber wall.
Check if both distance pieces R are in position.
■ CAUTION: A float stuck causes the carburetor to flood.
Check wear of guide sleeves S inserted in the float. Check the pins D for
float support F for wear due to excessive vibration. At noticeable wear
replace both floats and if necessary also the float suspension brackets G.
13.1.2.7) Float suspension
See Pic. 63/68 and 69.
Check if float suspension brackets G are parallel. To do so, remove main jet
H and attach gauge J,
part no. 877 730
, with a hex. screw K to the mixing
tube. When the needle valve is closed, both brackets L of the float suspen-
sion must be of equal distance of 5,4 ÷ 5,5 mm (0.21 ÷ 0.22 in.).
Renew float suspension always together with float needle valve.
At noticeable imperfection the float suspension can be bent for correction or
be renewed. After the check remove the gauge and refit main jet.
13.1.2.8) Jets
Carburetor jets, see Chapter 8, or latest spare parts list.
Remove main jet H, mixing tube :, needle jet r, idle jet a,
start jet s, and mixture screw d. Clean carburetor and jets
with fuel. Carefully blow through all jets and bores in the
carburetor housing with compressed air and check for free
passage.
Check inner diameter of needle jet if oval, replace if neces-
sary. Check the size.
■ CAUTION: At all work on the carburetor proceed with
optimum cleanliness.
34
30
37
36
16
23
20
24
22
29
28
27
26
25
21
5,5
28
31
33
32
Pic. 68
05683

 Loading...


